Edit monitors in bulk
Select several monitors from the list and change their check interval, locations, escalation policy, status or group in one save. You can also mute alerts on the whole selection while you deploy.
Bulk edit is useful when a change applies to more than one monitor at a time:
- You created a new escalation policy and want every production monitor to use it.
- You upgraded your plan and want a group of monitors checked every 30 seconds instead of every 5 minutes.
- You are about to deploy and want to silence alerts on the affected services for the next hour.
- You added a datacenter region and want your customer-facing monitors checked from there too.
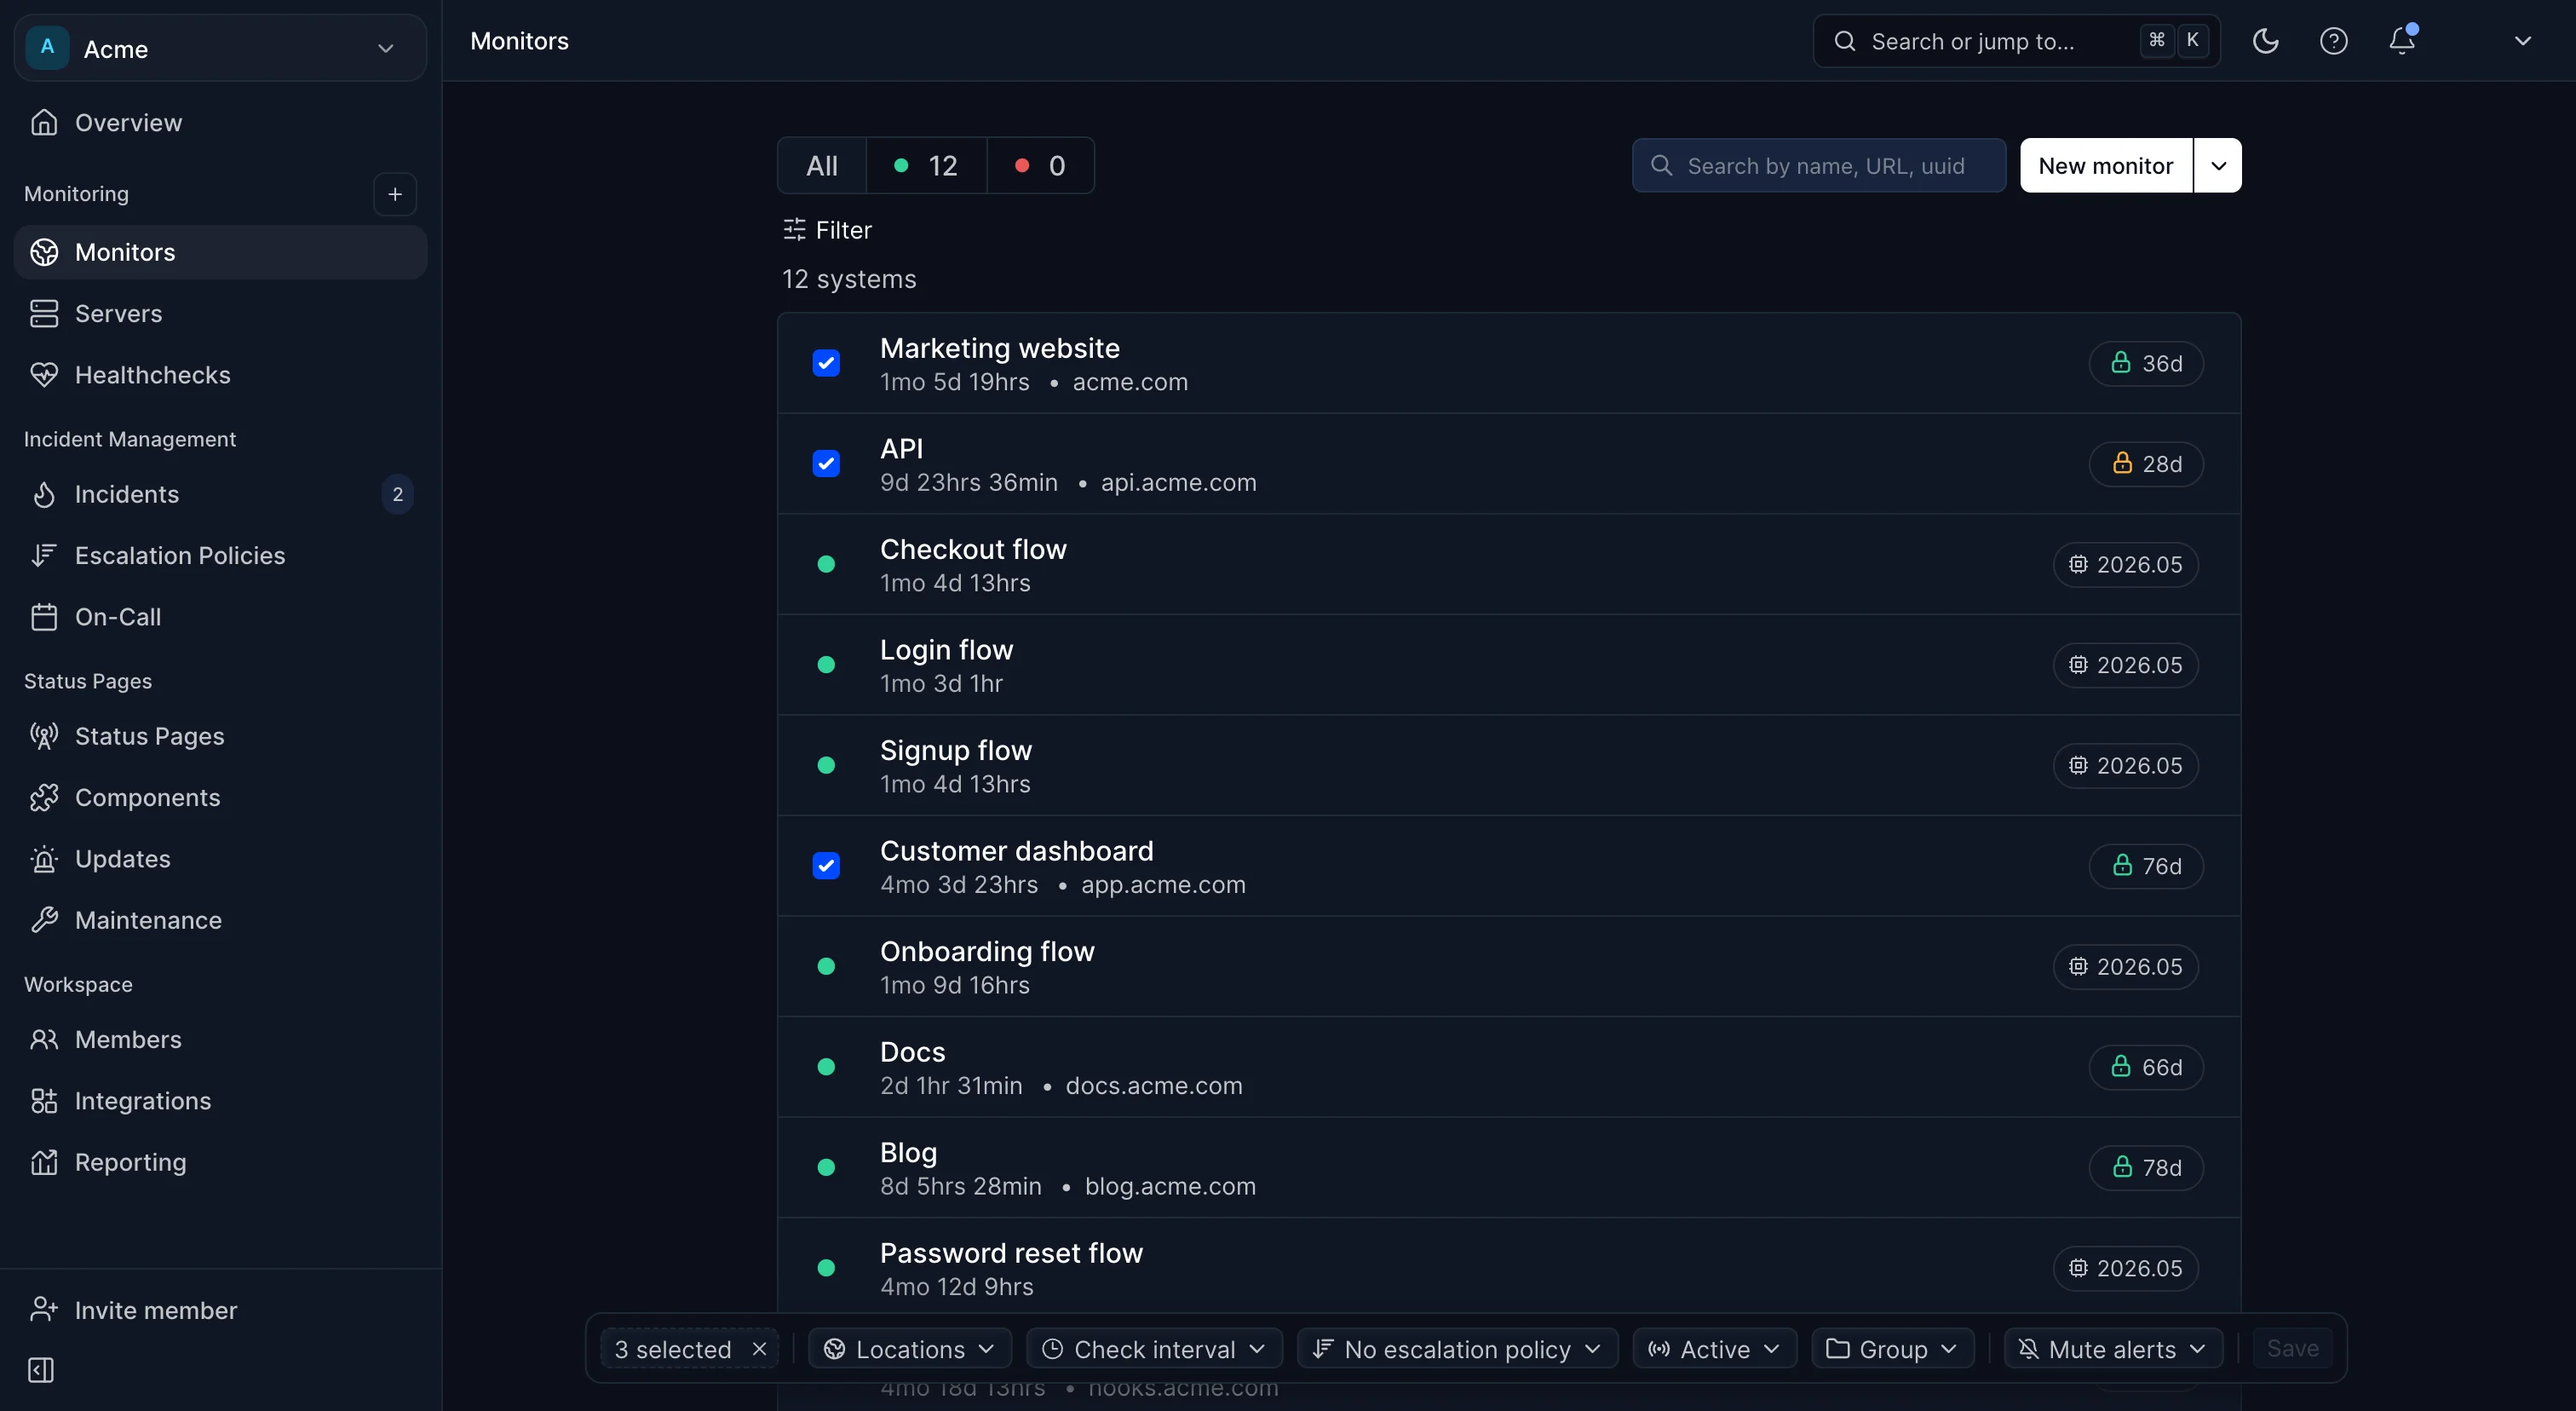
Select monitors
- Open the Monitors page
In the sidebar, click Monitors. Use the search field or Filter first if you want to narrow the list to a group, a protocol or a status.
- Tick the monitors you want to change
Hover a row and the status dot turns into a checkbox. Click it to add the monitor to the selection. Click it again to remove it.
- Select a range with Shift
Hold Shift and click a checkbox to select every monitor between the last one you ticked and this one. Shift-click again on a fully selected range to deselect it.
- Use the toolbar
A toolbar appears at the bottom of the page with the number of monitors selected. Click the × next to it to clear the selection.
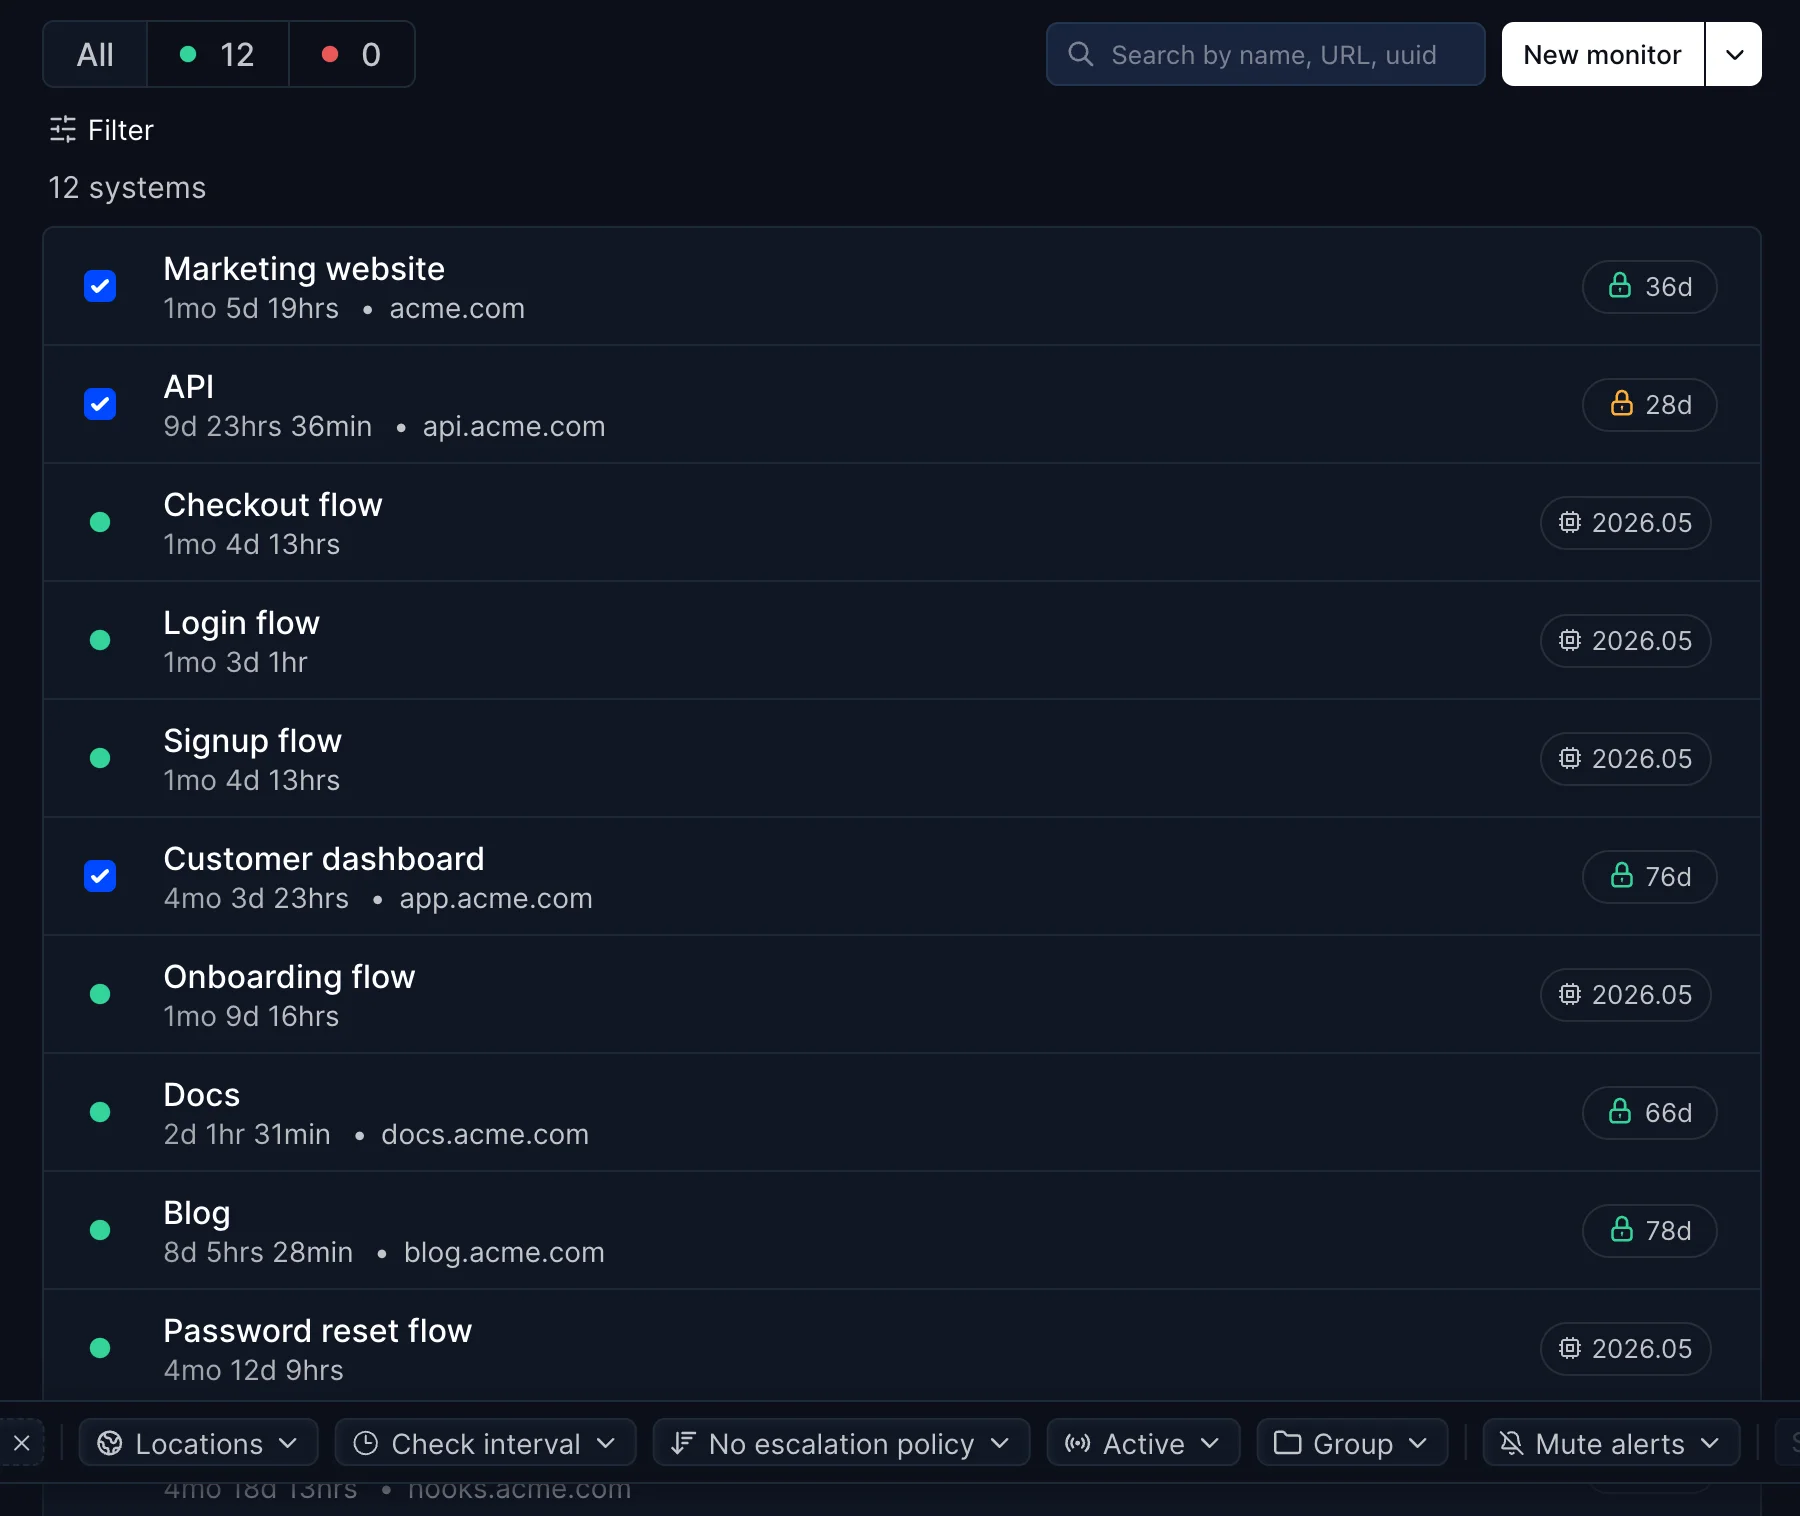
Apply a change
Each dropdown in the toolbar stages one change. Pick the values you want, then click Save. Anything you leave untouched keeps its current value on every monitor.
- Pick the new values
Open a dropdown, for example Check interval, and choose a value. The button shows the value you picked. You can stage several changes before saving.
- Click Save
Save stays disabled until at least one change is staged. Once saved, the selection is cleared and the list refreshes with the new settings.
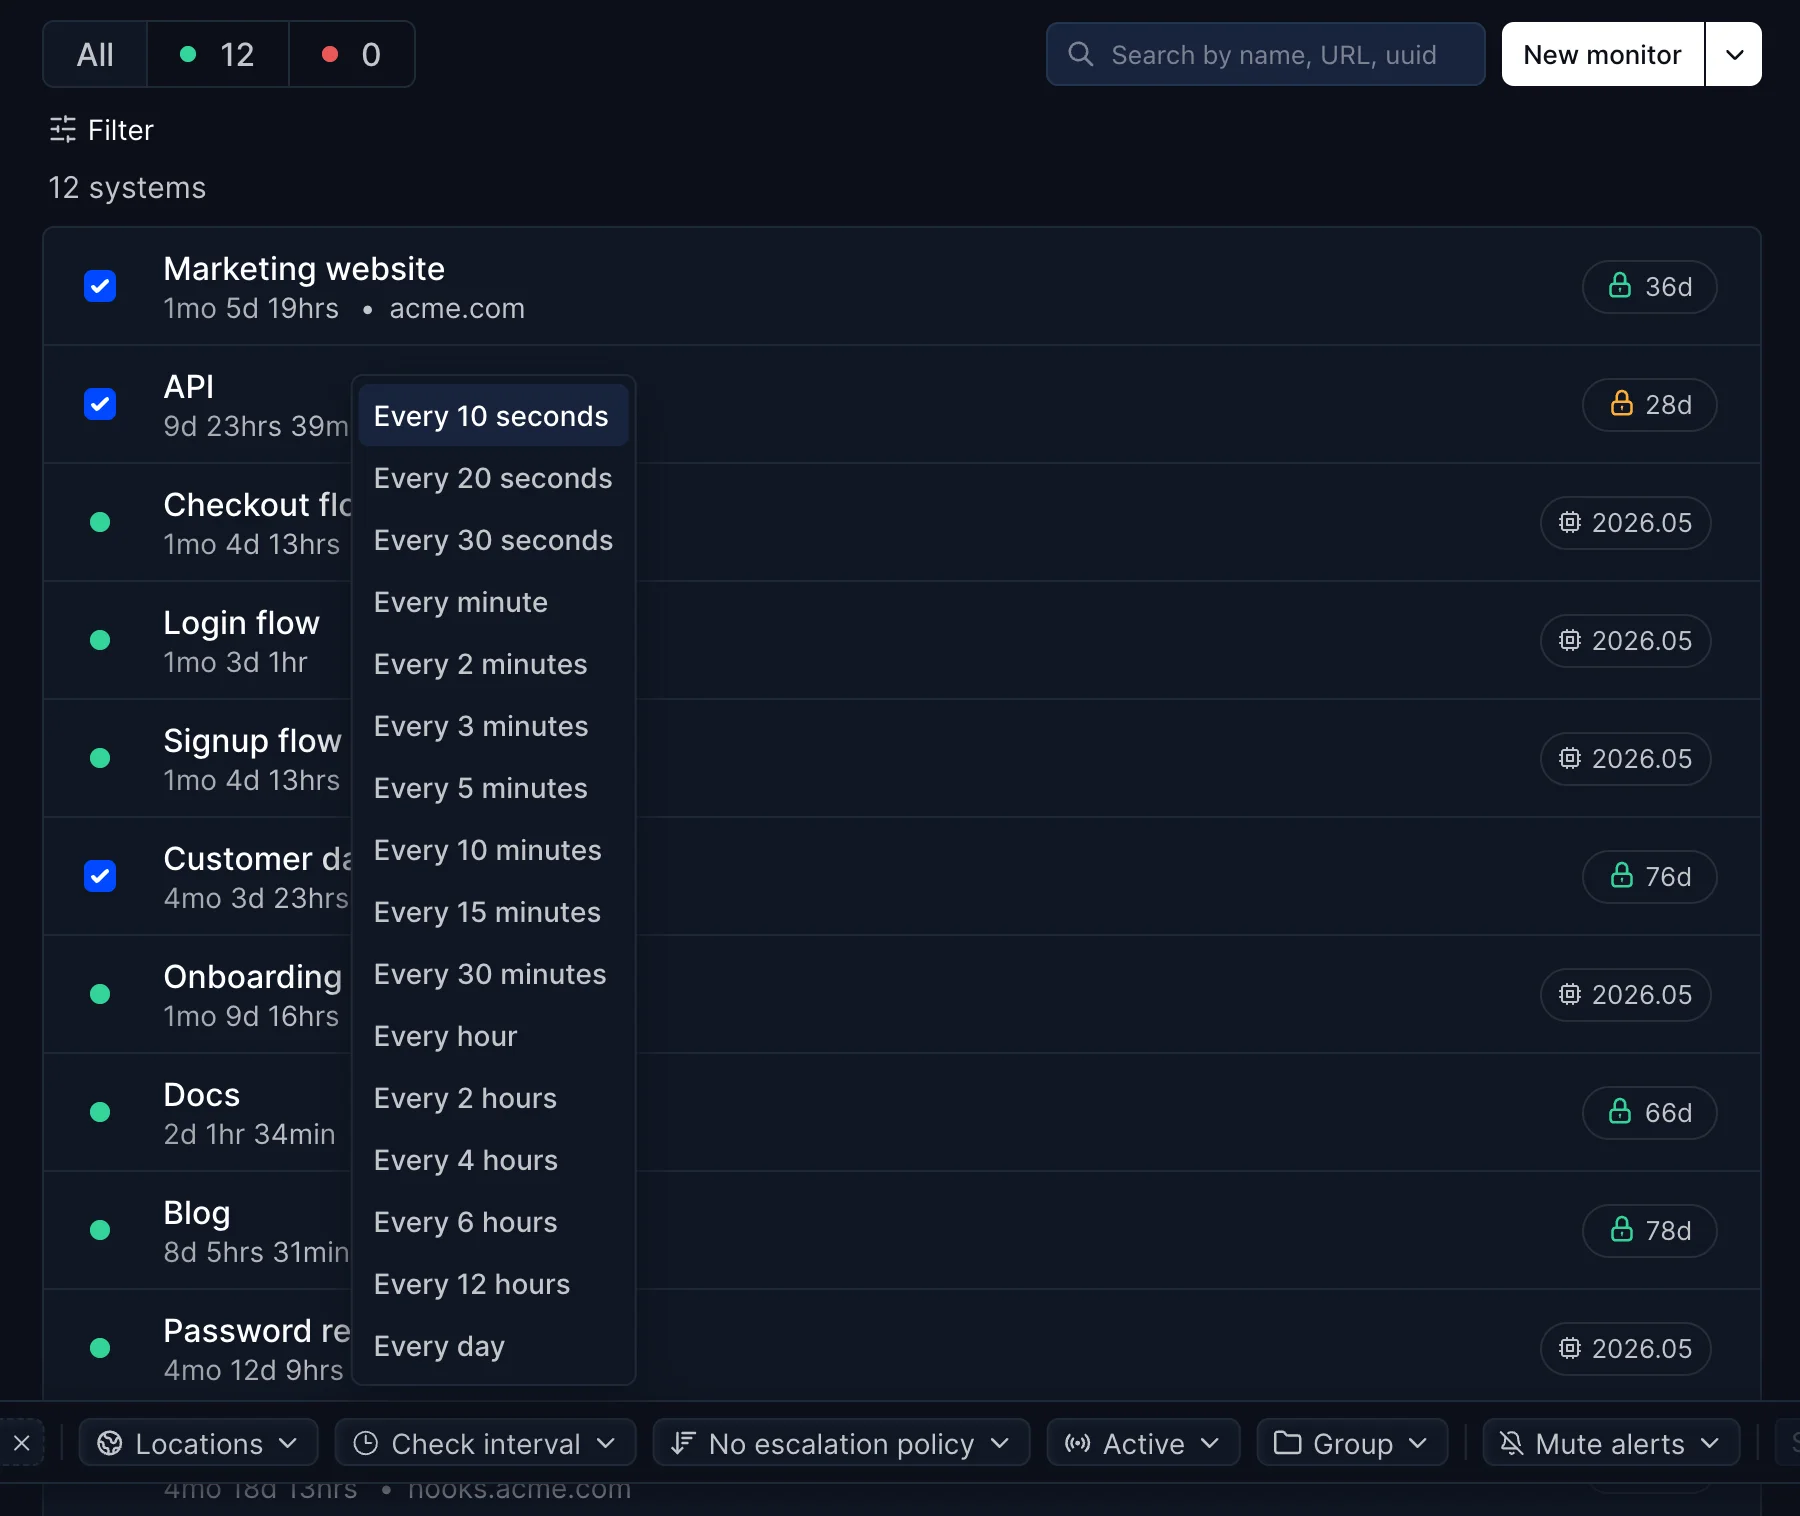
What you can change
| Option | What it does | Notes |
|---|---|---|
| Locations | Replaces the datacenter regions the selected monitors check from. | Multi-select, with Select all. The new list replaces the old one, it is not merged. |
| Check interval | Sets how often each monitor runs, from every 10 seconds to once a day. | Browser checks go from every 5 minutes to every 24 hours. The lowest intervals depend on your plan. |
| Escalation policy | Attaches an escalation policy, or removes it with No escalation policy. | See Escalation policies. |
| Status | Sets the monitors to Active or Paused. | Paused monitors stop checking and stop alerting. To keep checking but stop alerting, use Mute alerts instead. |
| Group | Moves the monitors into a group, or out of any group with No group. | Groups are the folders you see on the Monitors page. |
When every selected monitor already shares the same interval, policy or status, the button shows that value. When they differ, it shows a generic label such as Check interval until you pick one.
Mute alerts on a selection
Mute alerts works differently from the other dropdowns: it applies as soon as you pick a duration, without clicking Save. A mute is a timer, and a timer that only starts on a later click is hard to reason about.
- Choose For 15 minutes, For 1 hour, For 4 hours, Until tomorrow 9am or For 24 hours.
- The monitors keep being checked. Uptime and response times are still recorded, only the notifications stop.
- A mute is project-wide. Nobody on the team gets paged for those monitors until the timer runs out.
- When every monitor in the selection is muted, the button reads Muted and offers Unmute for everyone. It never unmutes a monitor you did not select.
Examples
Rolling out a new on-call rotation. A team creates an escalation policy for its platform squad, filters the Monitors page on the Platform group, selects everything with Shift-click and attaches the policy in one save.
Deploying at lunch. Before shipping a change to the checkout service, an engineer selects the four monitors covering it and mutes alerts for 1 hour. The checks keep running, so they can still watch the response times during the deploy.
Tightening intervals after an upgrade. After moving to a plan with 30-second checks, an admin selects the customer-facing monitors and switches them from every 5 minutes to every 30 seconds, leaving internal tools on their slower cadence.
Troubleshooting
A checkbox does not respond. Your selection already contains the other kind of monitor. Clear it with the × in the toolbar, then start again with monitors of the same type.
Save is disabled. No change is staged yet. Pick a value in at least one dropdown. Muting alerts does not enable Save, because it is applied immediately.
The locations I added replaced the existing ones. This is expected. The Locations dropdown sets the full list of regions for the selected monitors. Tick every region you want, not only the new one.
A monitor was left out of the shift-click range. Shift-click only selects monitors of the same type as your selection. Browser checks in the range are skipped when you started with regular monitors, and the other way round.