Monitor logs
Inspect every check Hyperping performs on a monitor: status code, response time, and the region it ran from. Use logs to see exactly what Hyperping received when an alert looks wrong.
Logs are useful when:
- You need to investigate a false positive and see what Hyperping actually received
- You want to compare response times across different regions
- You are debugging intermittent errors or slow responses
- You need to verify that a fix or deployment resolved an issue
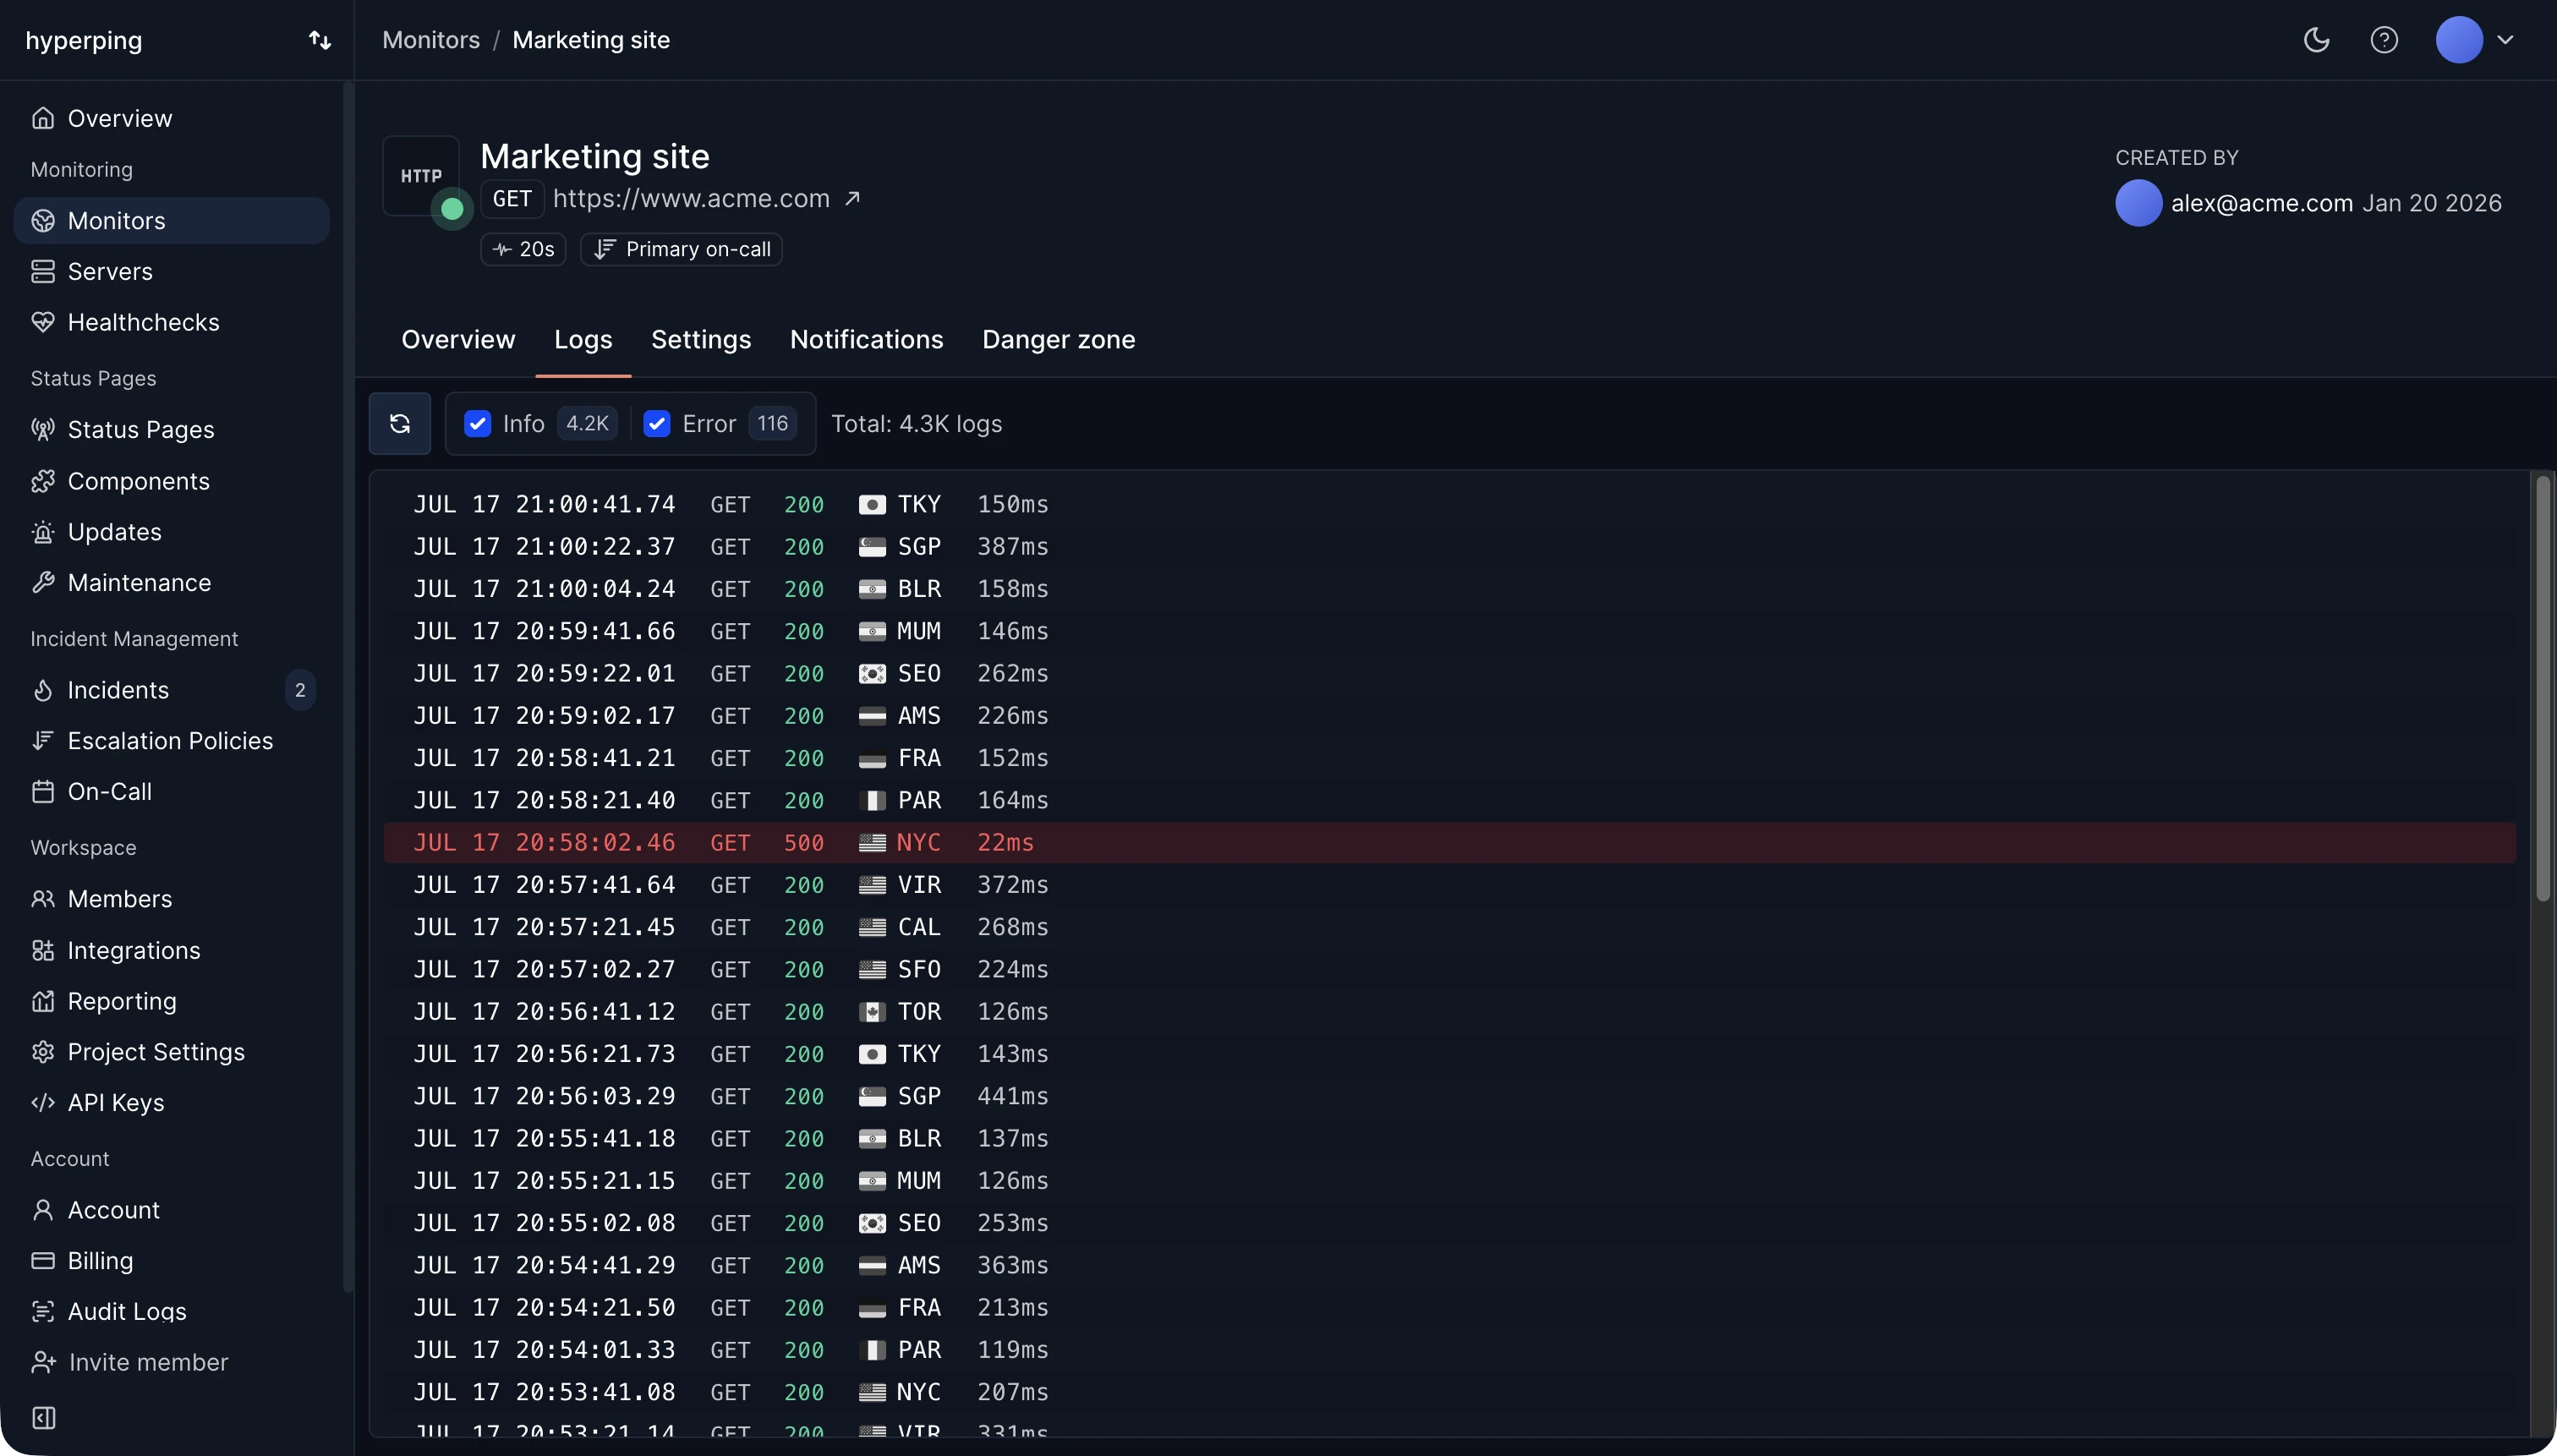
Access logs
- Open a monitor
Open the Hyperping dashboard and click on a monitor.
- Go to the Logs tab
It sits on the monitor's report page, at /logs.
What logs capture
| Field | Description |
|---|---|
| Status code | The HTTP status code returned by the endpoint |
| Response time | Time in milliseconds from request to response |
| Location | The datacenter region that performed the check |
| Method | The HTTP method used for the request |
| Timestamp | When the check was performed |
Use cases
Debug false positives
If a monitor triggered an alert but your service seemed fine, check the logs to see what status code and headers Hyperping received. This often reveals issues like rate limiting, firewall blocks, or CDN errors that only affect external checks. See false positives for the common causes and their fixes.
Verify monitor behavior
After changing a monitor's configuration (expected status code, regions, or assertions), use logs to confirm the checks are returning what you expect.
Track regional performance
Compare response times across different regions to identify latency issues. If checks from one region consistently show higher response times, it could indicate a routing or infrastructure problem in that area.
Troubleshooting
Logs show a different status code than expected
Your endpoint may be returning redirects (301/302) or your server could be rate limiting Hyperping's requests. Check the response headers for Location or rate limit headers.
Response times vary widely between regions
This is normal if your server is located in a specific region. Checks from nearby datacenters will be faster. Consider adjusting your selected regions to match where your users are.
I do not see logs for a monitor
Logs are generated with each check. If the monitor was just created, wait for the first check interval to pass. If the monitor is paused, no new logs will be generated.