Teams
Get up and down alerts in your Microsoft Teams channels. The integration relies on a Power Automate flow that receives Hyperping's webhook and posts a card in the channel you choose.
How to Set Up Your MS Teams Integration
On Power Automate
- Open Power Automate
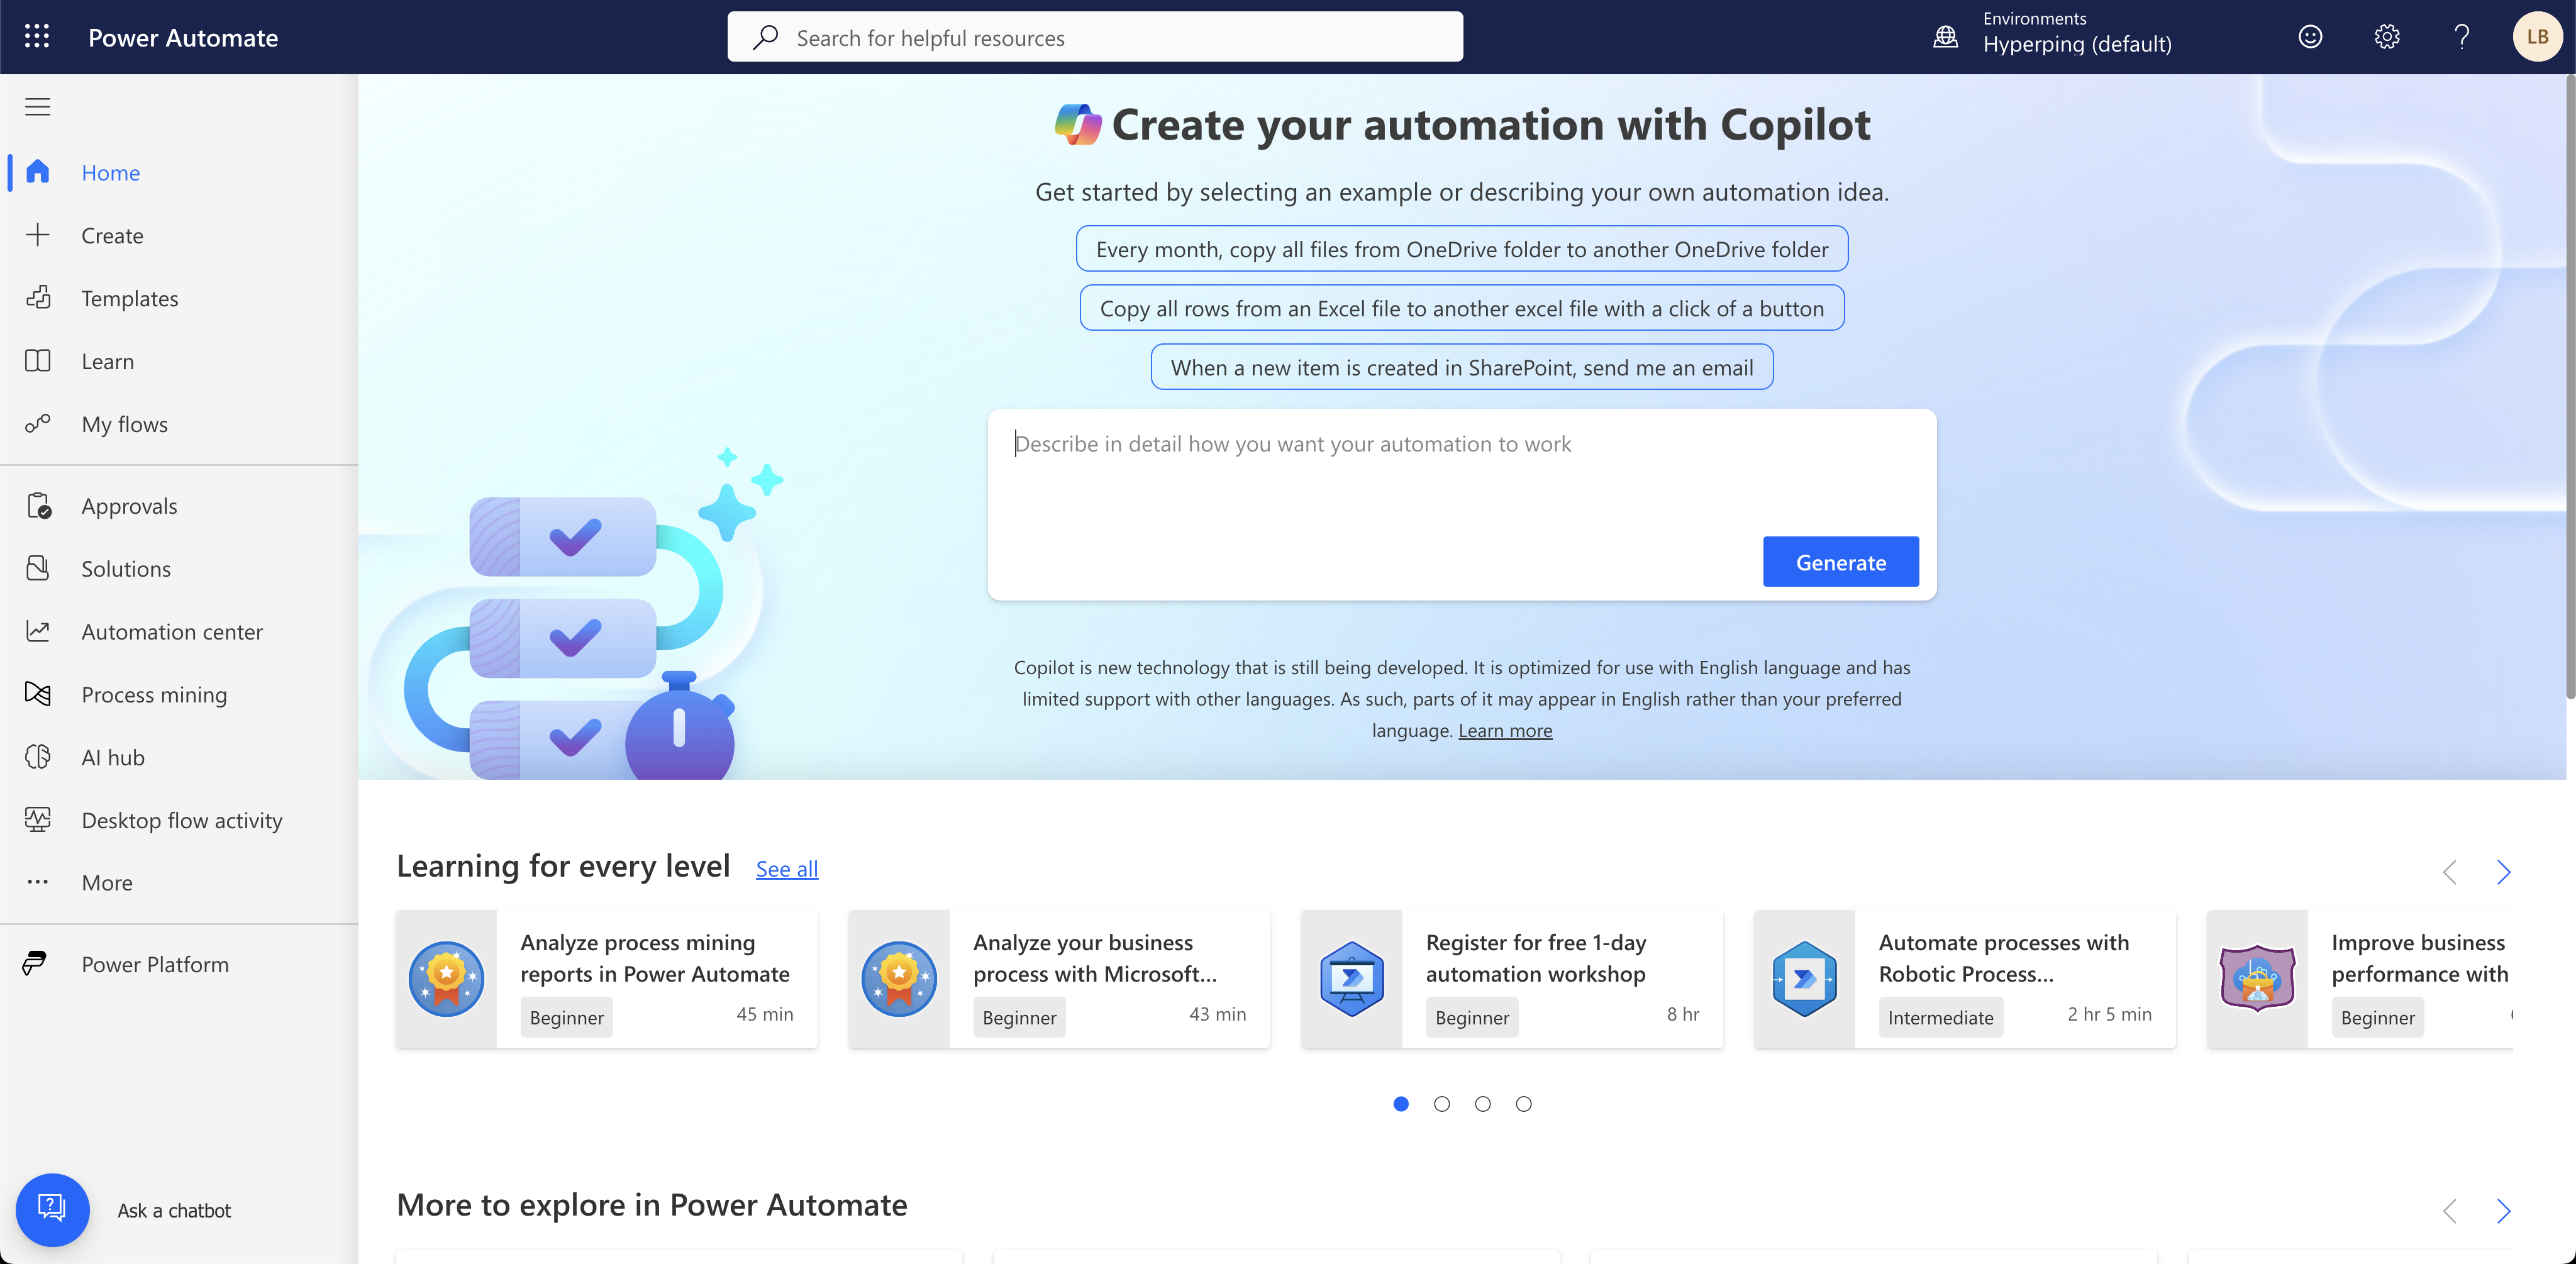
Head over to Power Automate.
- Create a new flow
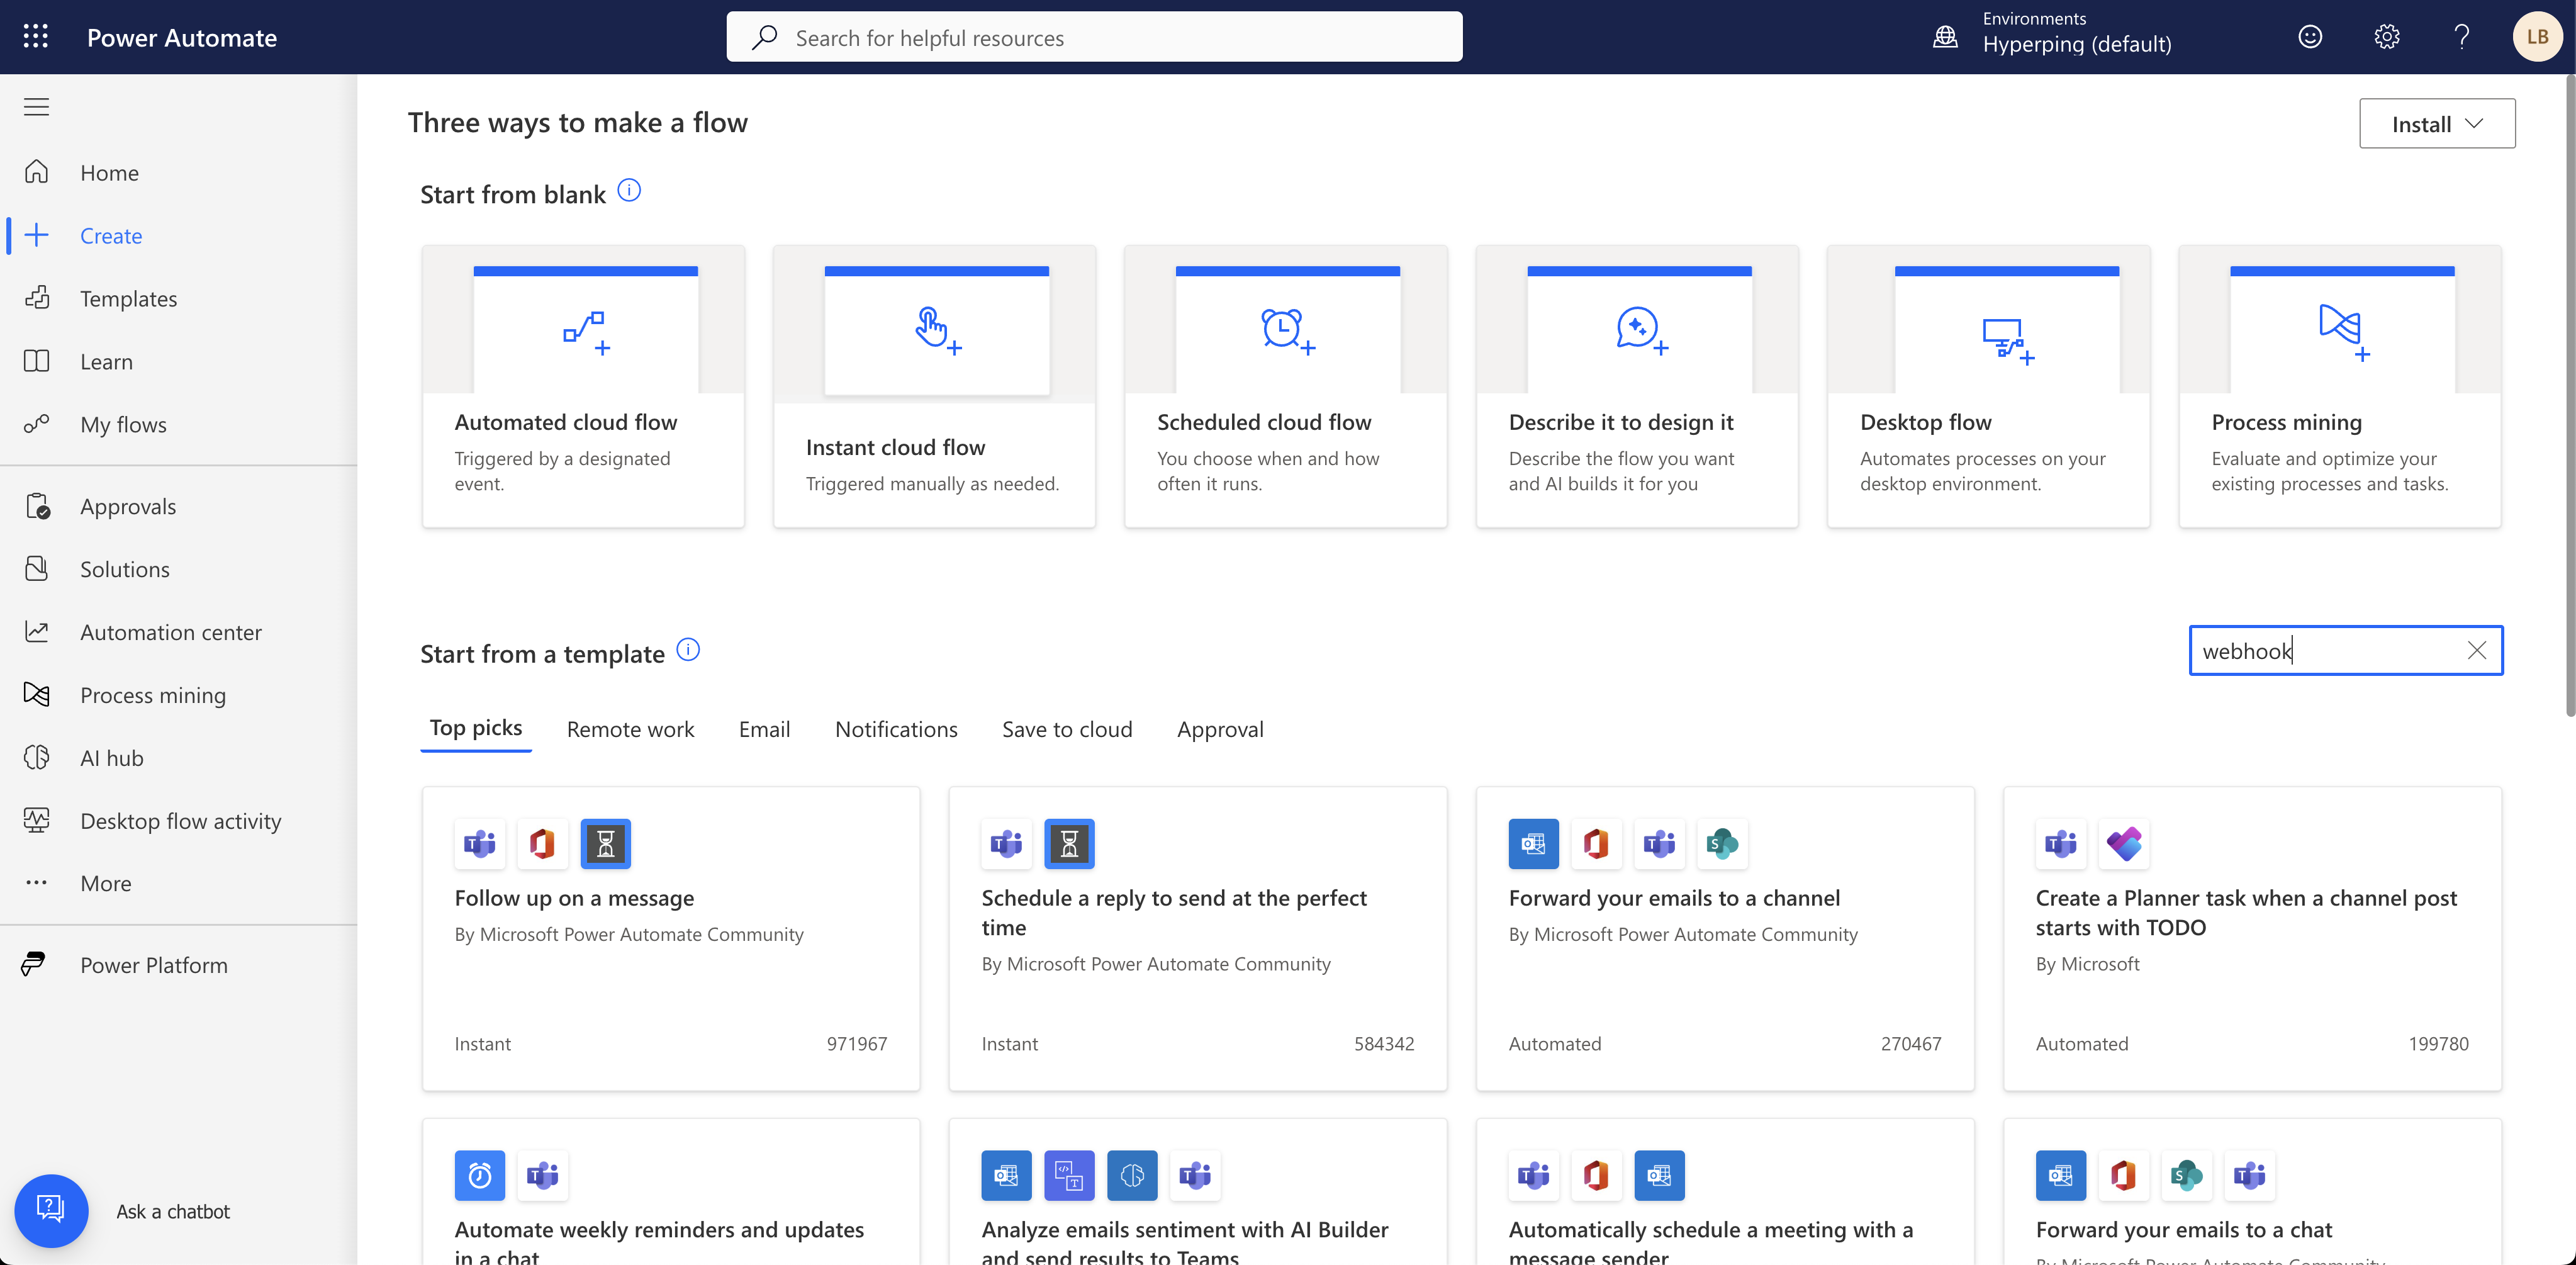
On the left sidebar, select the "Create" option.
- Search for the webhook template
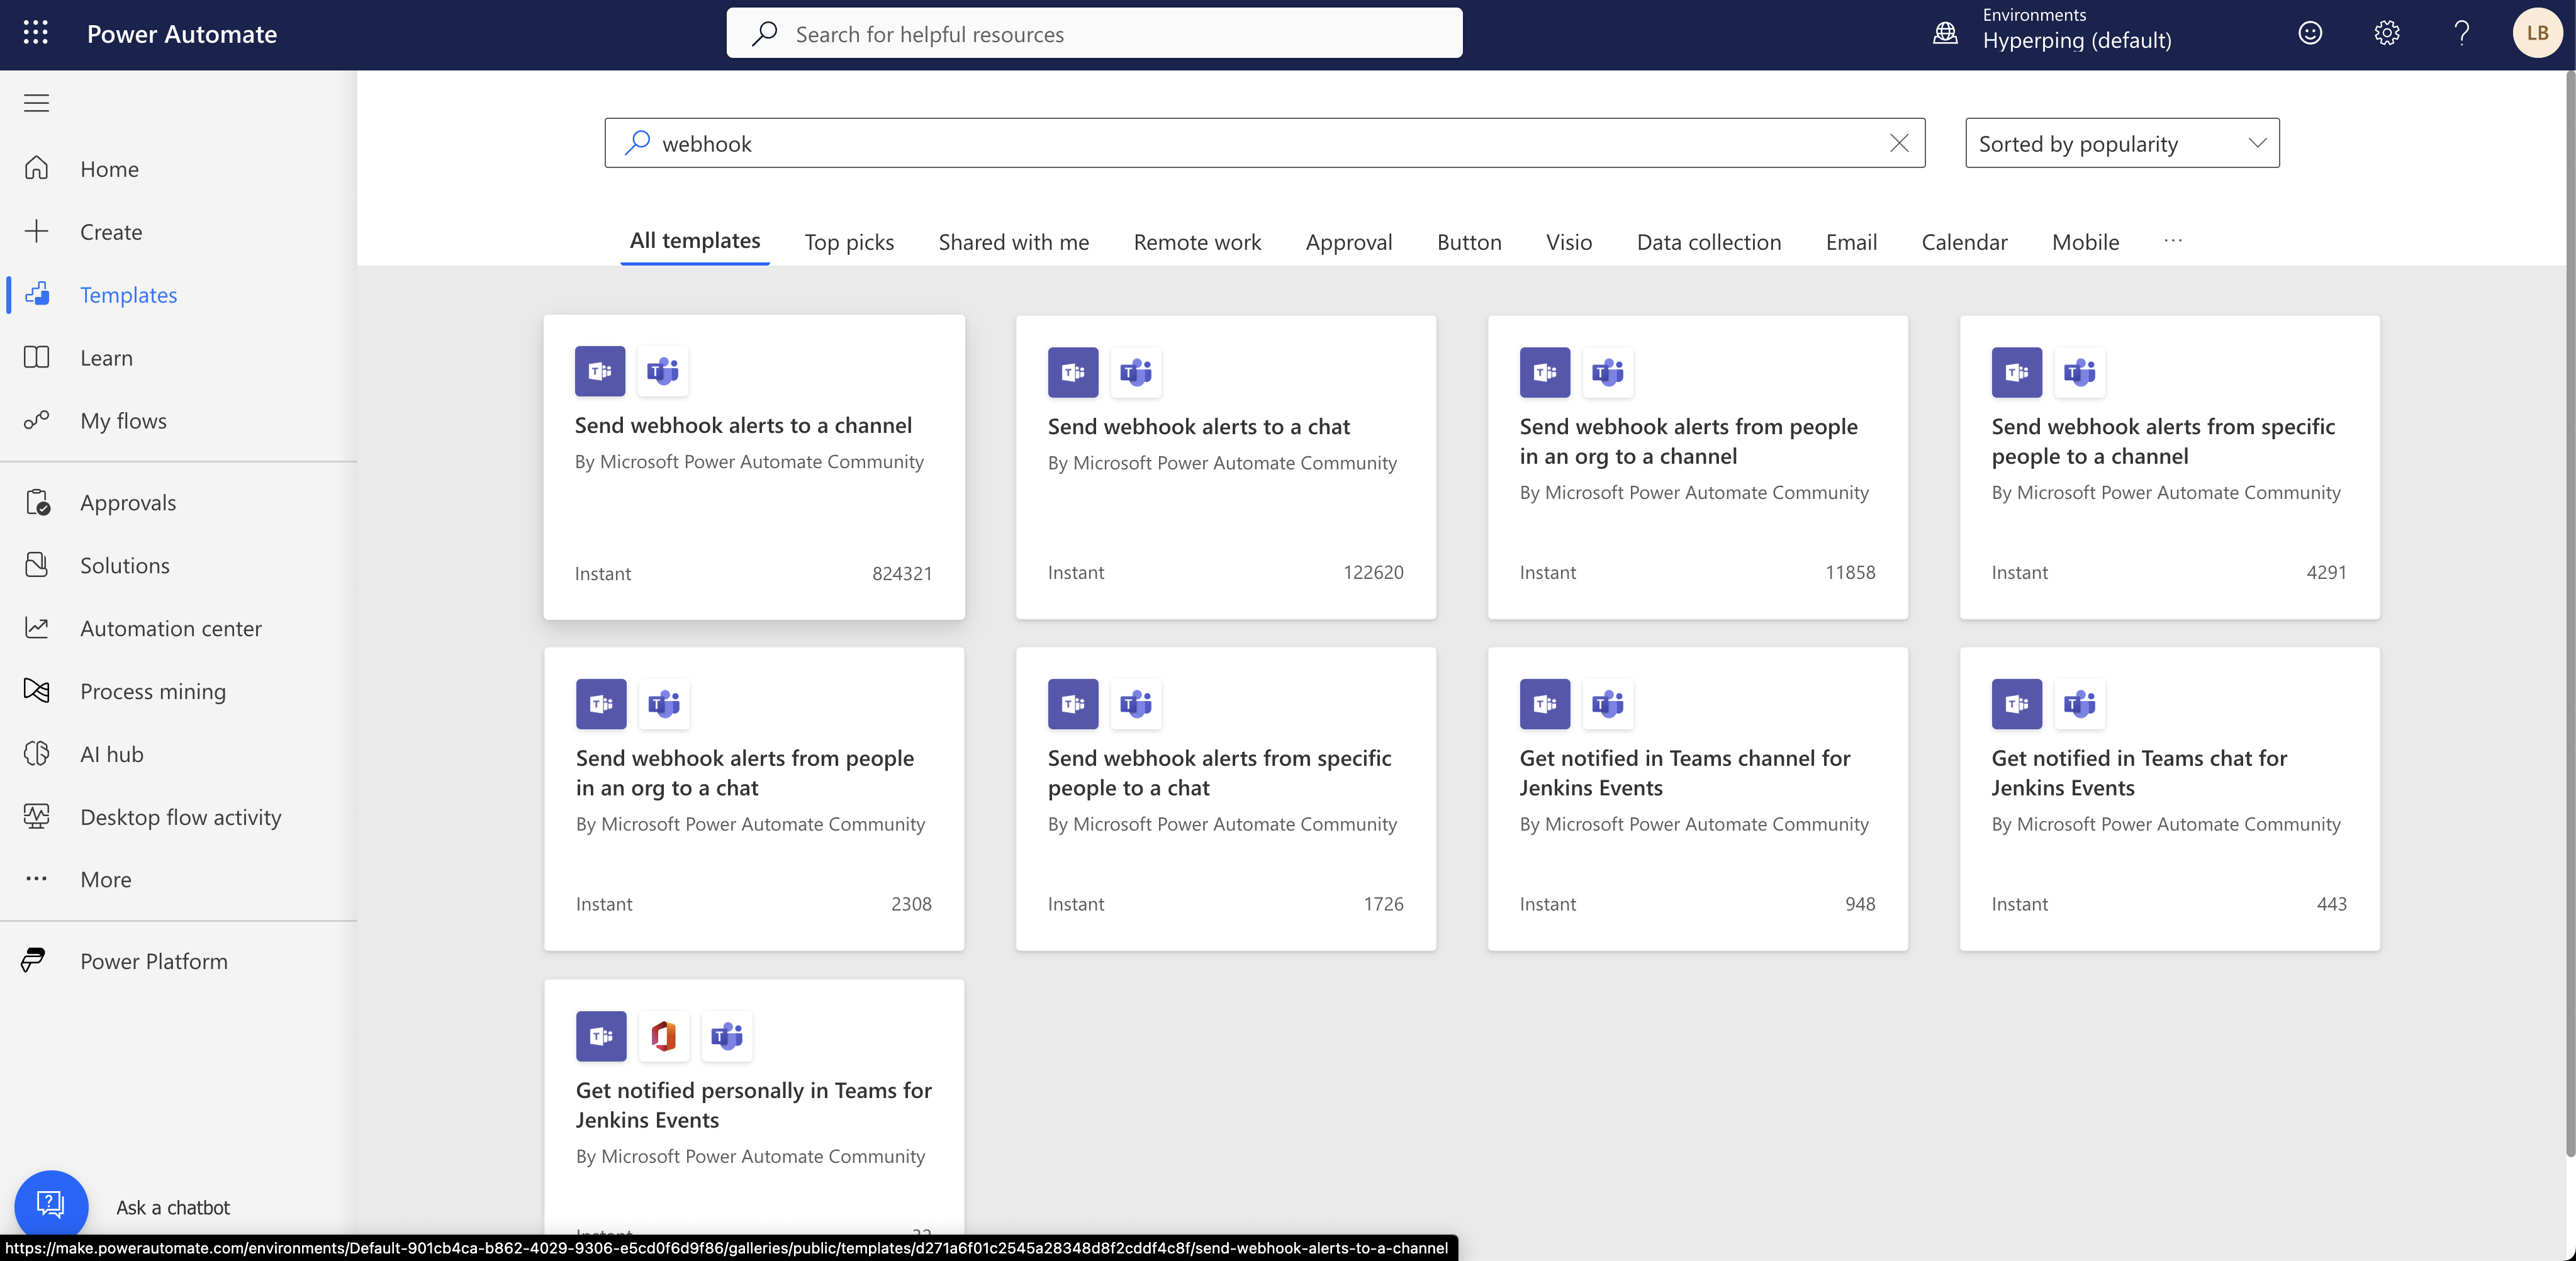
In the search bar, type "webhook" and hit enter.
- Pick the alerts template
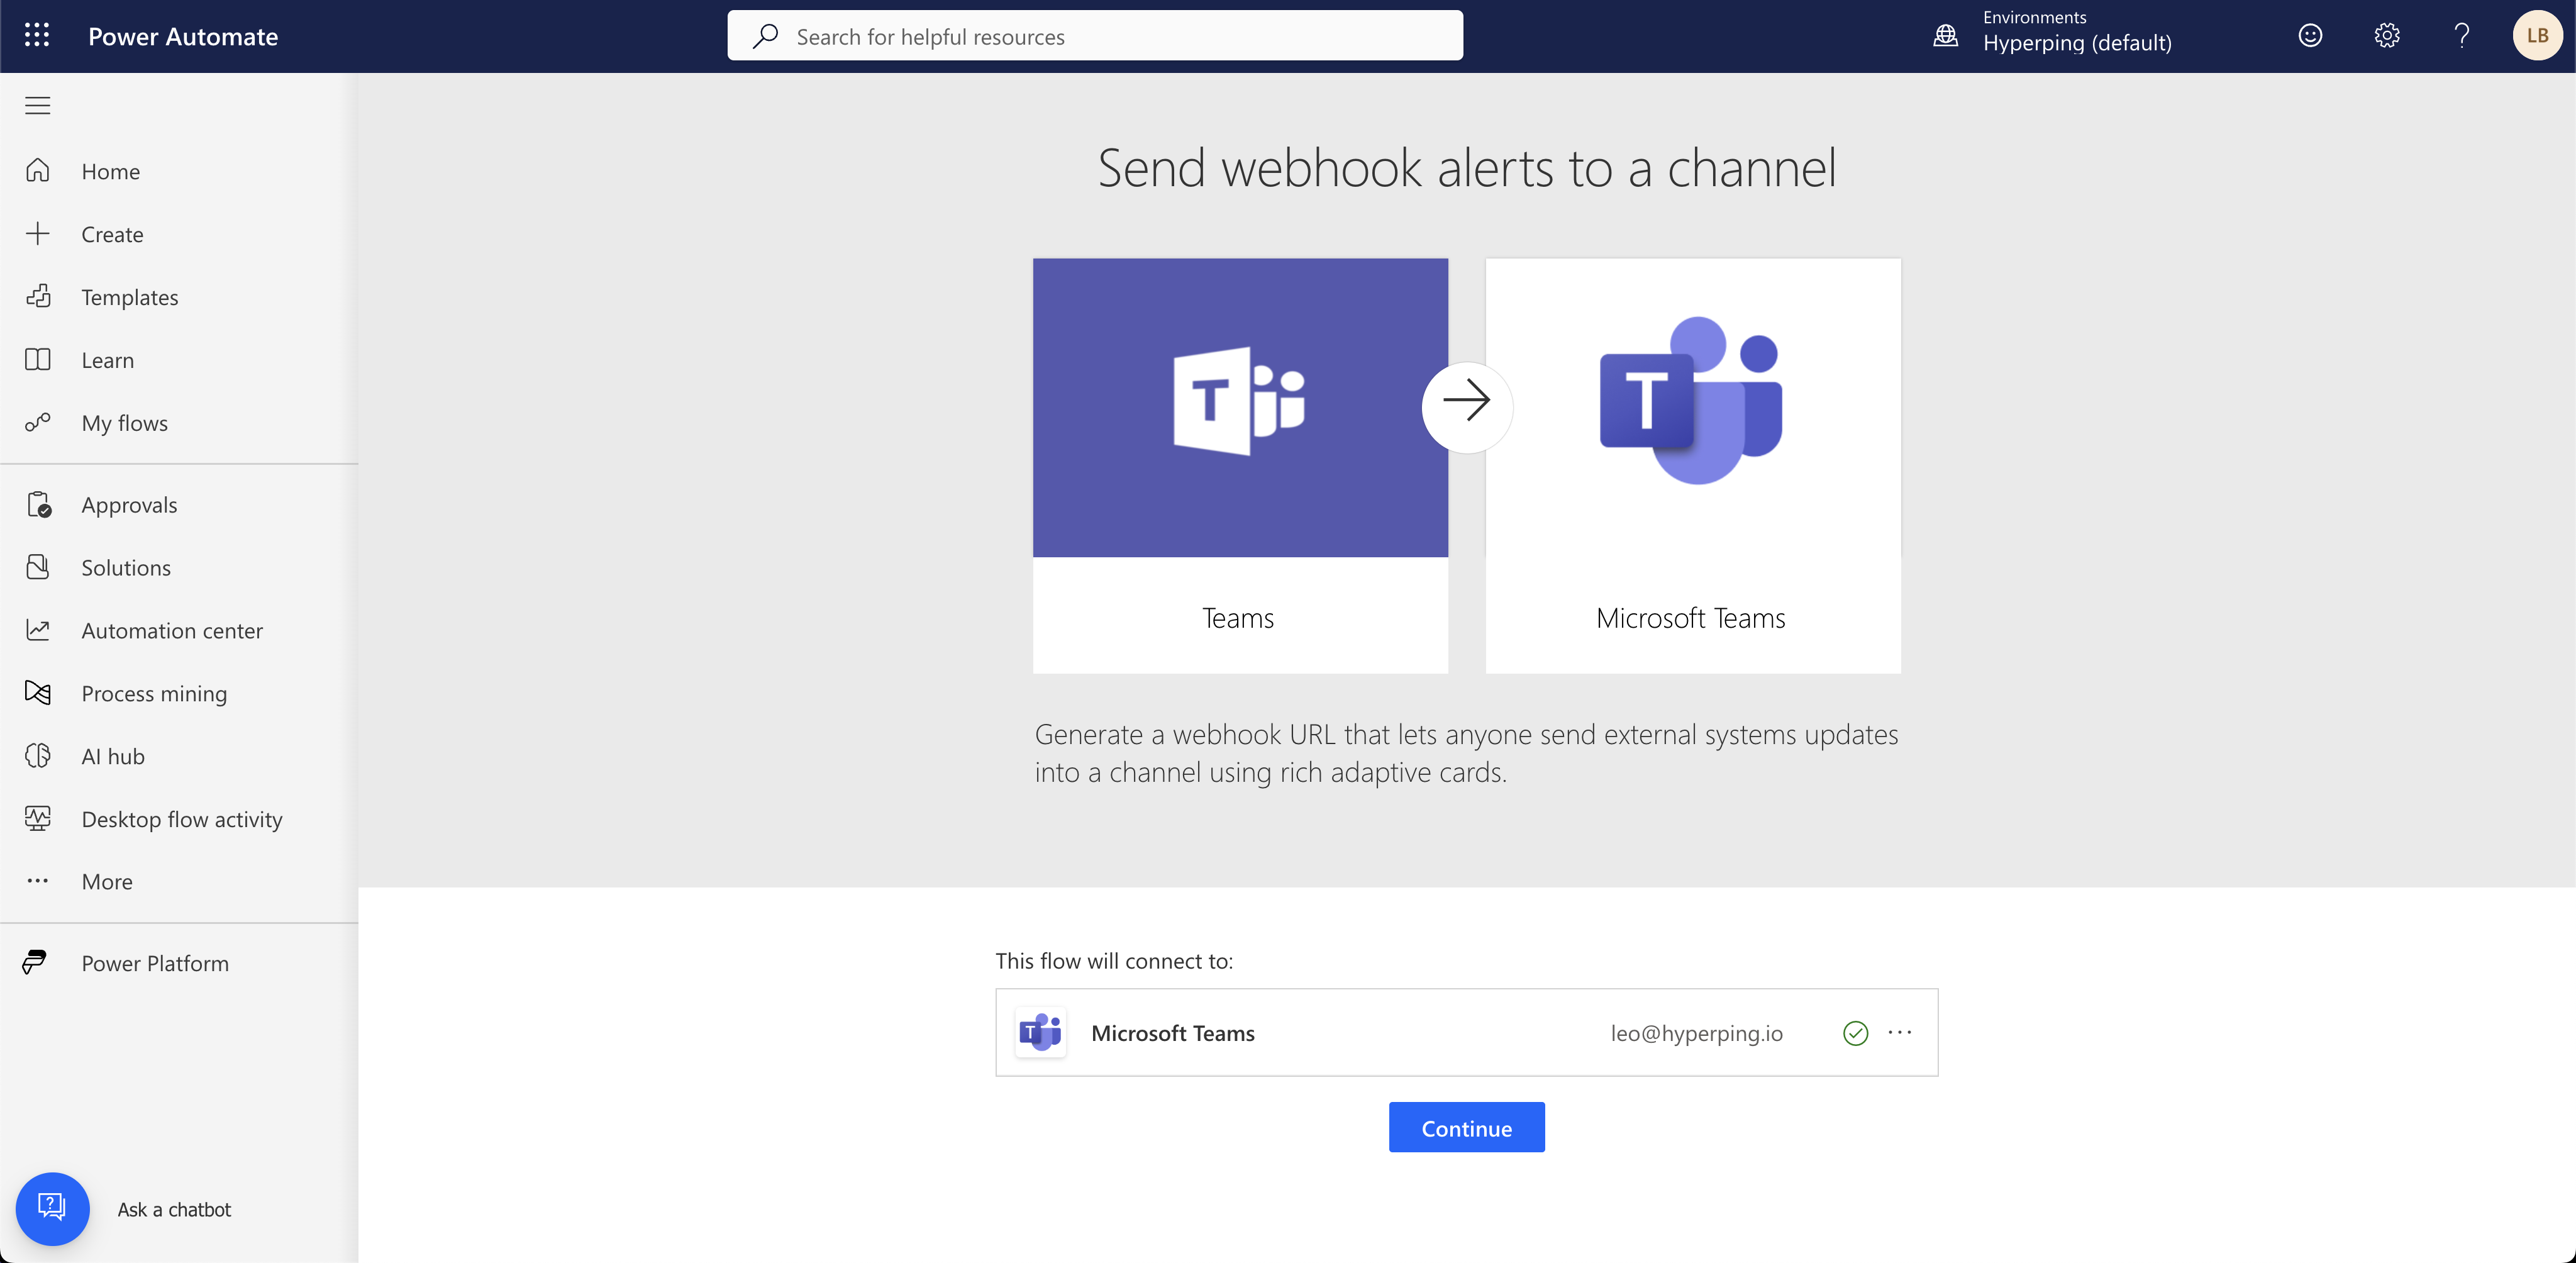
Choose the option "Send webhook alerts to a channel".
- Continue
Click the "Continue" button to proceed.
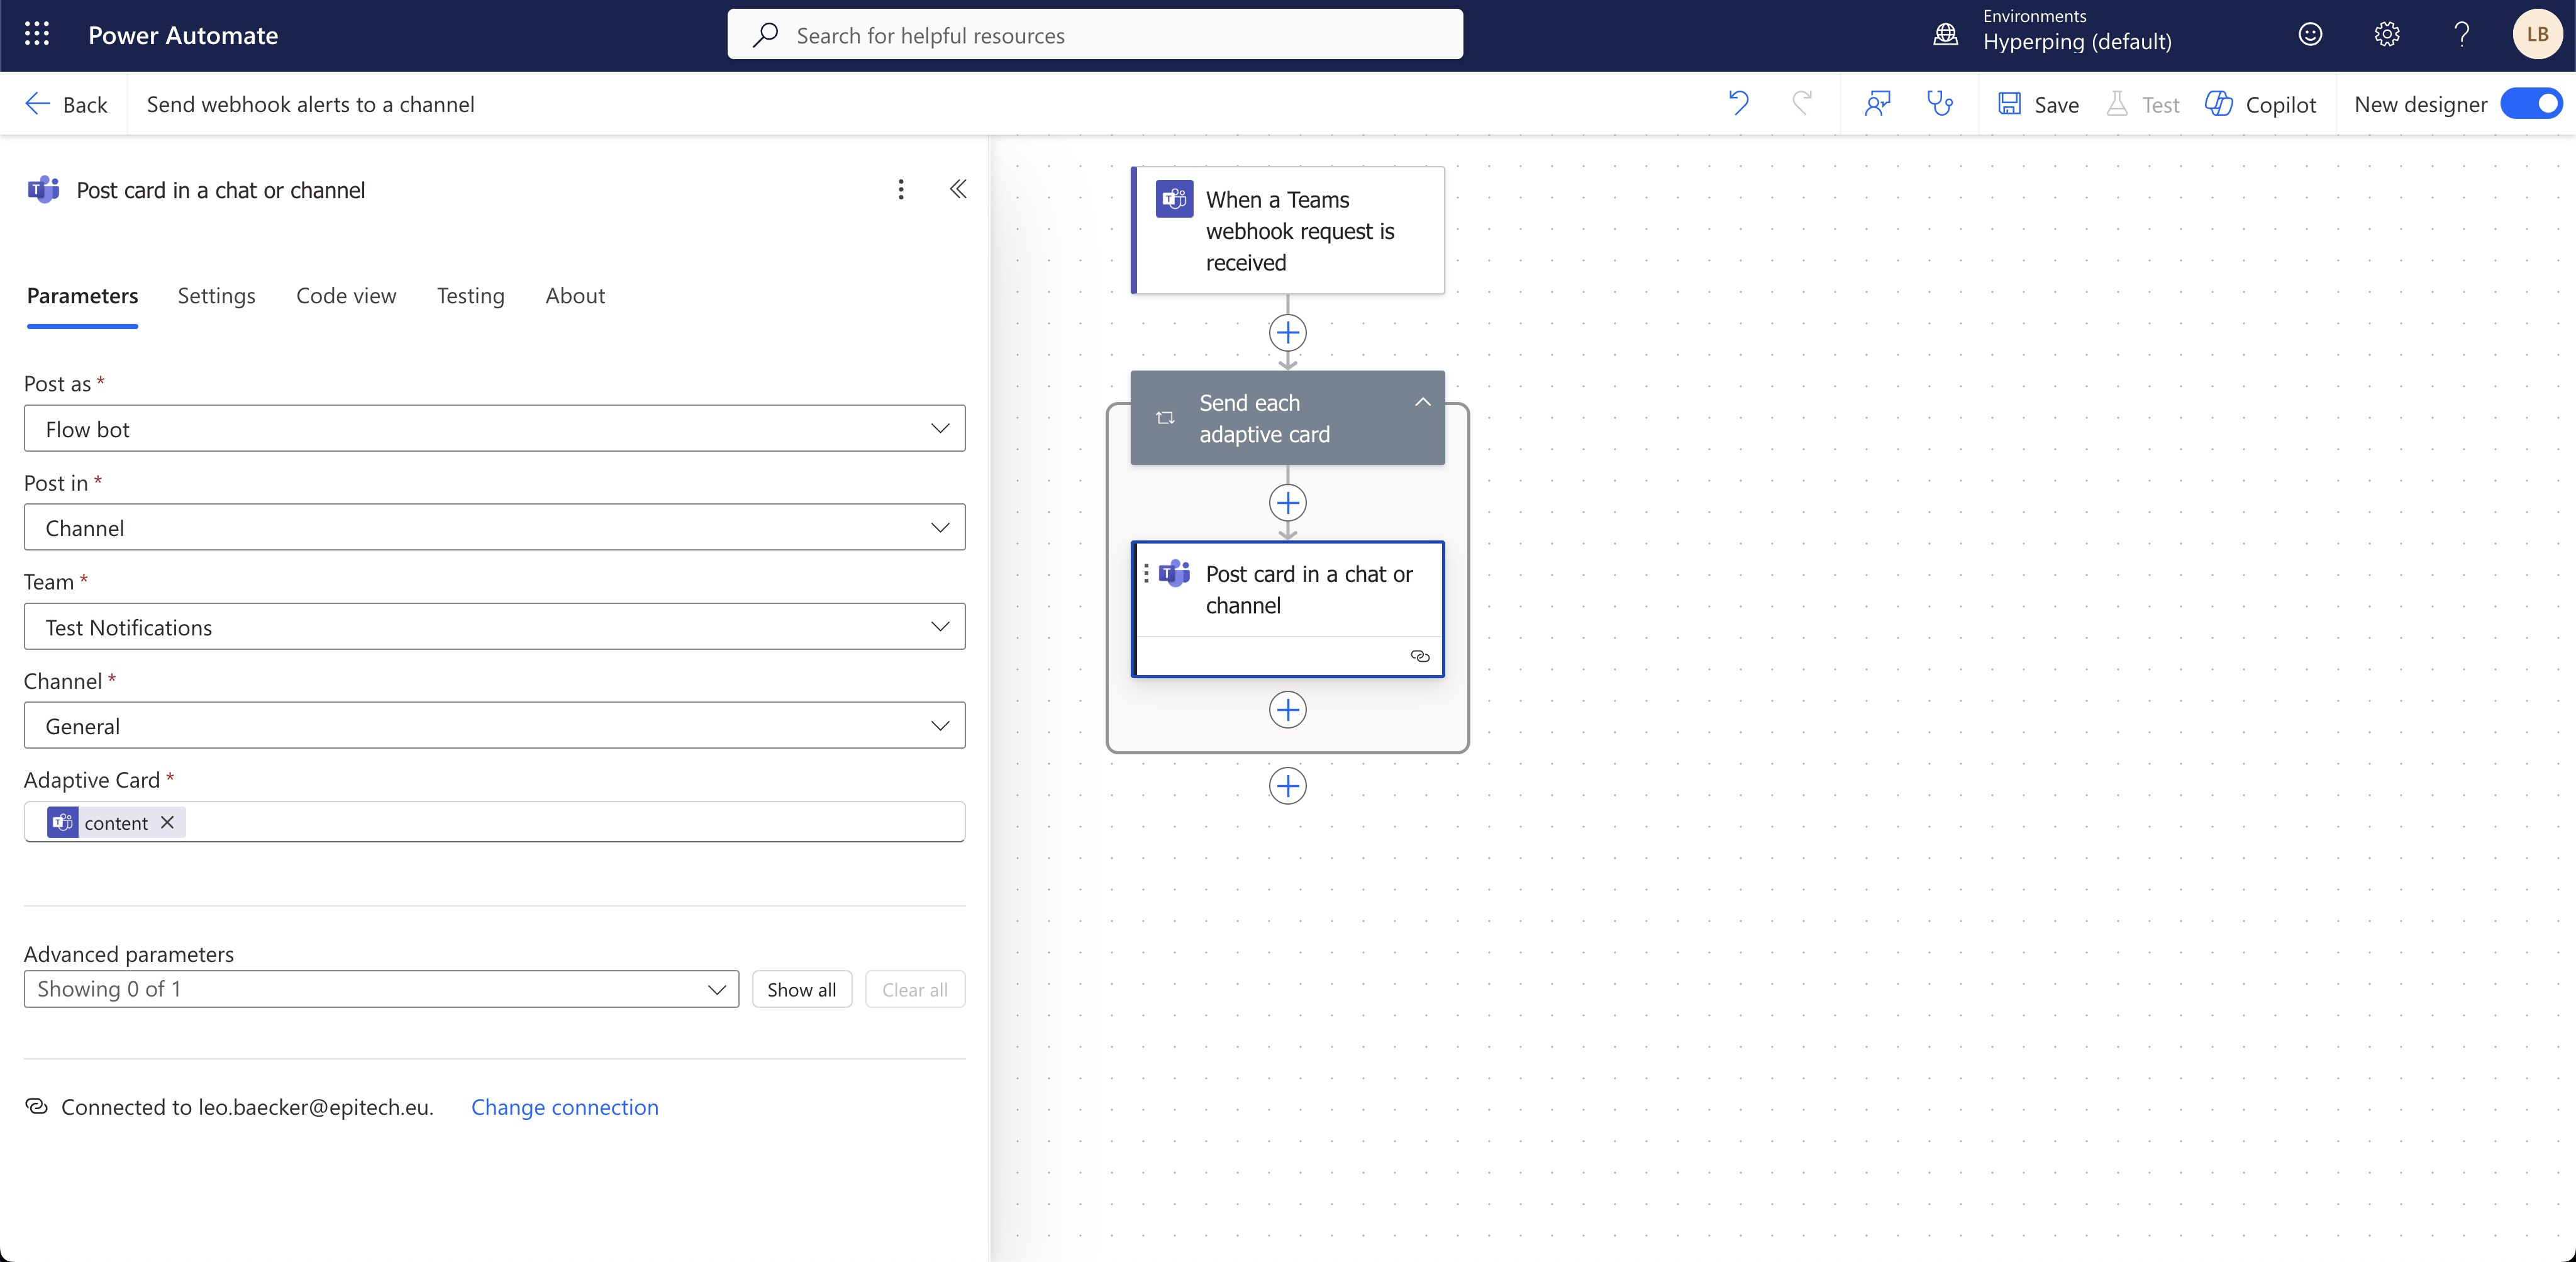
- Configure your team and channel
You must click inside the workflow in the inner box labeled "Post card in a chat or channel" to open the left configuration pane. Make sure to choose the correct Team* and Channel* where you want to send the notifications, then hit Save.
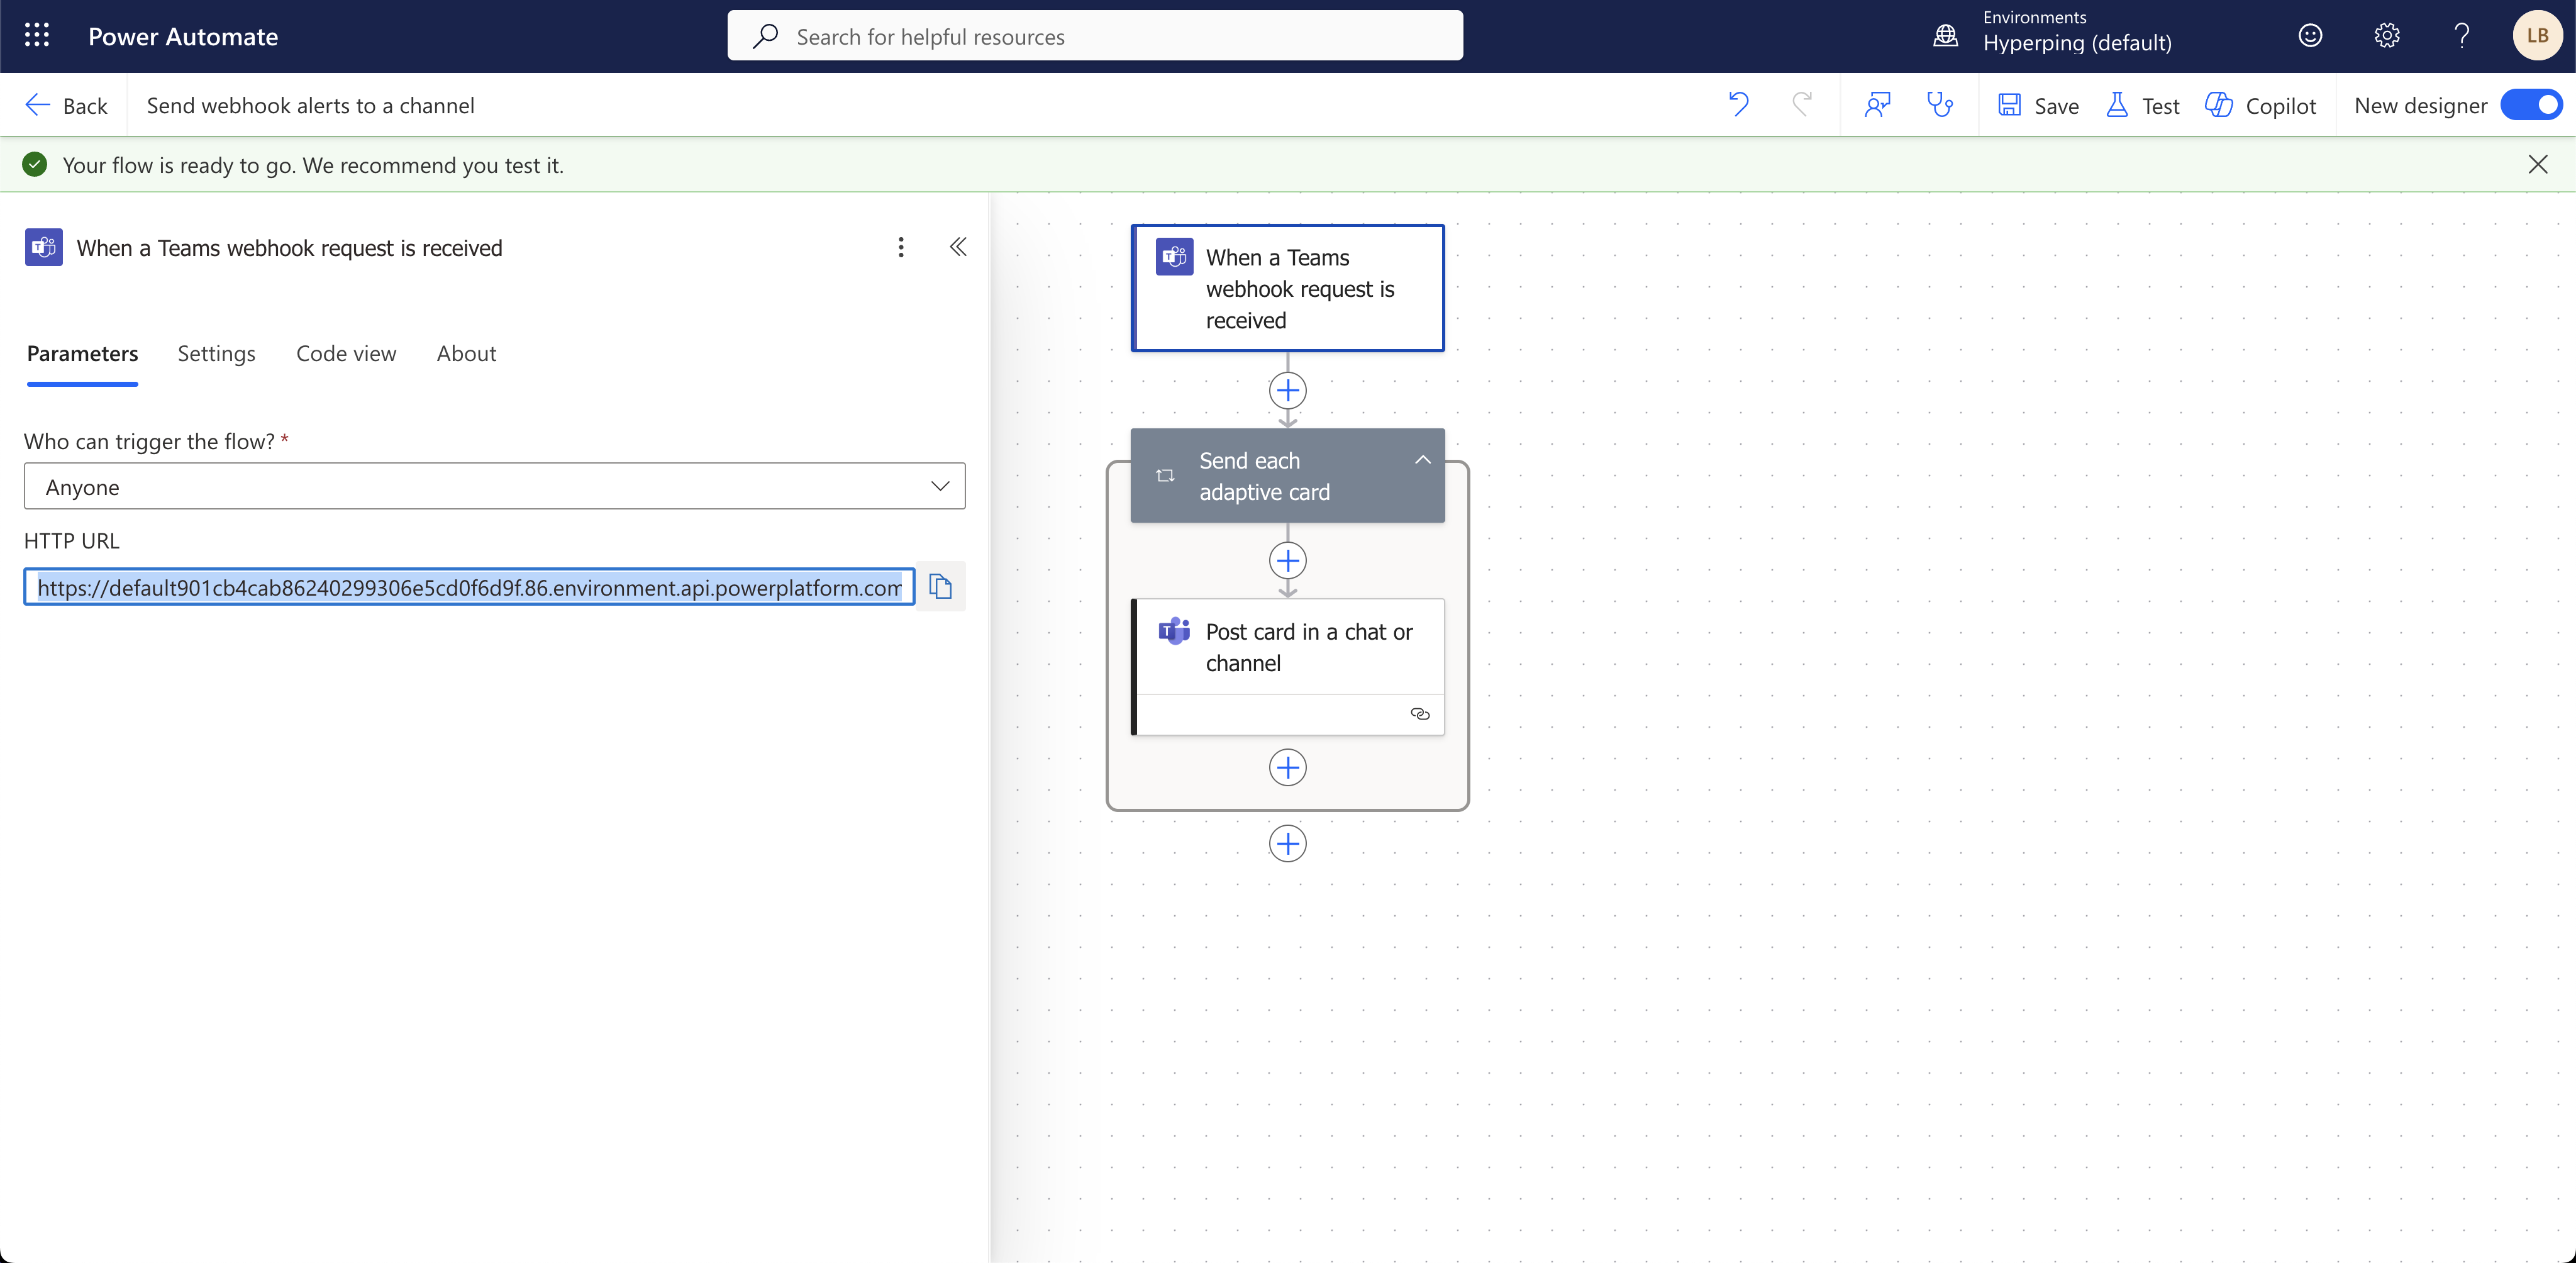
- Copy your webhook URL
Click on the top box labeled "When a Teams webhook request is received" to open the left pane, then copy the generated webhook URL from the flow configuration.
On Hyperping
- Open the Integrations page
Head over to Hyperping and log into your dashboard. Navigate to your Integrations page and click on Teams to add a new integration.
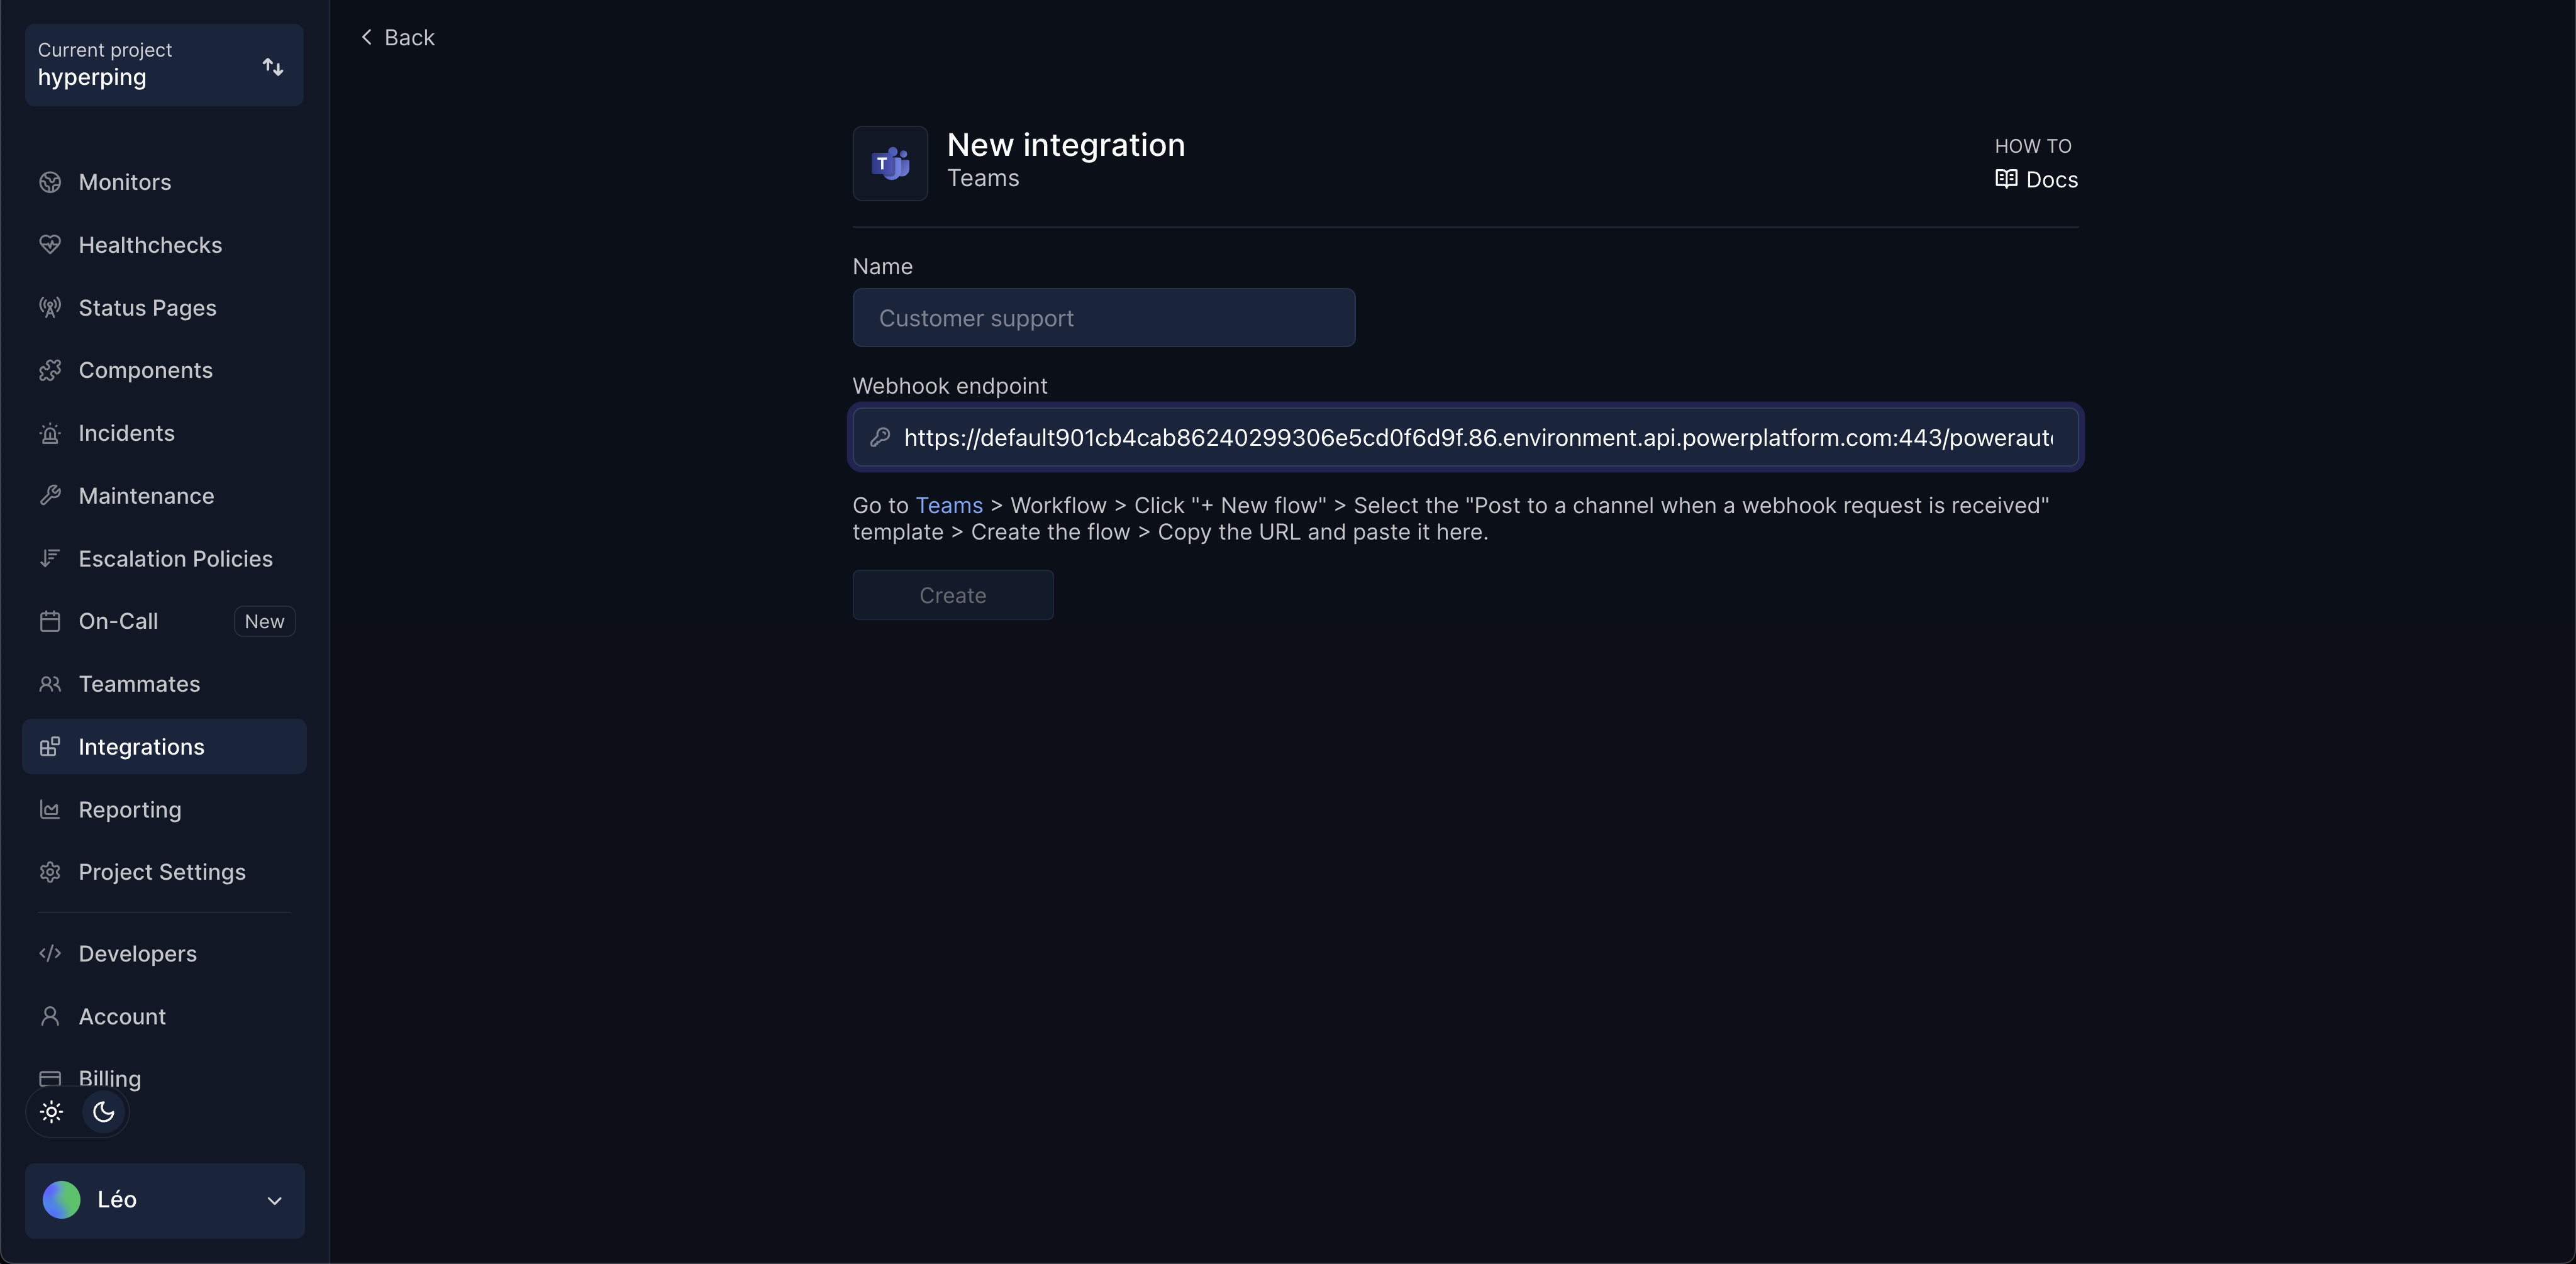
- Name it and paste the webhook URL
Give it a name and paste the webhook URL, then hit Create. You're all set!