How to create a status page
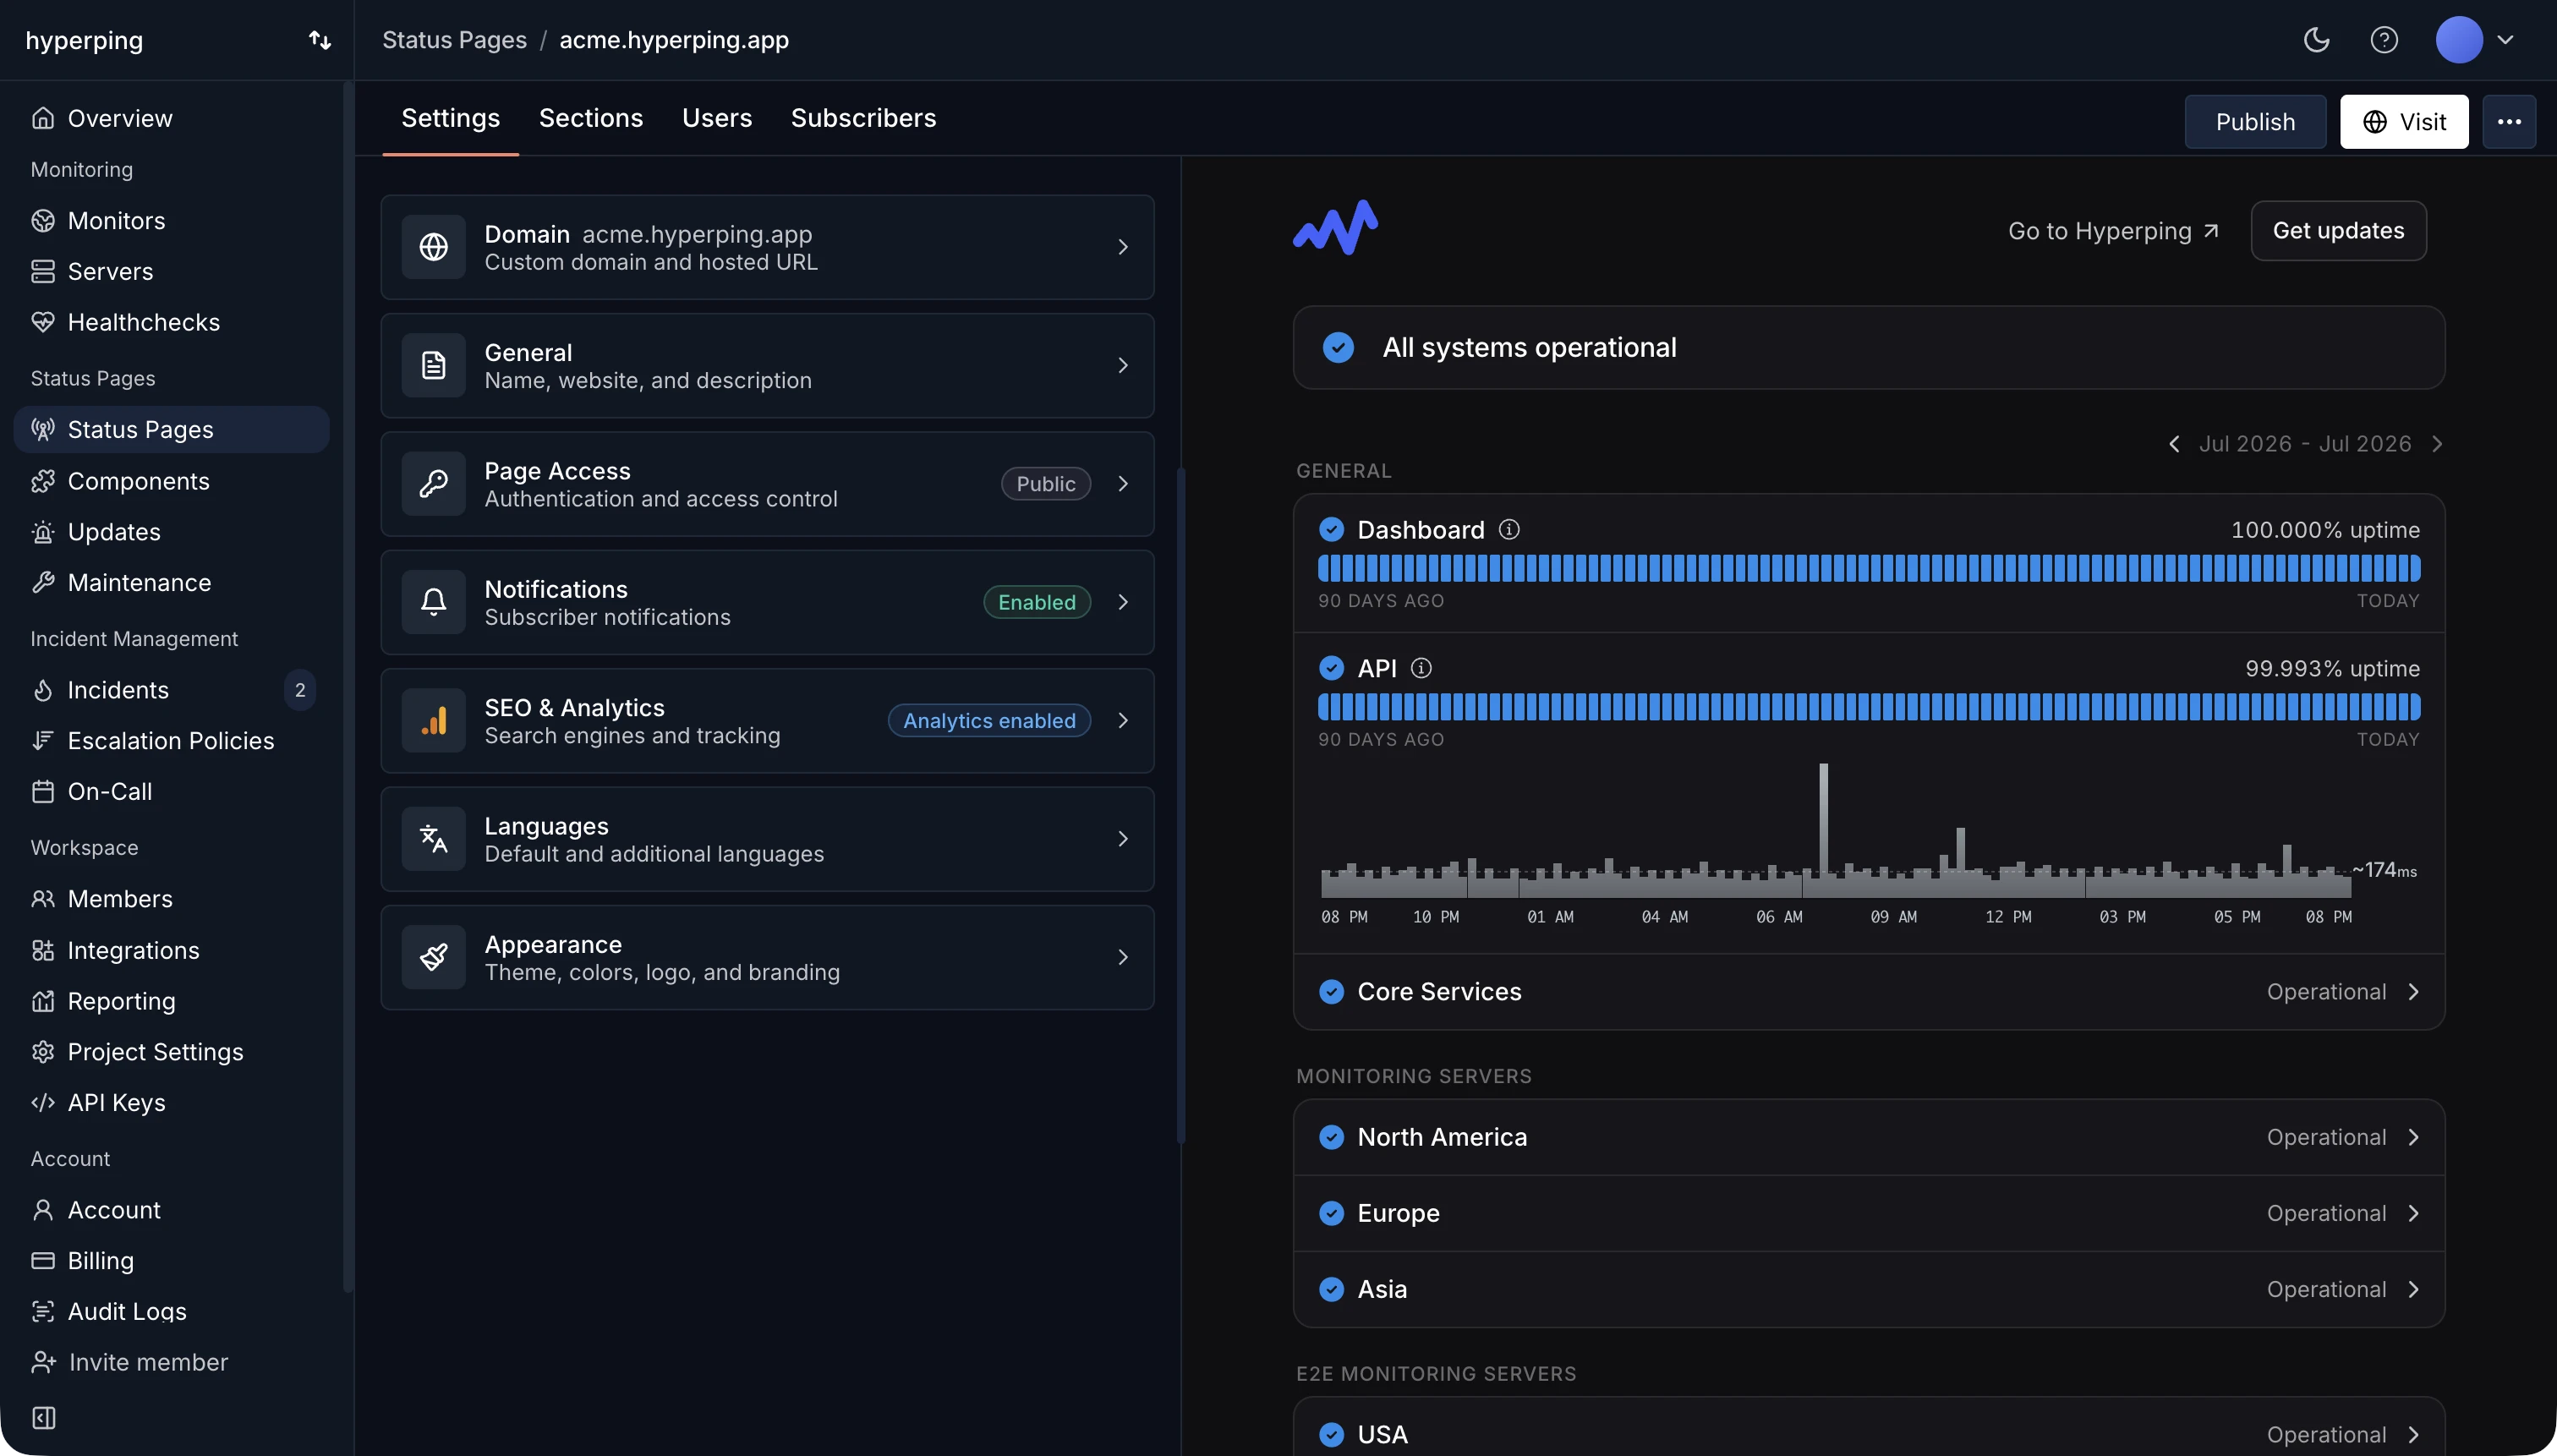
Build your status page with the status page builder. Every setting is covered below, from domains and access control to branding.
The editor consists of 3 sections (tabs):
- Settings: edit the settings, such as your status page's name or custom domain.
- Sections: add services from your monitors, show uptime and/or response time graphs.
- Subscribers: manage your subscribers.
1. Settings
Custom domain
You can use your own subdomain to host your status page.
Create a CNAME record with a status value, pointing to cname.hyperping.io.
Hyperping-hosted slug
We offer the ability to quickly host your status page on our own YOUR_NAME.hyperping.app domain. While DNS propagation of a custom domain can take up to 24 hours, this instantly gives you a URL you can share with your team or use for a demo, for example.
Name
The name to be used in the status page's header link: "Go to Acme".
Website
The website the link in the status page will head to.
Status page description
Display a small informative text explaining what this page is about. It will be shown underneath the top-level status.
Subscriber notifications
Select which channels your status page visitors can subscribe to whenever you publish an incident.
You can enable up to 4 channels:
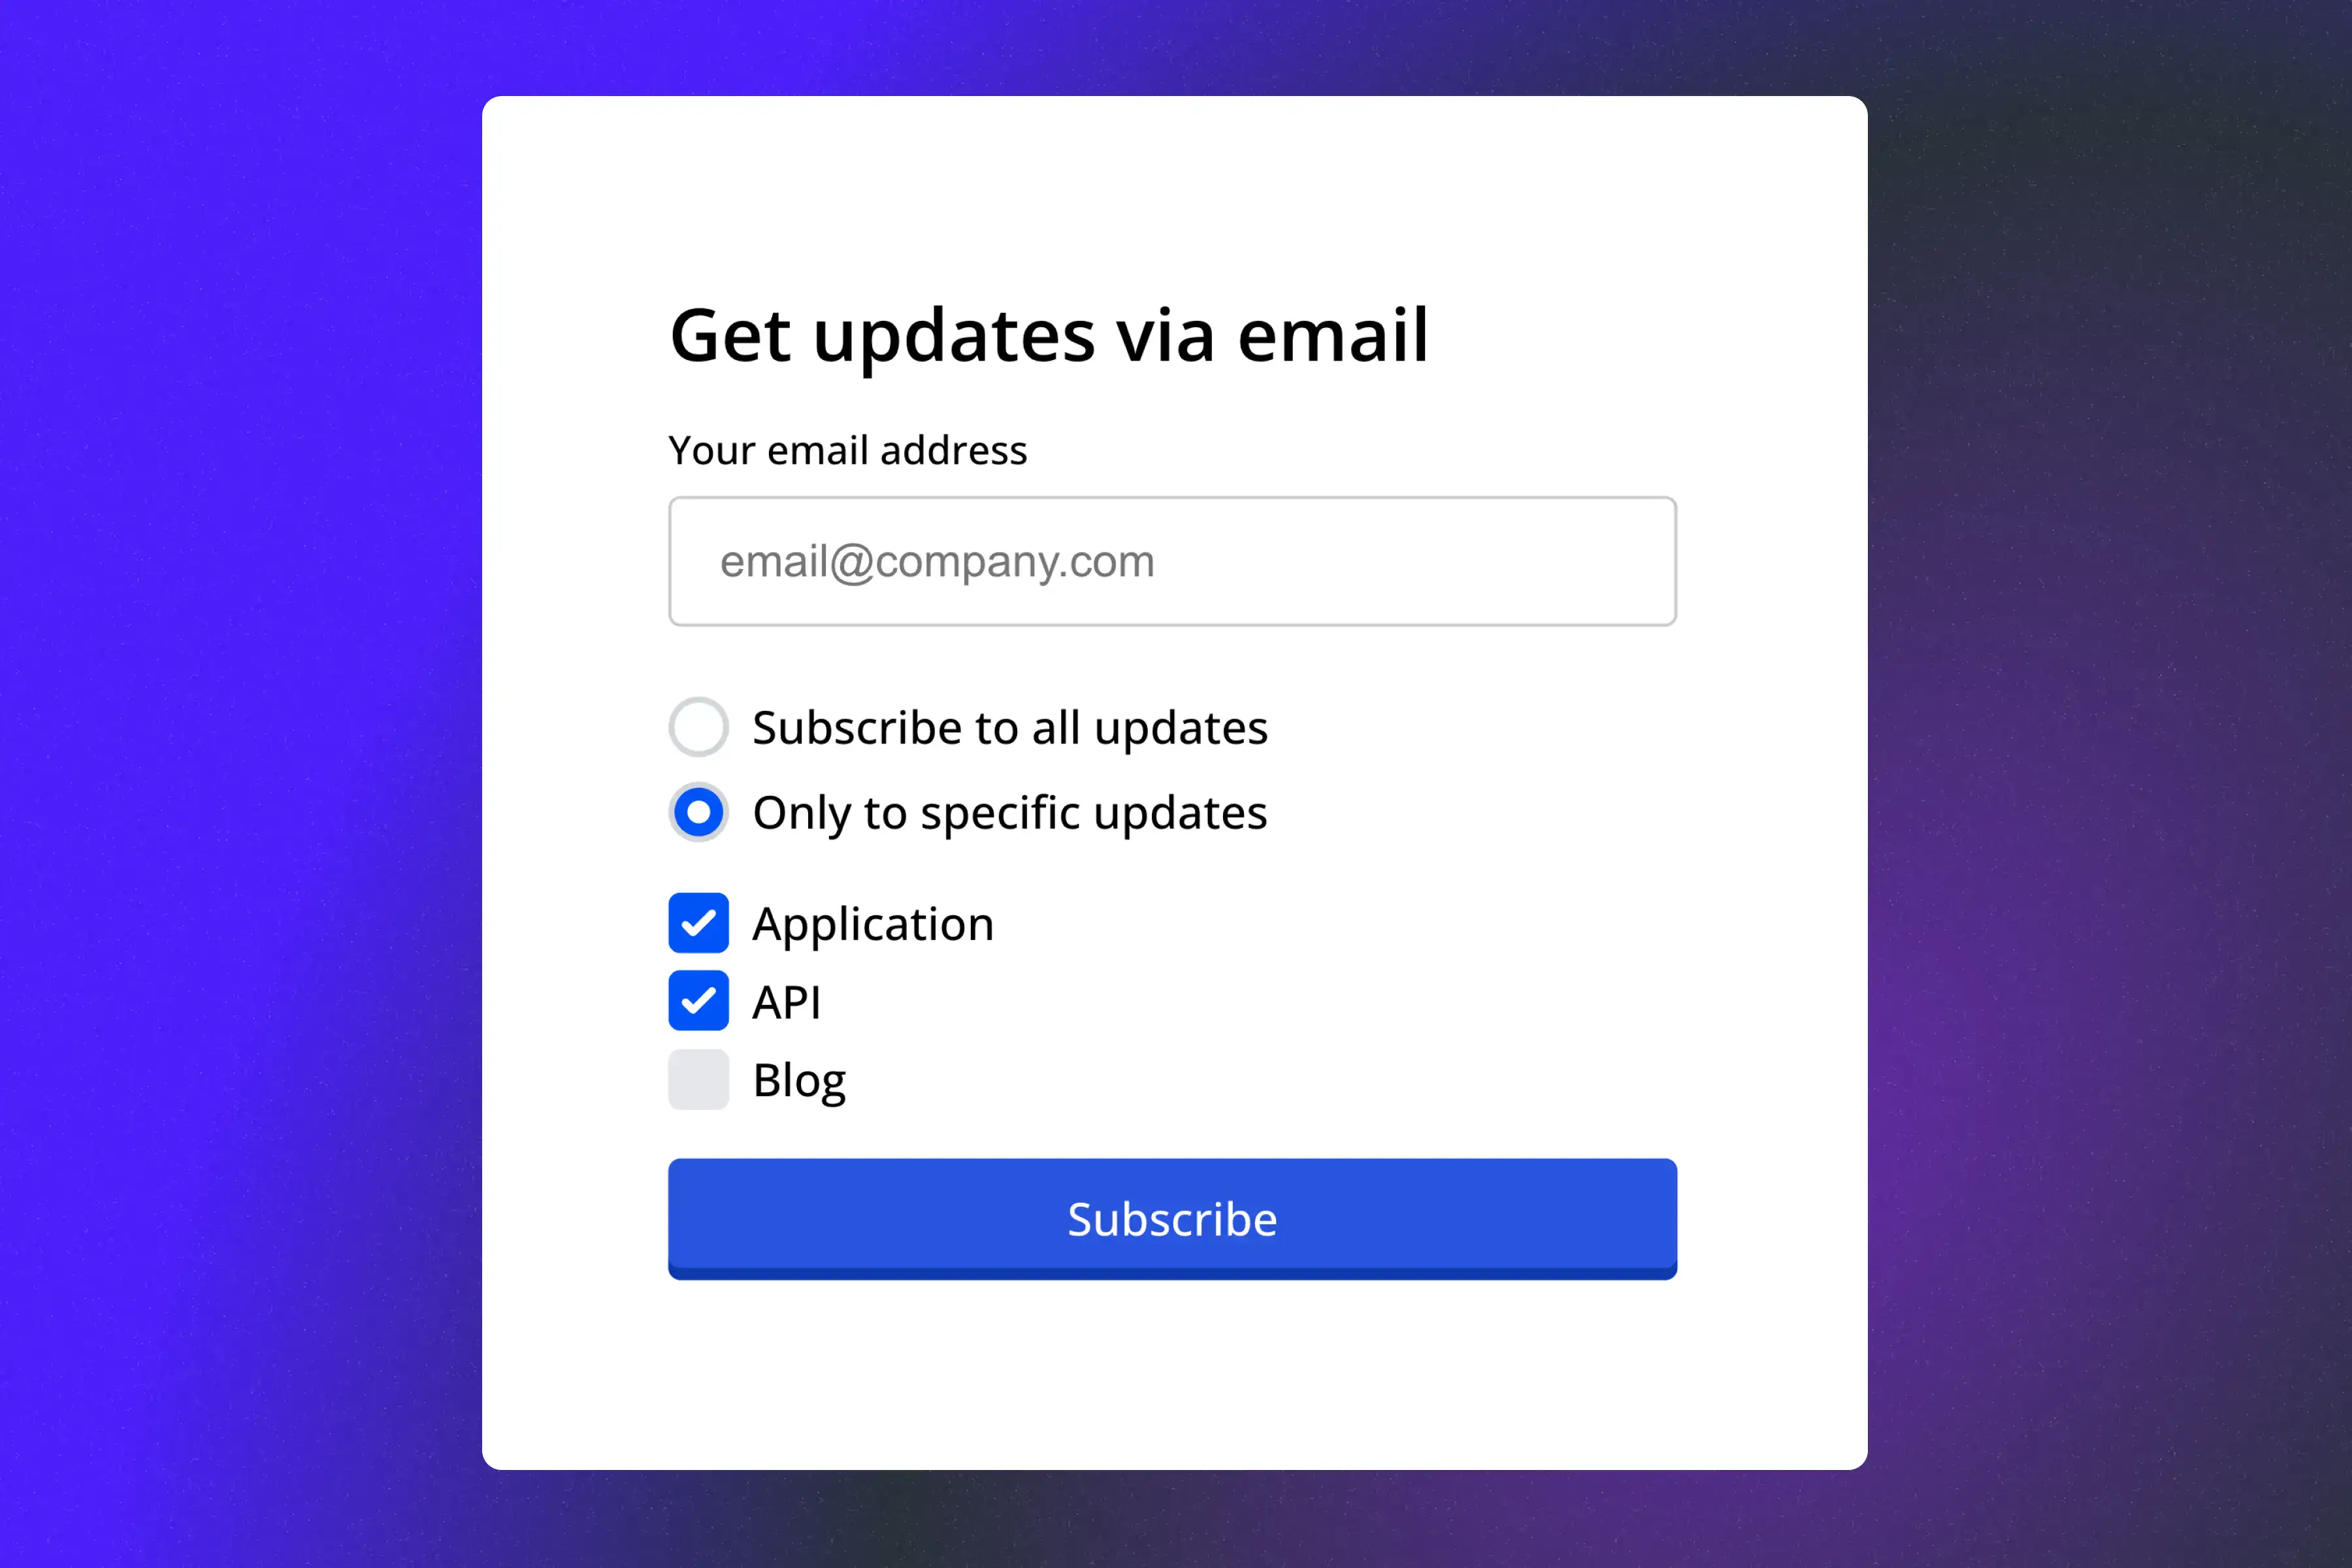
- Email: subscribers will need to confirm their subscription. You can also add subscribers manually from the builder's Subscribers tab.
- Slack: subscribers can easily connect any Slack channel.
- Microsoft Teams: subscribers can receive notifications directly in their Teams channels.
- SMS: you will need to connect your own Twilio account.
See Subscribers for how each channel works.
Subscribe to specific updates
Subscribers can choose which services they receive notifications about.
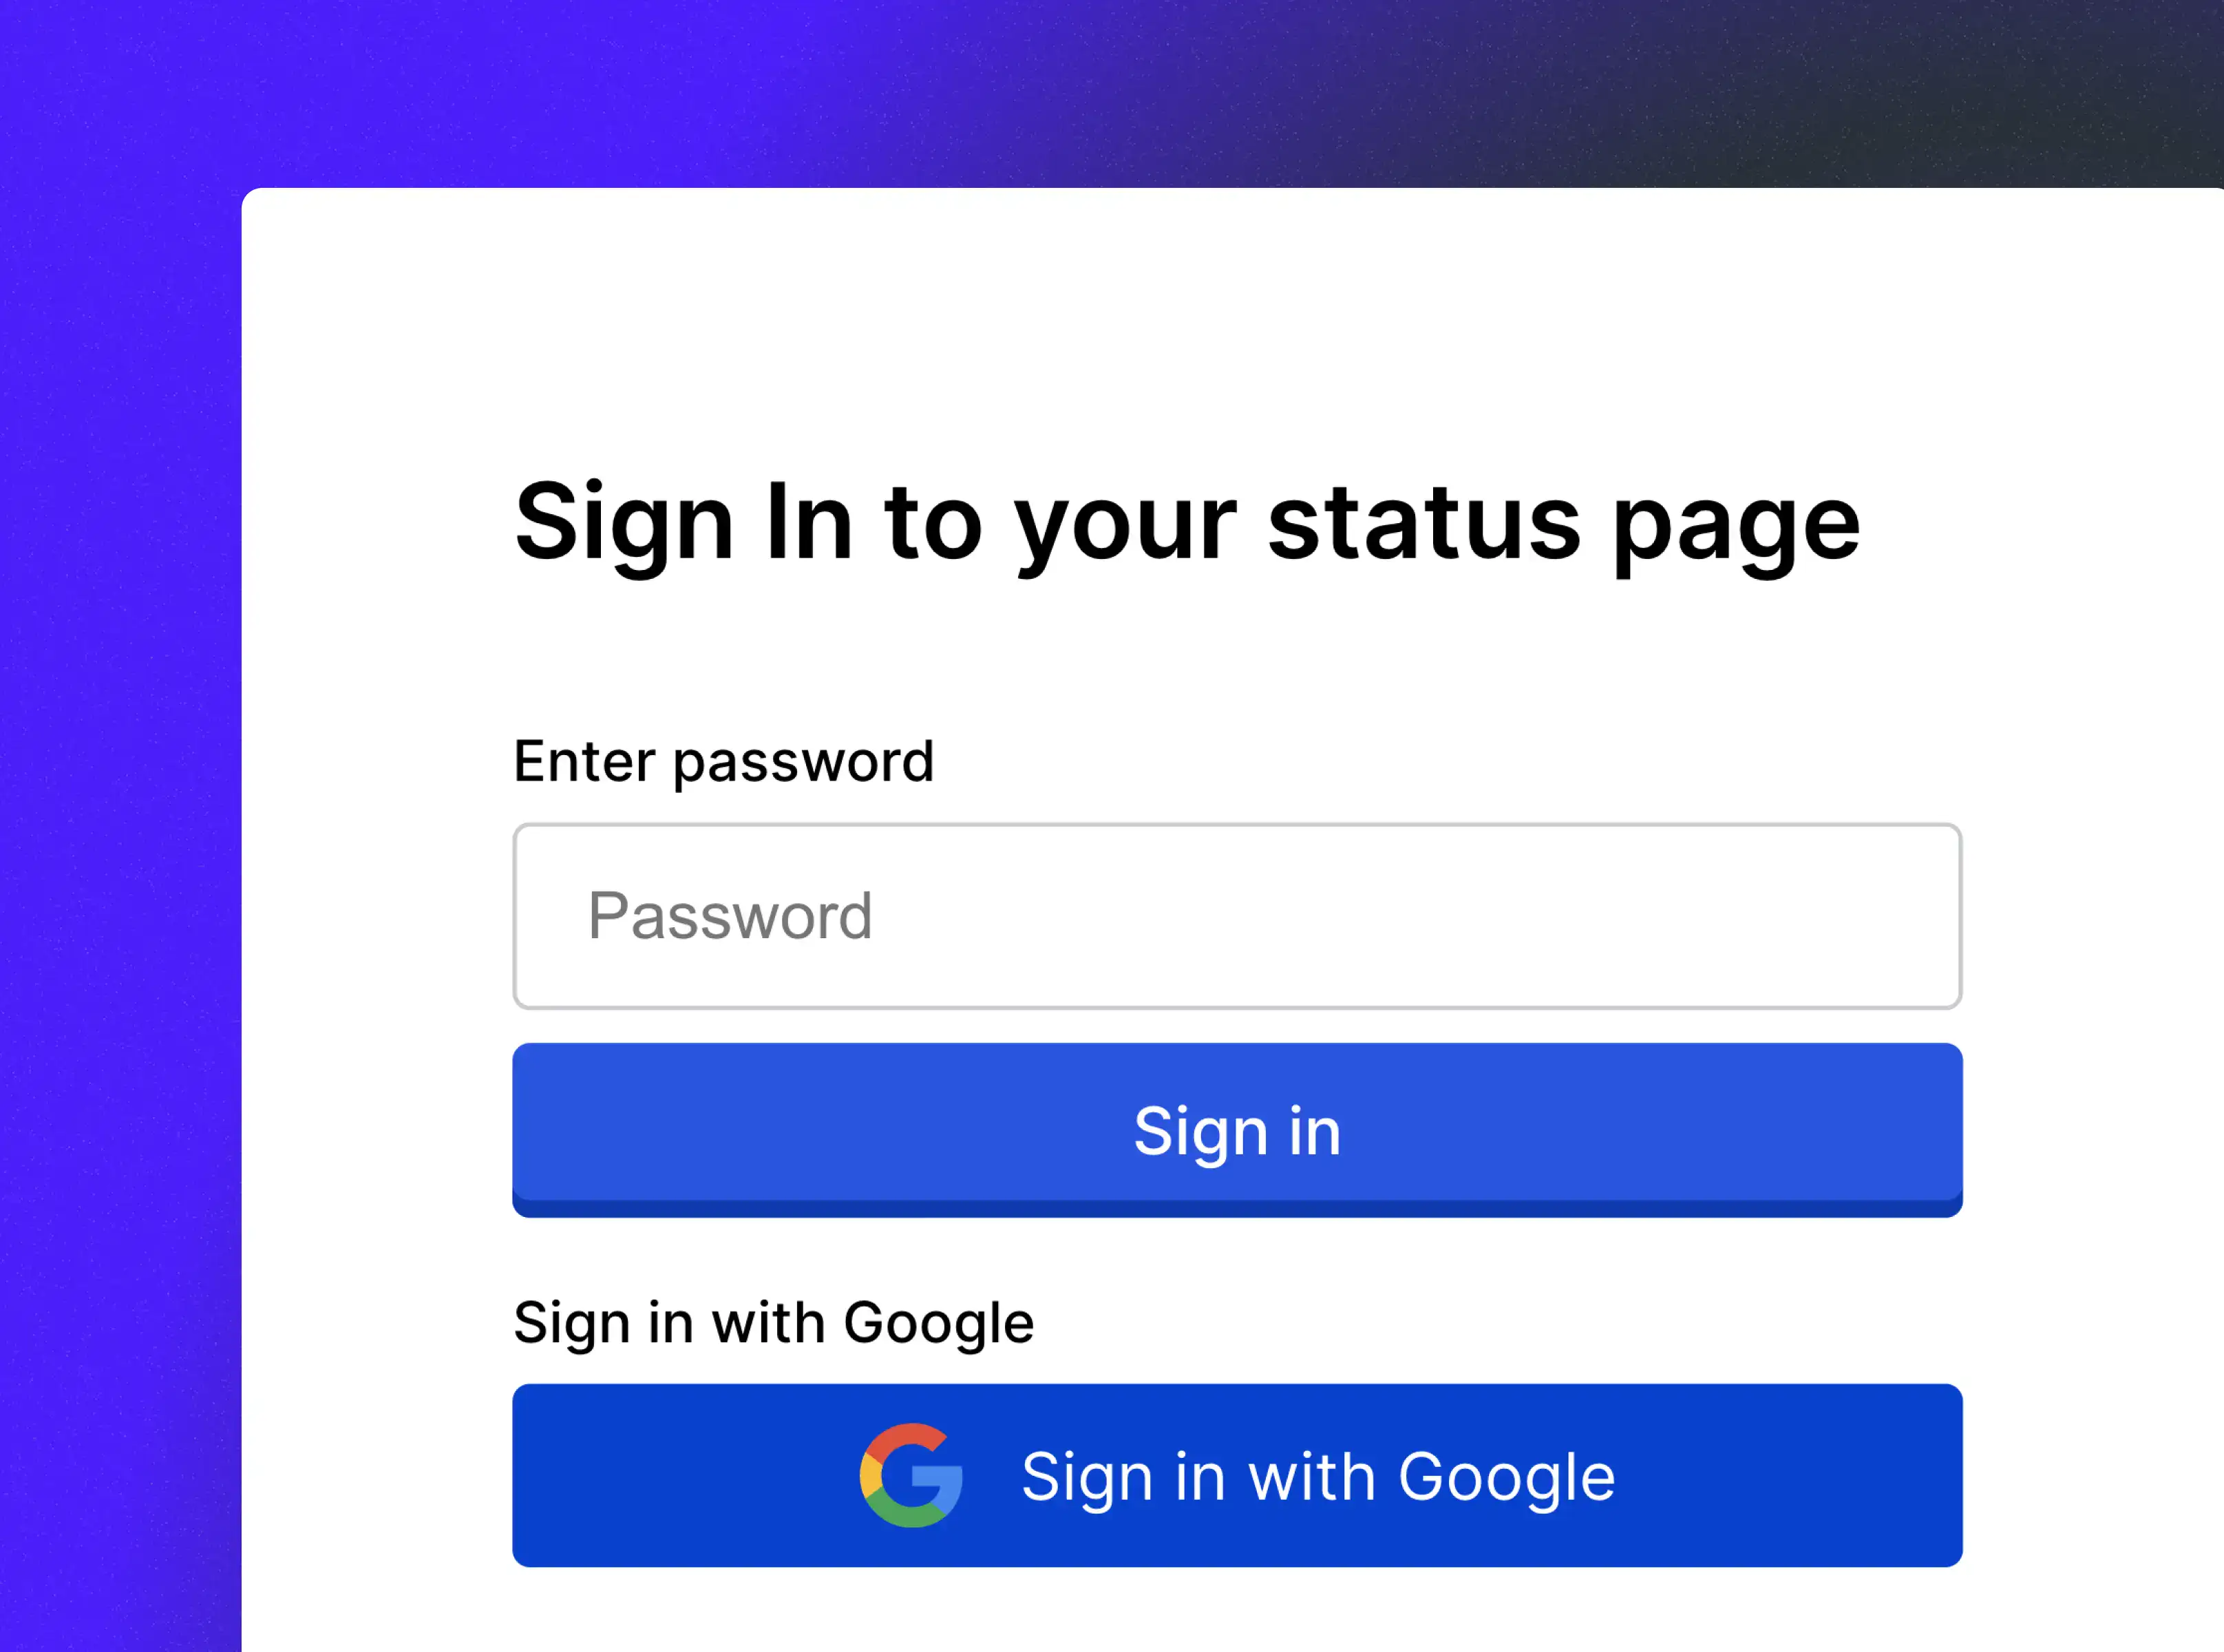
Password protection
Protect your status page under a password that you can share with others. You can edit it at any time.
SSO (SAML or OpenID Connect)
Single sign-on for status page visitors requires Business and a separately billed SSO connection. Pro includes private pages protected by passwords or email access codes.
Protect your status page with your identity provider, such as Okta, Microsoft Entra ID, Google Workspace or Auth0. Create the connection under Status Pages → SSO Connections, then turn on SSO here and pick it in the SSO Connection dropdown. The option works with SAML and OpenID Connect connections alike, and its title follows the one you pick: SAML SSO or OpenID Connect SSO. Status page SSO walks through each provider.
Google SSO
Protect your status page under Google SSO. Add a domain under Allowed emails domains to let email addresses with specific domains log in to this status page.
Hide from search engines
A toggle whether you'd like to hide your page from being indexed and found by search engines. See SEO and analytics for what it does and does not protect.
Google Analytics
Add your own Google Analytics tag. Both GA4 (G-XXXXXXXXXX) and Universal Analytics (UA-XXXXXX-YY) IDs are accepted. See SEO and analytics.
Multi-language status pages
Serve your status page in English, French, German, Dutch, Polish, Russian, or Swedish. Pick a default language on any plan, and add more from the Pro plan.
Every incident and maintenance update then gets one text input per language. See the multi-language guide for how visitors switch and how the feeds and API expose each language.
Auto refresh and TV mode
Turn this on and your status page refreshes itself every 60 seconds, and gains a control to expand to fullscreen. It is built for the screen nobody touches: a wallboard in the support room, a monitor above the ops desk, a spare TV in the office.
Open the page on that display, switch it to fullscreen, and leave it. Nobody has to reload anything, and an incident you publish shows up there within the minute. Pair it with a private page if the wallboard should carry internal services your customers do not see.
Customisation
We offer customisation for your status page to match it best with your branding.
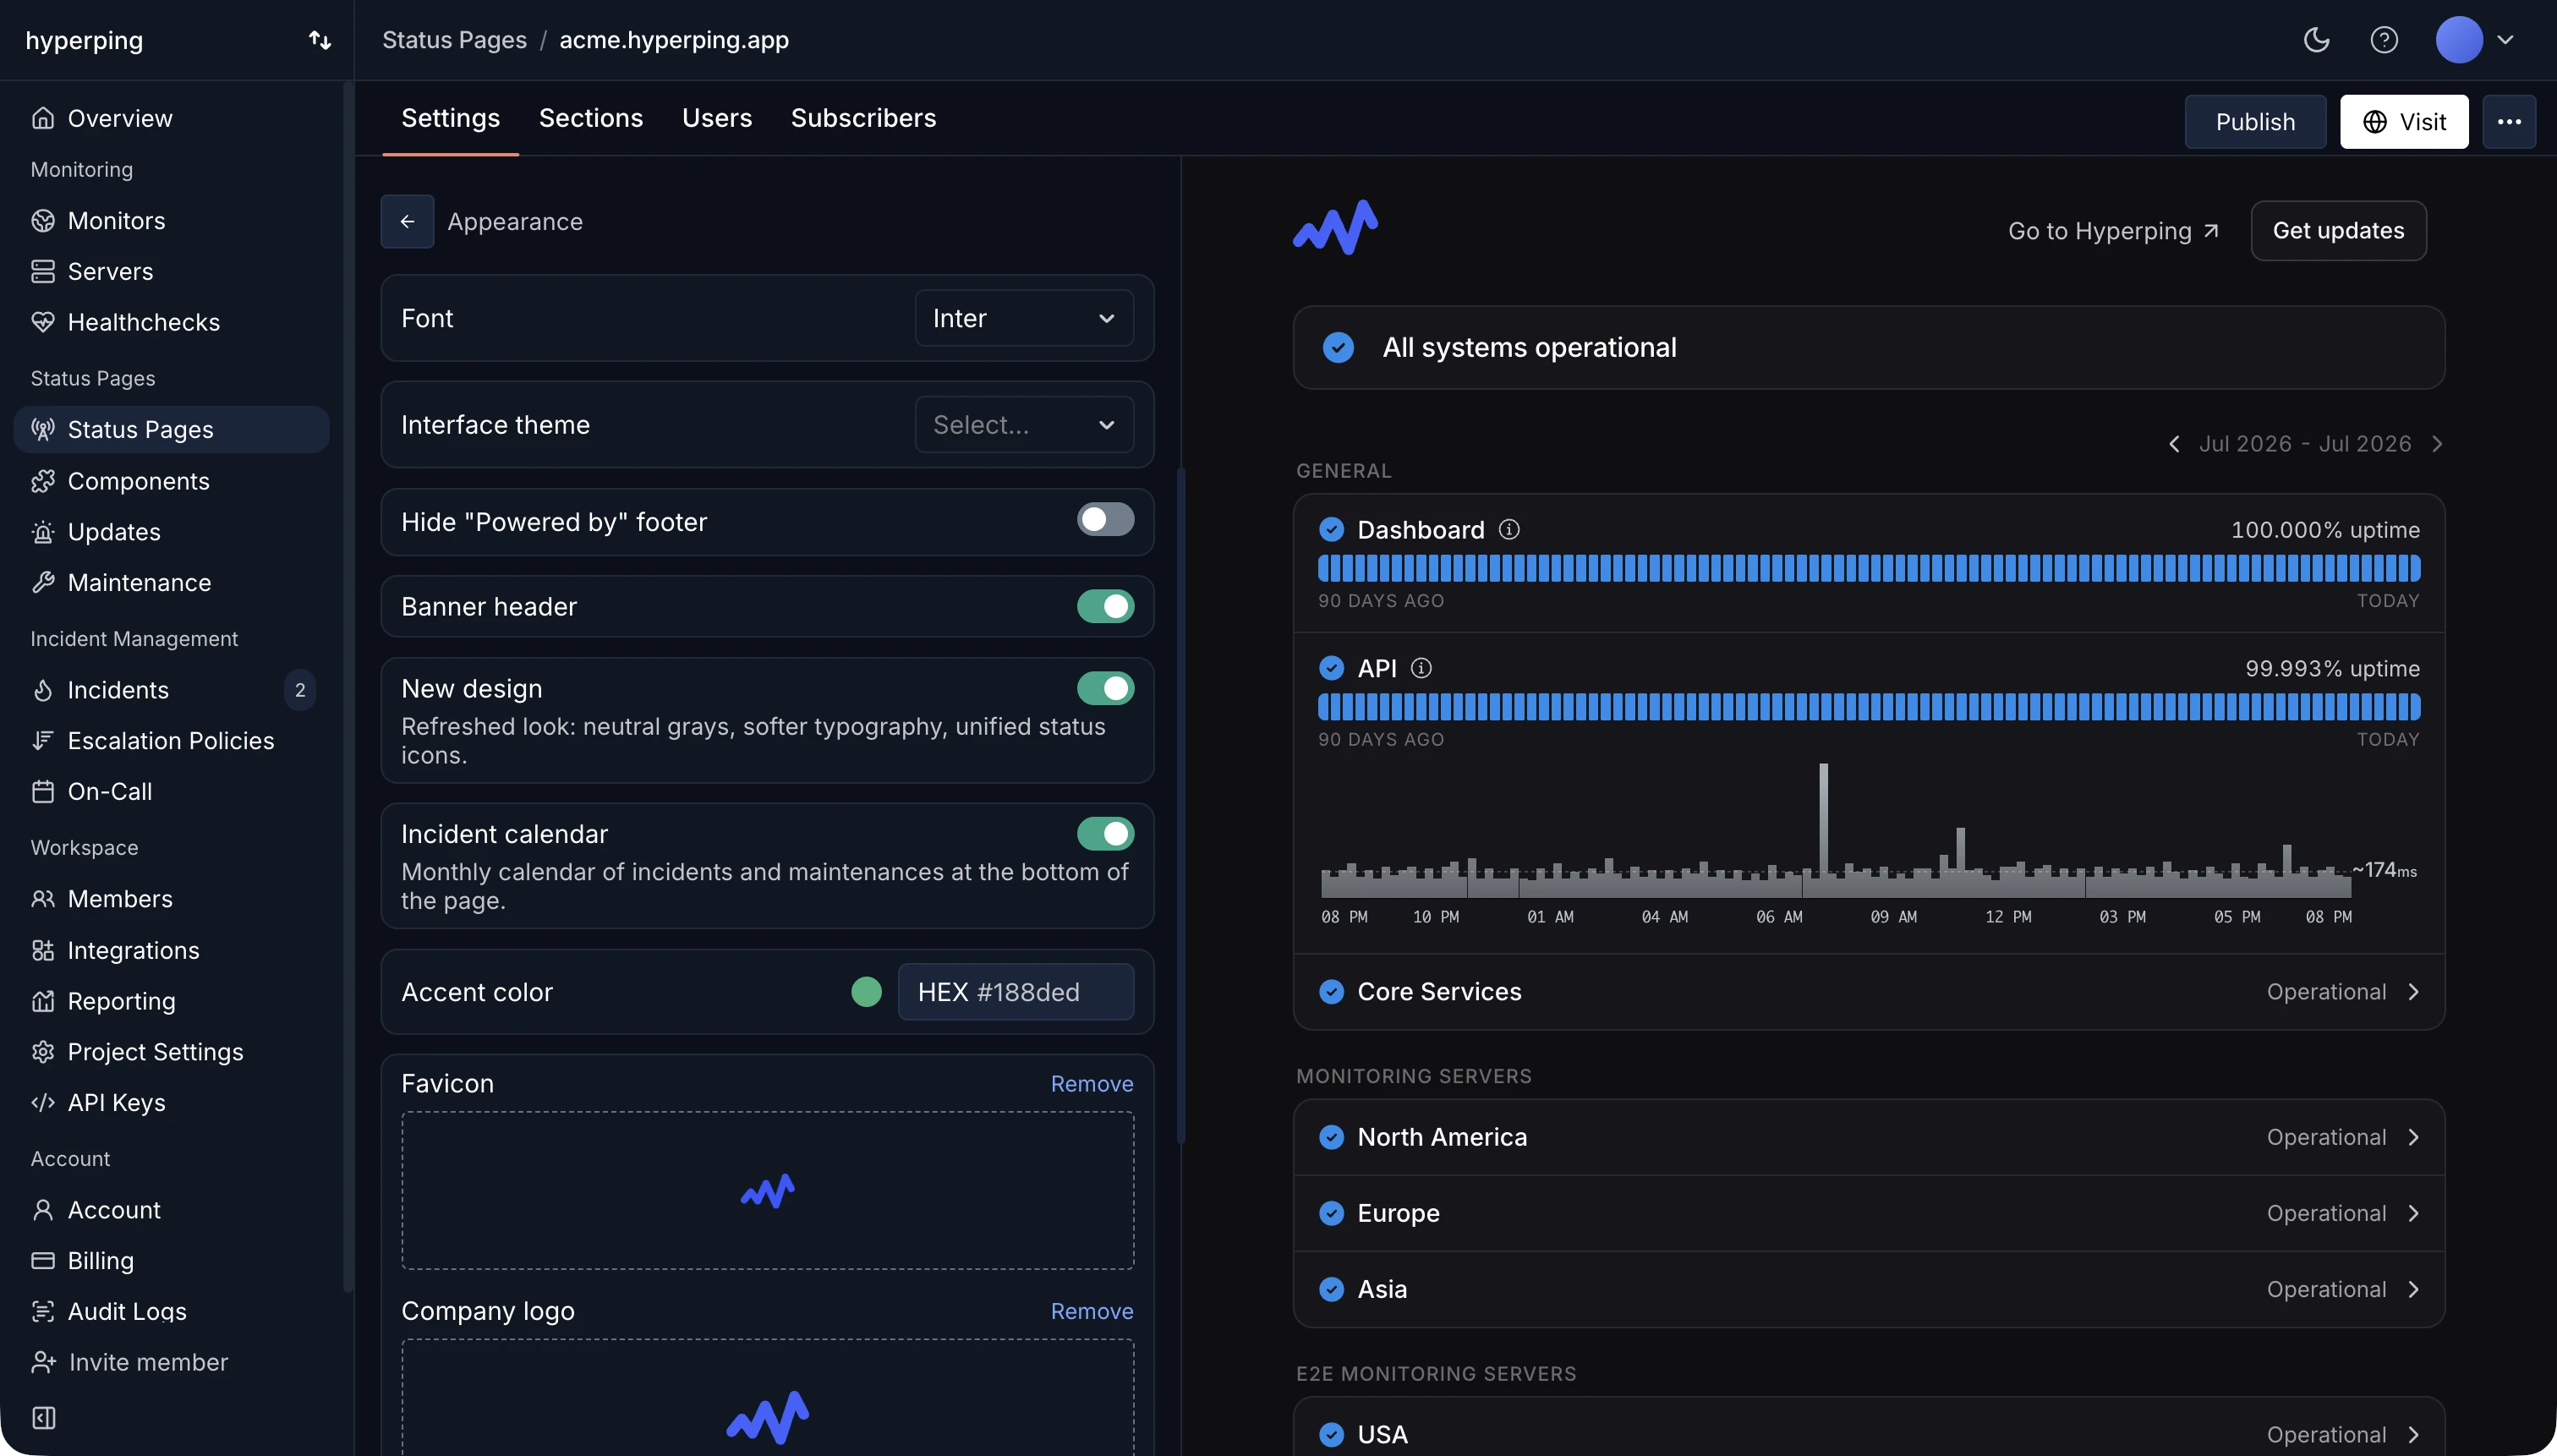
Font
Choose between a set of popular Google Fonts that we already include.
Interface theme
Choose between user's system preferences, or force only light or dark modes.
Hide "Powered by" footer
White label your status page by hiding our "Powered by" logo in the footer.
Banner header
Choose between a compact or large top-level status header.
New design
Opt in to the refreshed status page look: neutral grays, softer typography, and a unified status icon set.
Service cards, incident cards, and the status banner share the same hairline borders and rounded corners, and the four status icons (operational, incident, outage, maintenance) come from a single set so the page reads consistently. The new design has its own light and dark palettes.
Incident calendar
Show a monthly calendar of incidents and maintenances at the bottom of the page. Learn more in the Incident calendar docs.
Accent color
Choose your accent color.
It will change the colors of the check icons, uptime bars, as well as the "Get Updates" button upon hovering.
Favicon
Customise your status page with your own favicon.
Company logo
Make your company logo appear in the top-left of the status page's header.
Logo for dark mode
Optionally upload a second logo to be shown when the page is in dark mode, so a dark logo stays visible. If you only set one logo, it is used in both themes.
Logo height
Adjust the rendered height of your logo, from 20 to 64 pixels. The default is 32 pixels and the width scales automatically.
2. Add services
Once you have configured your status page, add sections and services to show the systems your users care about.