Private status pages
Protect your status pages with Password protection, Google SSO, email access codes, or SAML SSO for enterprise identity providers.
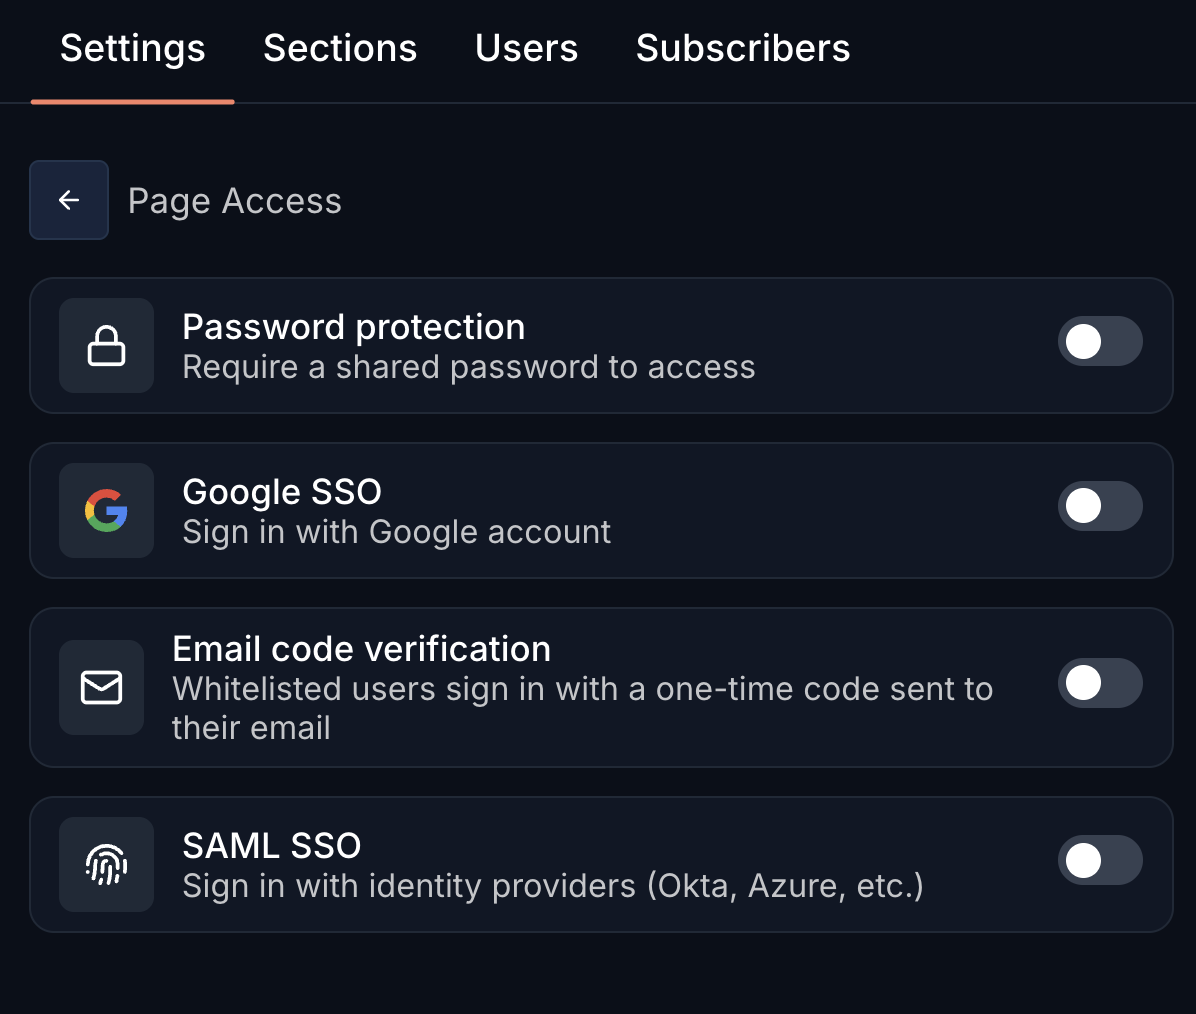
Go to Status PagesChoose a status pageSettingsPage Access to configure access controls.
Password protection
Require a shared password to access your status page. Simple and effective for basic access control.
Toggle "Password protection" and set your password. You can edit the password at any time.
Google SSO
Allow users to sign in with their Google account. Perfect for teams already using Google Workspace.
Allowed domains
You will need to add allowed email domains in order to let anyone with "@yourcompany.com" domains log in to the status page.
- Open the allowed domains settings
Go to Status Pages → Choose a status page → Settings → "Allowed emails domains" section.
- Add a domain
An email will be sent to this email address to confirm it.
Email access codes
Restrict access to specific email addresses or entire domains. Visitors enter their email, receive a 6-digit code, and are granted access once verified. Codes expire after 10 minutes.
This is ideal when you want to restrict access to specific people or teams without requiring SSO infrastructure.
Setting up access rules
- Turn on the email whitelist
Go to Status Pages → Choose a status page → Settings → Users, then toggle "Email whitelist" on.
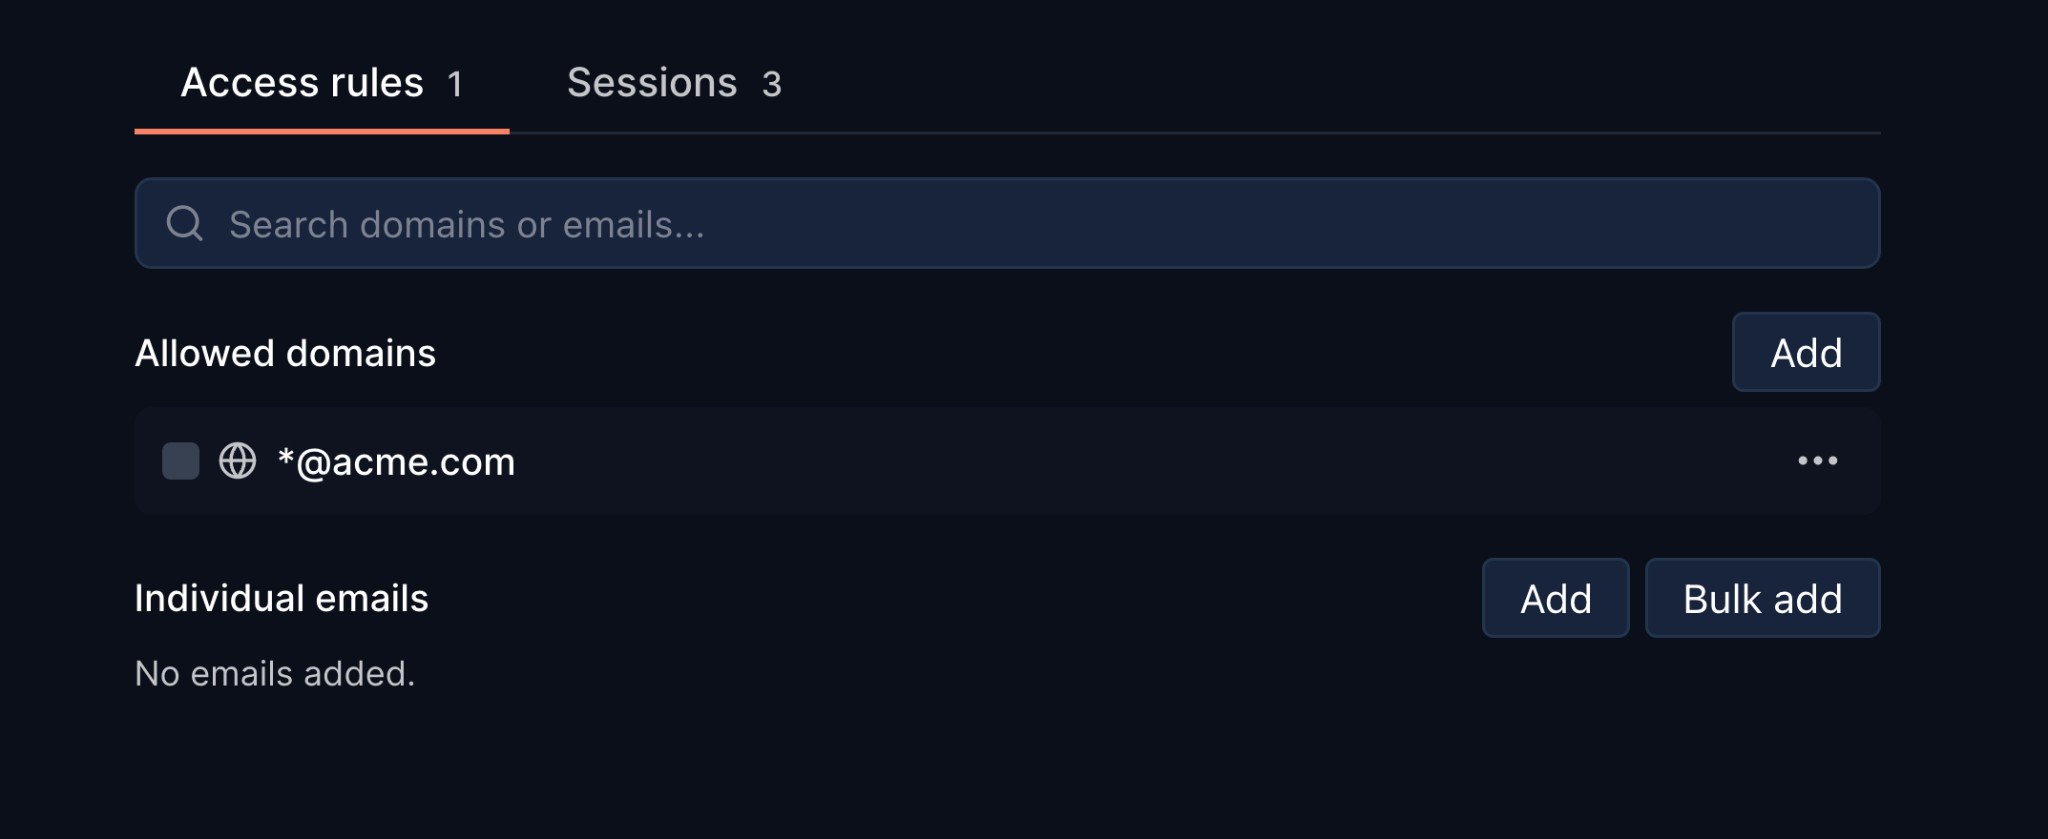
- Add your access rules
Manage your access rules in the Access rules tab. You can add two types of rules:
- Allowed domains: anyone with an email at that domain (e.g.
*@acme.com) can request access. - Individual emails: whitelist specific email addresses. Use "Bulk add" to paste multiple emails at once.
- Allowed domains: anyone with an email at that domain (e.g.
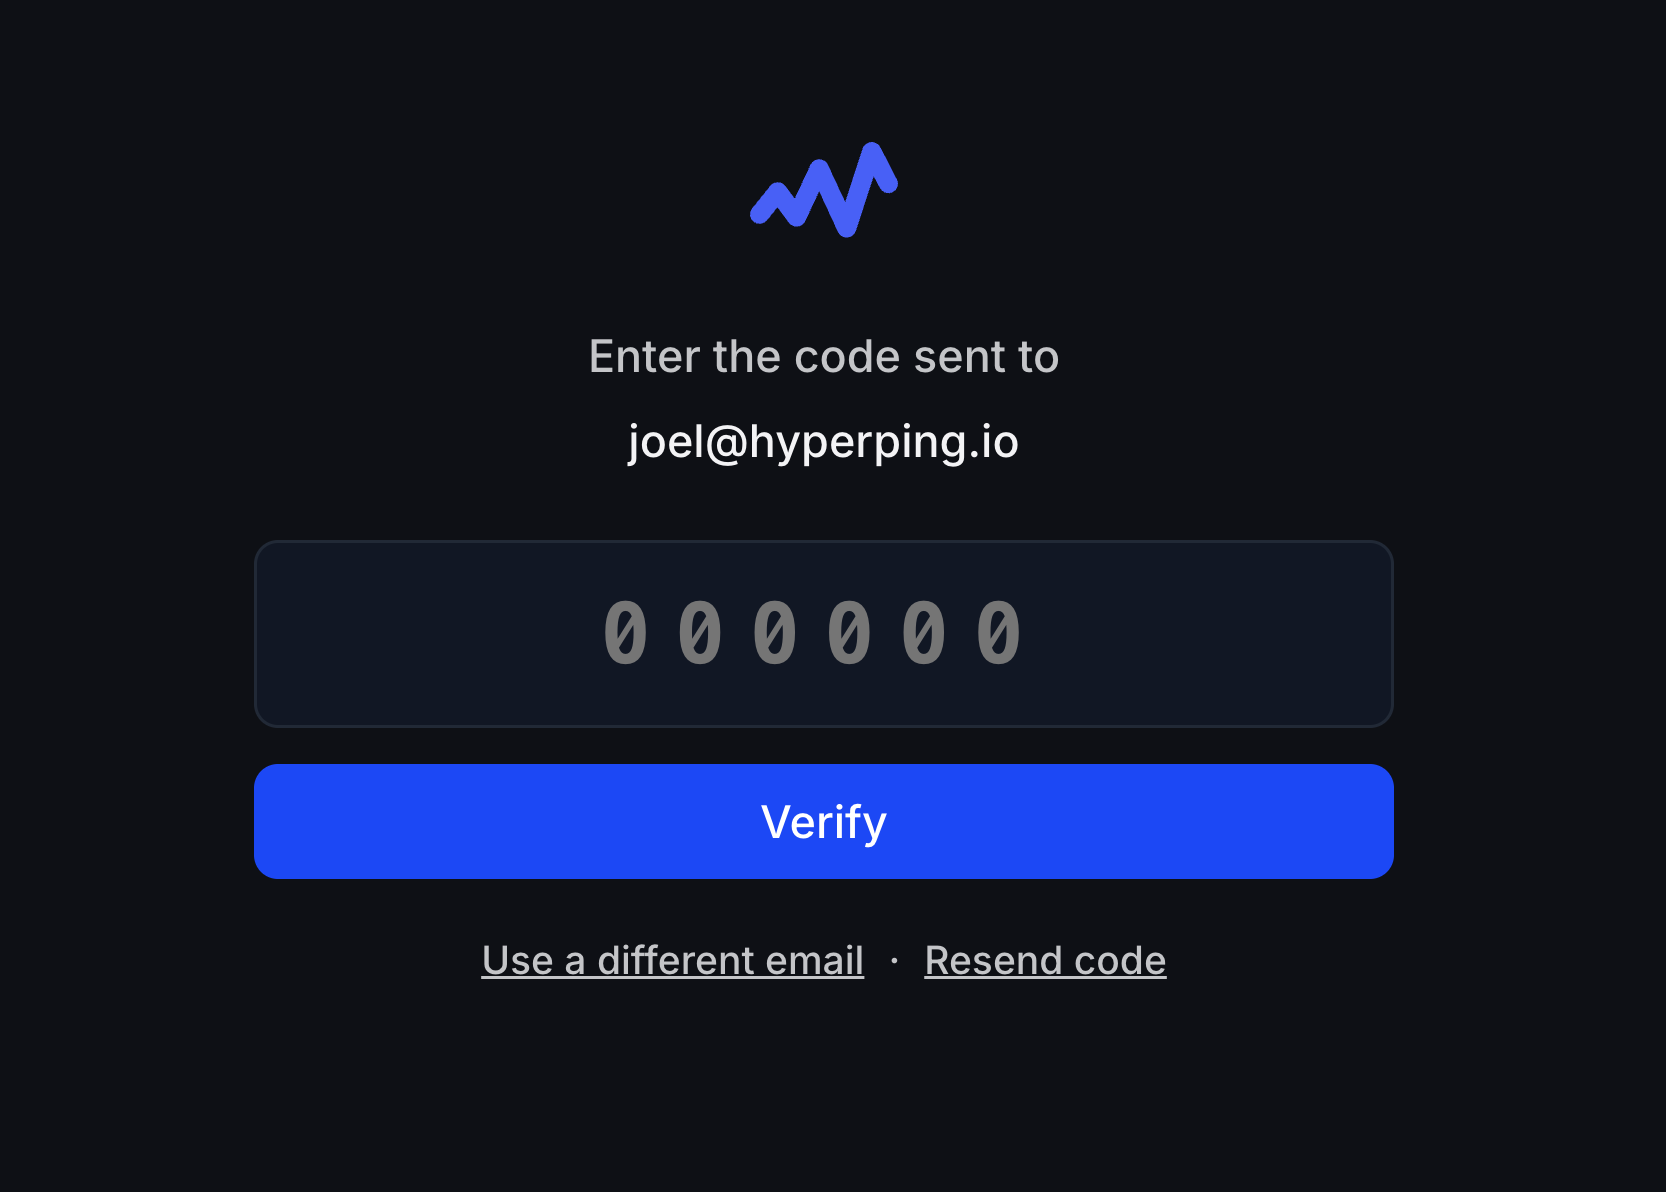
How visitors sign in
When a whitelisted user visits the protected status page, they enter their email address. If it matches a rule, a 6-digit access code is sent to their inbox. They enter the code and are granted a session.
Sessions and active users can be monitored and revoked from the Sessions tab.
SAML SSO
Sign in with enterprise identity providers like Microsoft Azure AD, Okta, Google Workspace, and more. SSO connections can be reused across multiple status pages. The full walkthrough, from creating a connection to attaching it to a page, is in Status page SAML SSO.
SSO Connections
Create and manage SSO connections from Status Pages → SSO Connections. Each connection can be used on multiple status pages.
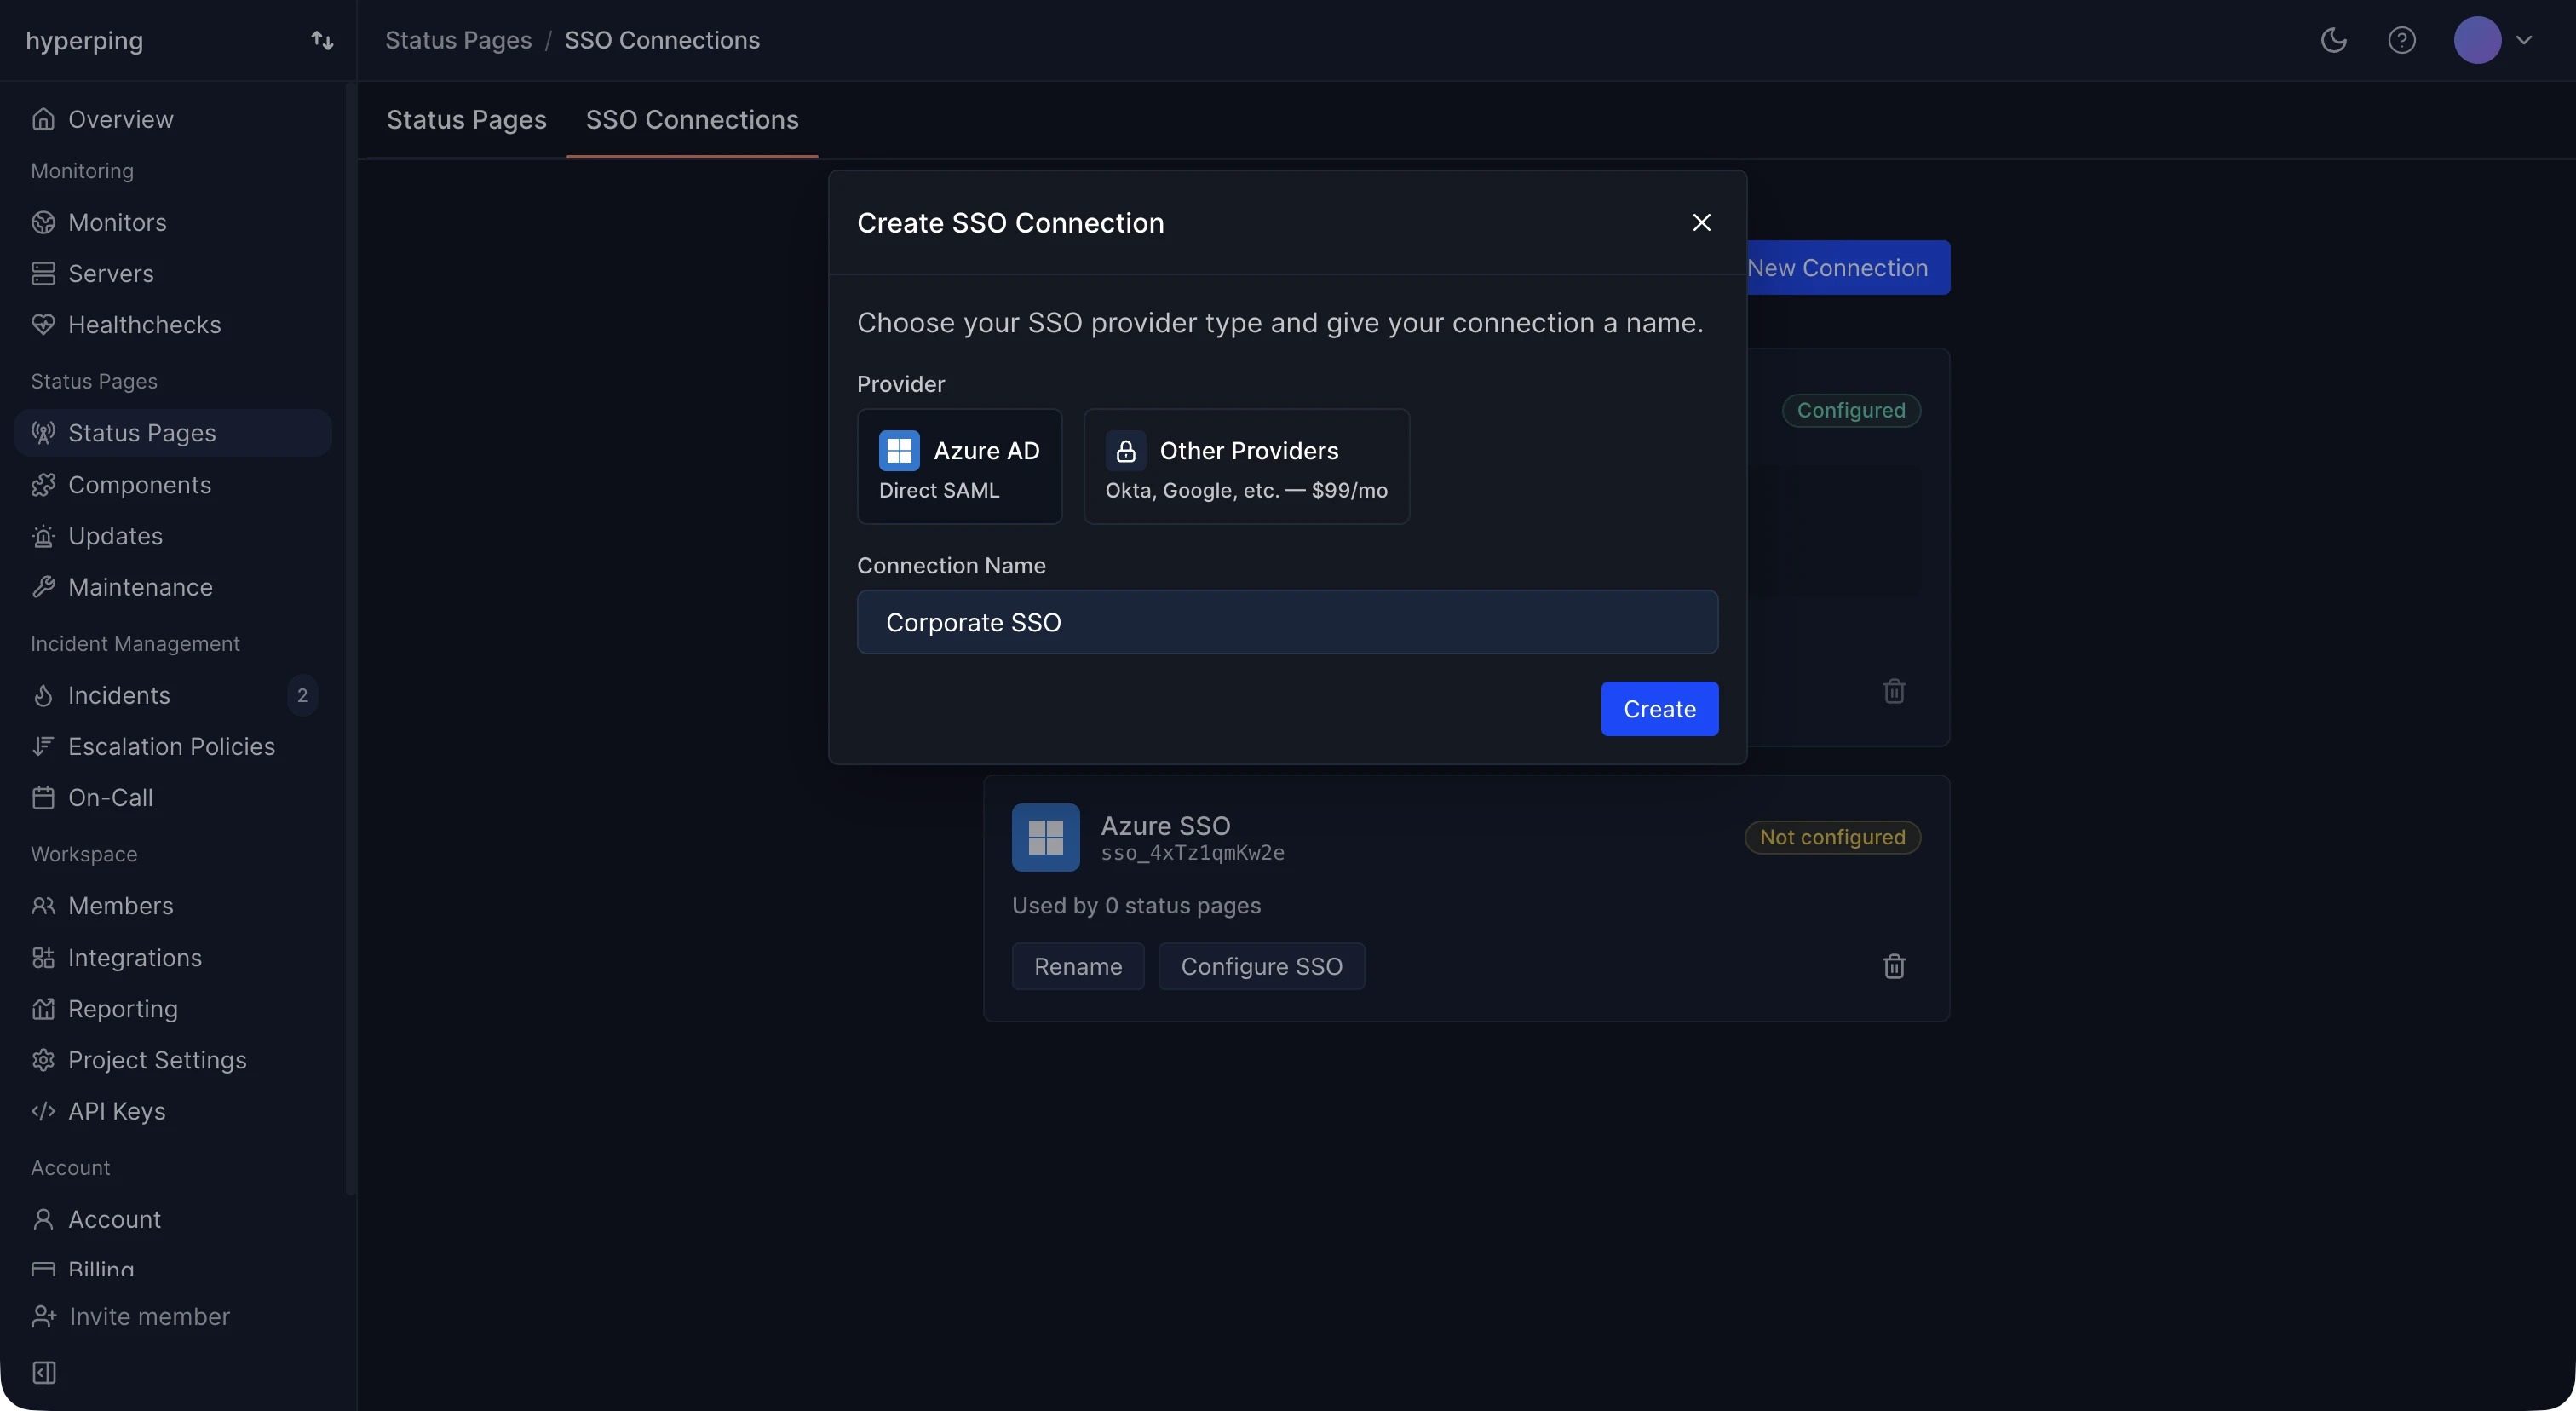
Click "Create" to set up a new connection. You will be guided through a step-by-step configuration process for your identity provider.
Pricing
| Provider | Price |
|---|---|
| Azure AD (Direct SAML) | $49/mo |
| Other Providers (Okta, Google, etc.) | $99/mo |