Status page sections
Group your services into Sections to give your status page context and structure.
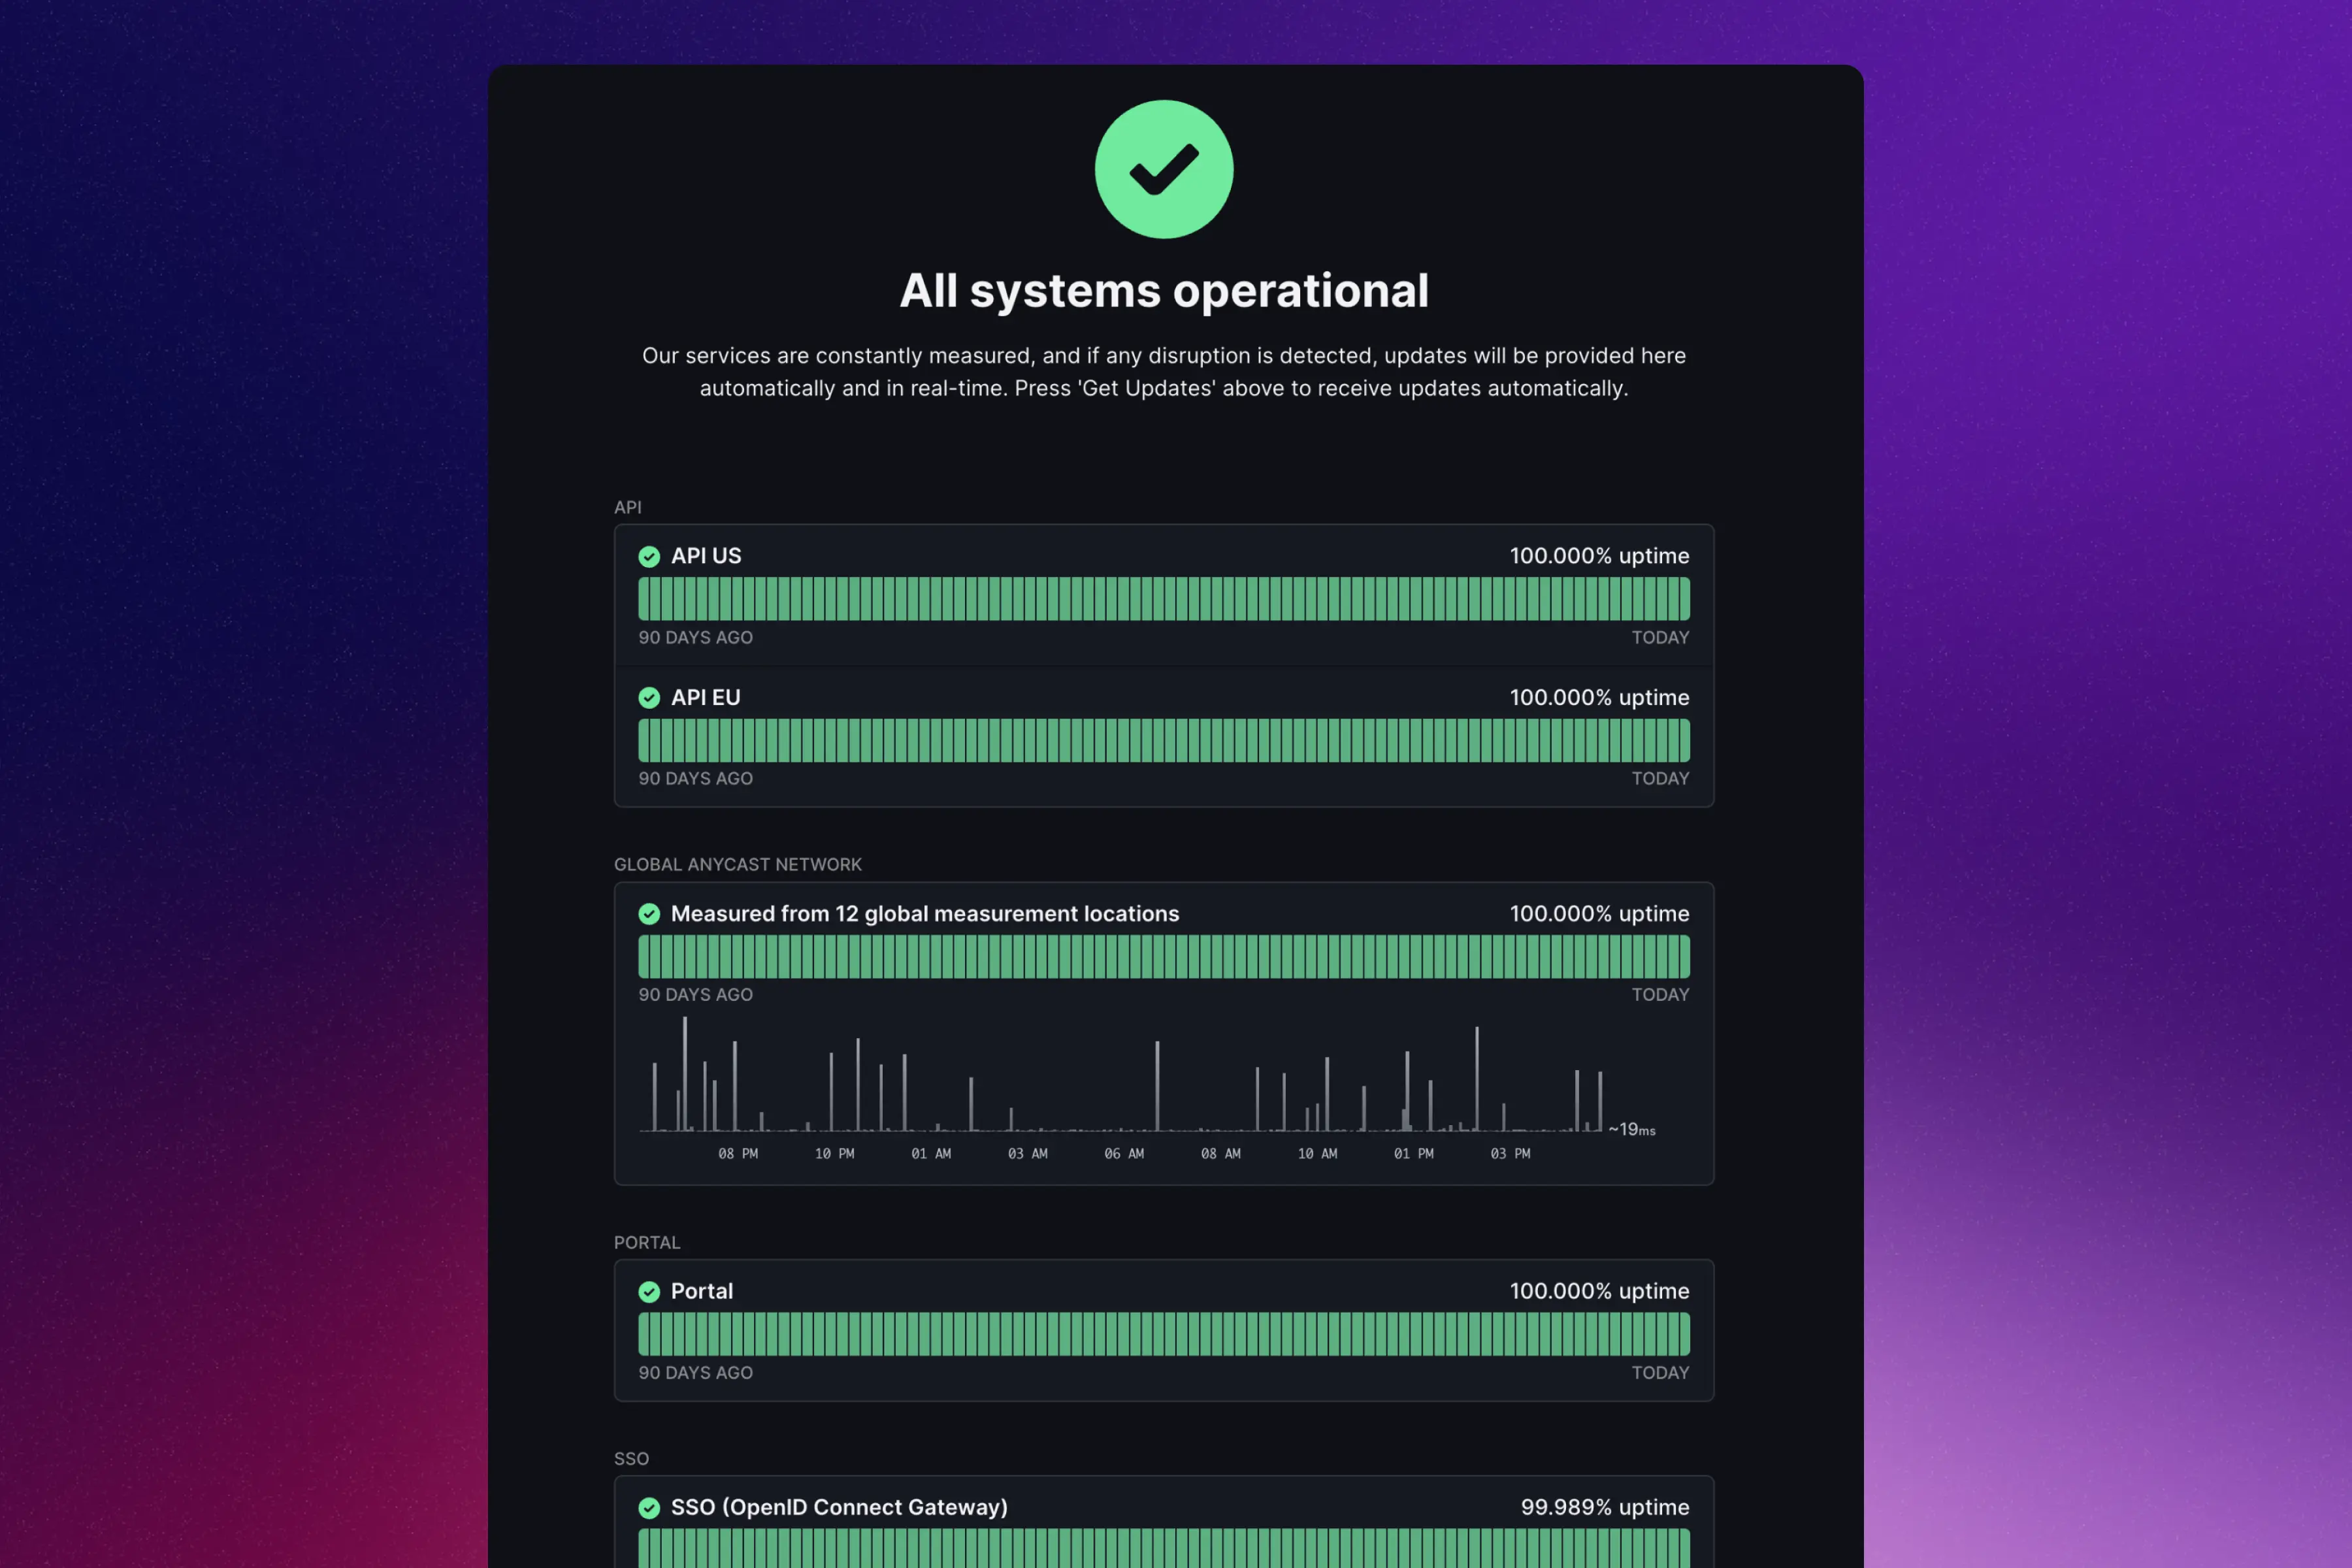
Add a section
You can add as many sections as you'd like.
- Open the Sections tab
Head to your status page's settings, then click on the Sections tab.
- Name the section
All it takes is a name, which is optional. It will be shown on top of the section inside your status page.
Change section's order
To change a section's order, click on the section's 3-dots icon, then click on either Move up or Move down.
Delete a section
To delete a section, click on the 3-dots icon at the right of a section, then click on Delete.
Group services within sections
You can create logical groups within sections to better organize related services. Groups help you:
- Bundle microservices (auth, users, payments)
- Organize by region (US-East, EU-West)
- Group by team ownership
- Keep related dependencies together
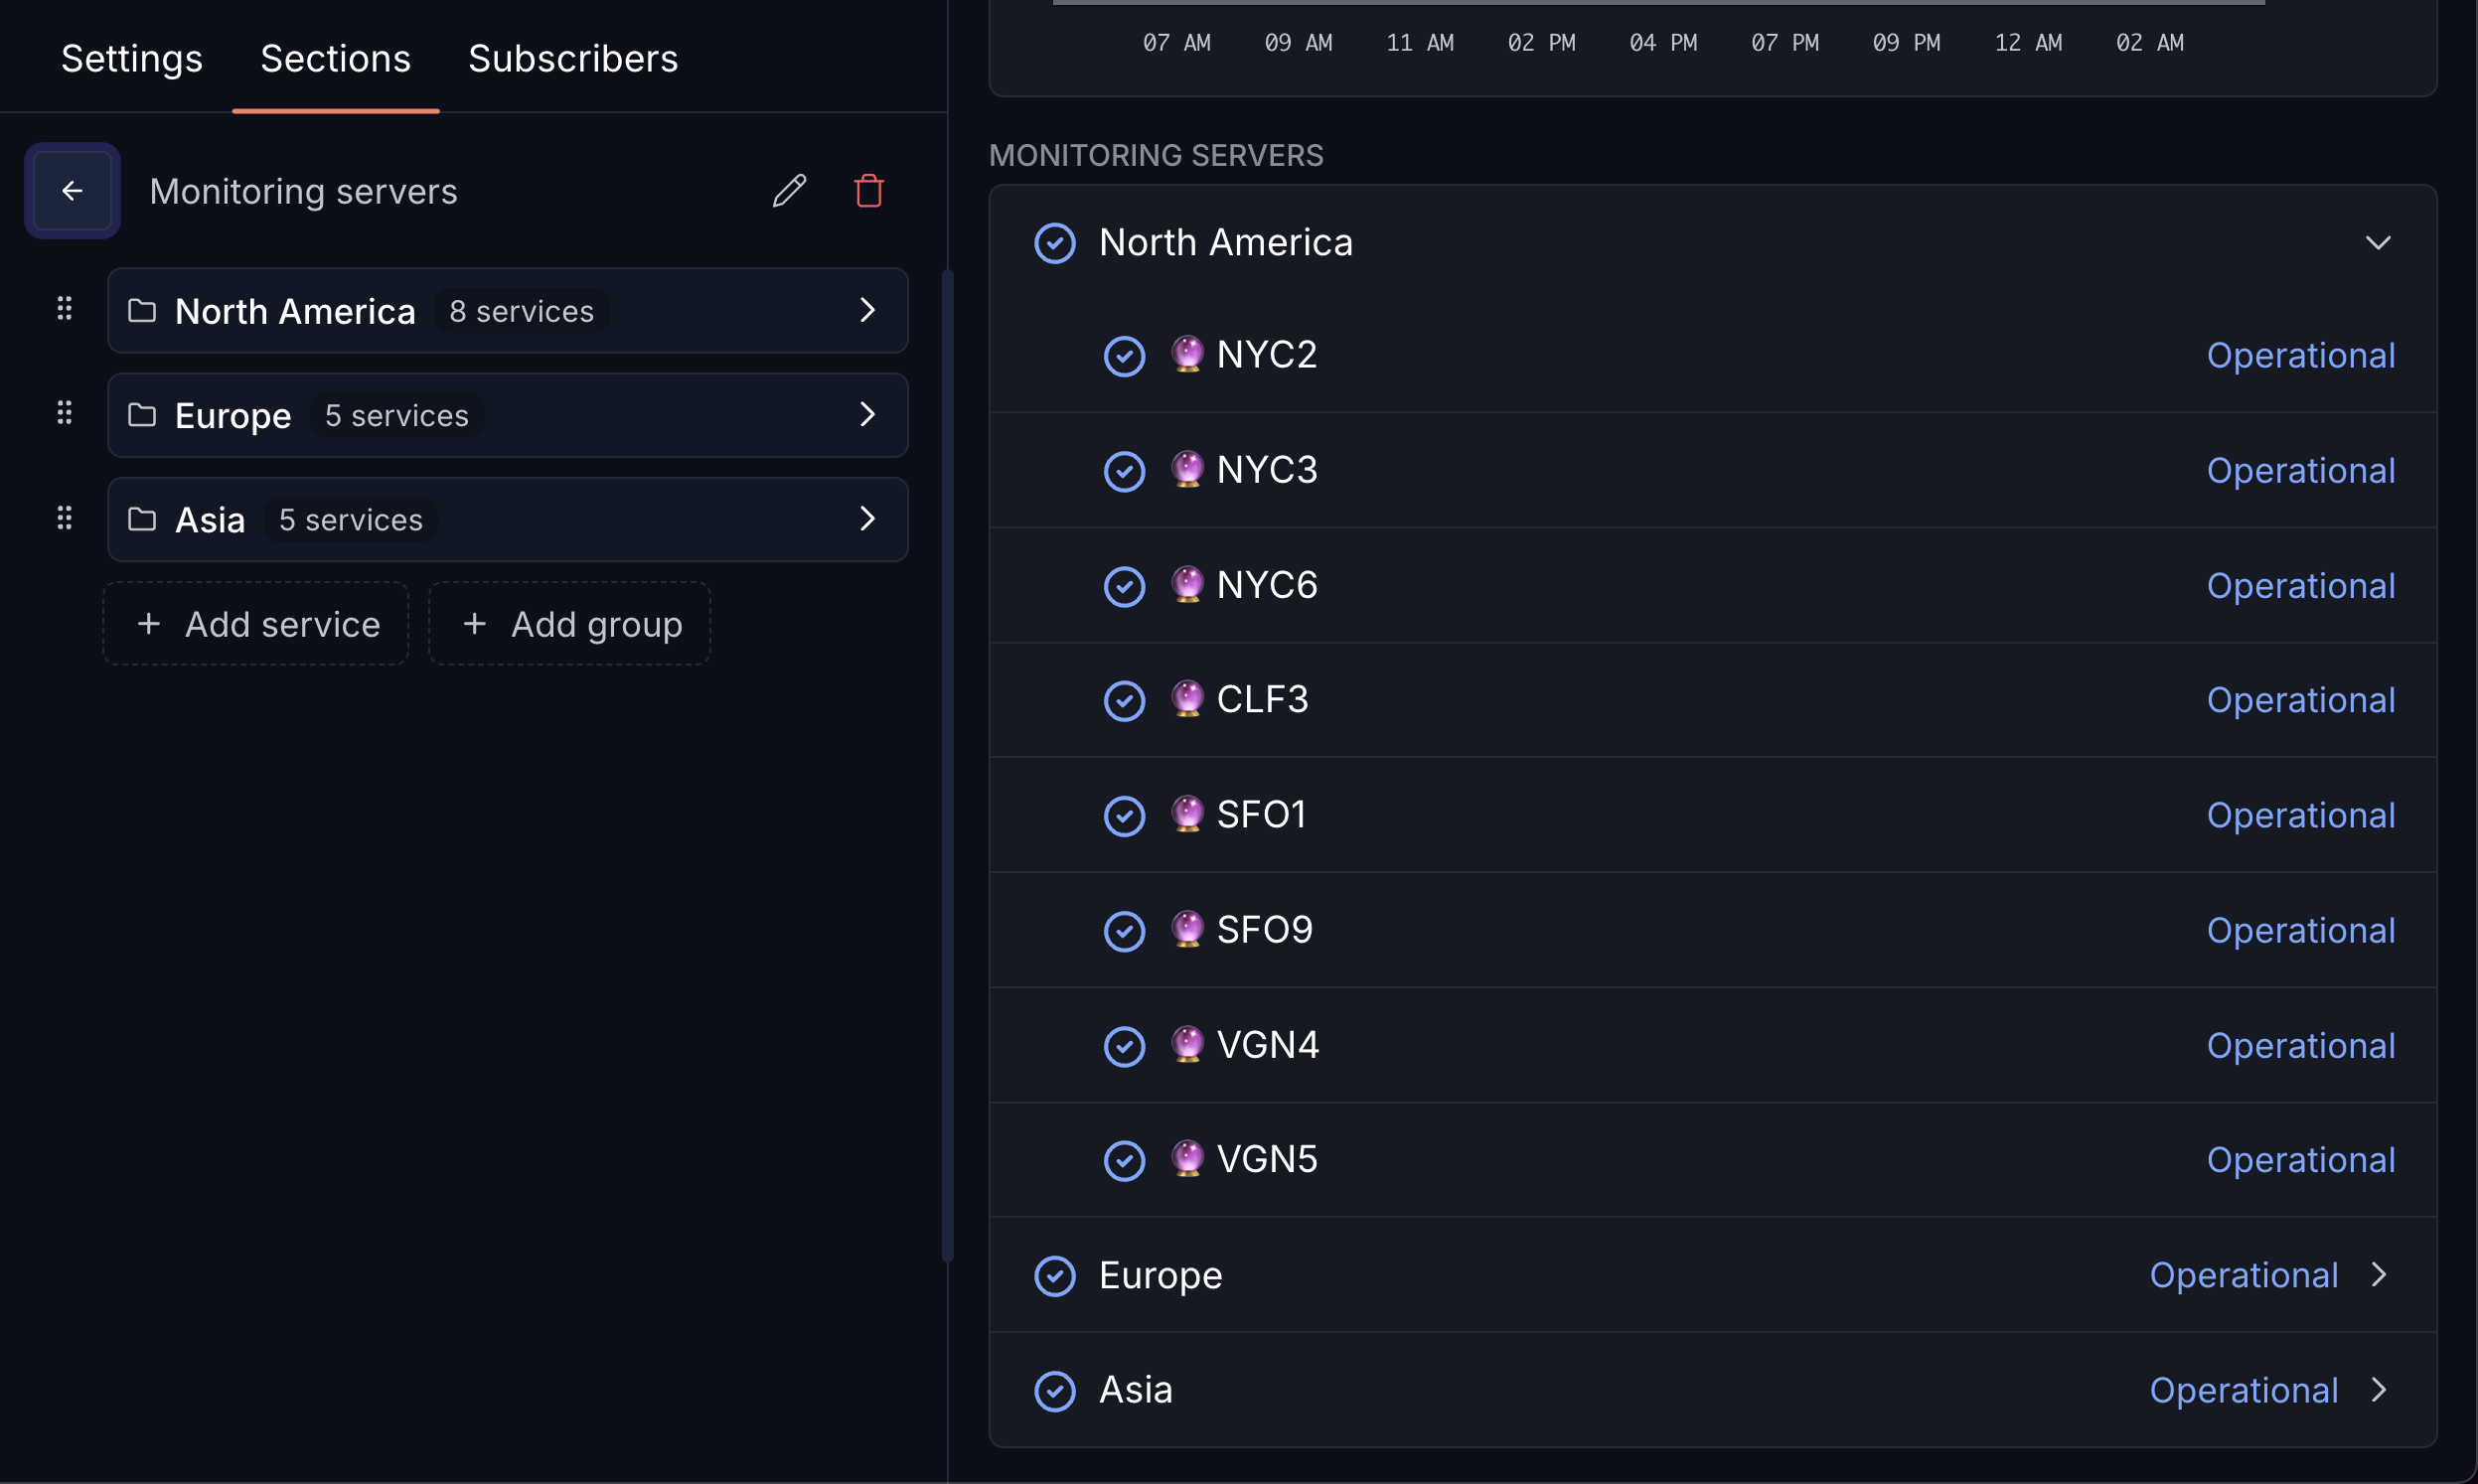
To create a group, click the "Add Group" button within any section.
Next steps
Add services
Pick monitors to display, with uptime and response time graphs.
Incident calendar
A monthly calendar of incidents and maintenances on your page.
Custom domain
Serve your page from your own domain with automatic SSL.
Go-live checklist
Everything to verify before you announce your status page.