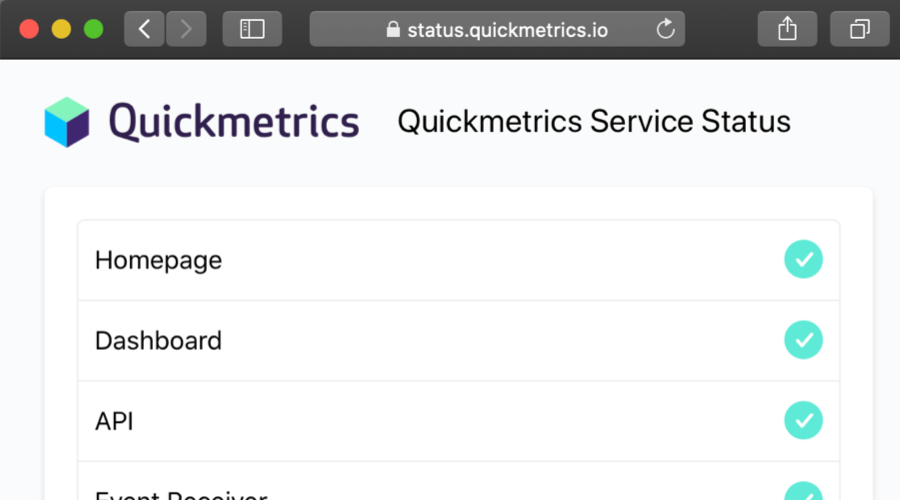
Customers can generate hosted status pages that display the status such as availability, response time and incidents of their services (websites, API, infrastructure) to their own clients or for internal use.
All status pages are hosted and maintained by our care. Users point a custom domain to our DNS, and after seconds their page is ready. Hassle free.

Our Use Case
Users could have 2 ways to host their status page: whether use Hyperping's domain custom.hyperping.io which takes no setup than changing the field in the dashboard. We'll see how to handle wildcard certificates later in this article.

The second way would let users host a status page under their own domain, most commonly using the status subdomain.
The user configures a new DNS record pointing to status.hyperping.io.
Example with gandi.net:

Once the DNS has propagated, the user can try to access his status page. The initial request will take slightly longer as it generates the certificate on the fly, for free using Let's Encrypt, and then will transparently redirect the user to its SSL protected status page!
One Solution: OpenResty
What I found to be the most convenient is this amazing module: https://github.com/GUI/lua-resty-auto-ssl
The magic of OpenResty is that it allows you to build logic in a NGINX configuration using Lua.
~# nginx -V
nginx version: openresty/1.15.8.2
built with OpenSSL 1.1.0k  28 May 2019
I installed it in a new DigitalOcean droplet and deployed the status page static files at /var/www/statuspage
The nginx.conf file should be located here: /usr/local/openresty/nginx/conf/nginx.conf
In the NGINX config, you need to write some logic to tell which SNI domains are allowed using the allow_domain function.
A simple regular expression can suffice for certain use cases:
auto_ssl:set("allow_domain", function(domain, auto_ssl, ssl_options, renewal)
  return ngx.re.match(domain, "^(example.com|example.net)$", "ijo")
end)
In our case, we need to make sure the requested domain is already set by the user in the database. To do so, I made a dedicated endpoint that returns whether the domain exists or not. We now need to hit this new endpoint.
Luckily, there is a Lua Resty HTTP client module: https://github.com/ledgetech/lua-resty-http
Quick tip: if you request to a SSL endpoint, you need to copy your ca-certificates.crt to ca-certificates.pem:
~# cp /etc/ssl/certs/ca-certificates.crt /etc/ssl/certs/ca-certificates.pem
and add this to your nginx.conf:
lua_ssl_verify_depth 2;
lua_ssl_trusted_certificate /etc/ssl/certs/ca-certificates.pem;
Do not forget to import the package:
lua_package_path "/root/lua-resty-http/lib/?.lua;;";Here is how our allow_domain function looks like after a few tweaks:
  auto_ssl:set("allow_domain", function(domain)
    local http = require "resty.http"
    local httpc = http.new()
    local uri = "https://api.hyperping.io/approvalendpoint/"..domain
    local res, err = httpc:request_uri(uri, {
      method = "GET"
    })

    if not res then
      ngx.say("failed to request: ", err)
      return false
    end

    if res.status == 200 then
      return true
    end

    if res.status == 404 then
      return false
    end

    return false
  end)
Restart openresty:
~# /etc/init.d/openresty restart
(*) Wildcard Certificate for *.hyperping.io
Some users require a long process internally at their company to obtain a custom subdomain. As an alternative, and to try the product, they can access their status page under hyperping domain, for example: https://quickmetrics.hyperping.io
Certbot is required, which is a handy tool that generates SSL certificates using Let's Encrypt: https://certbot.eff.org
Then I used this command to generate the wildcard certificate for hyperping.io:
~# certbot certonly --manual -d *.hyperping.io --agree-tos --manual-public-ip-logging-ok --preferred-challenges dns-01 --server[https://acme-v02.api.letsencrypt.org/directory](https://acme-v02.api.letsencrypt.org/directory)
Then I made a DNS record that points all hyperping's subdomain to this new server:

And added the following configuration in my nginx.conf:
server {
  listen 443 ssl;
  server_name *.hyperping.io;

  ssl_certificate /etc/letsencrypt/live/hyperping.io/fullchain.pem;
  ssl_certificate_key /etc/letsencrypt/live/hyperping.io/privkey.pem;

  root /var/www/statuspage;
  index index.html;

  location / {
    try_files $uri $uri/ =404;
  }
}
Automatically redirect to HTTPS
Only let users access status pages using the HTTPS protocol.
server {
  listen 80;
  listen [::]:80;
  server_name *.hyperping.io;
  return 301 https://$host$request_uri;
}
*Replace all "hyperping.io" with your own domain.
Please le me know if that tutorial has helped you and what other resources you found to help set this up. Share your use case with me!


