Authentication
The Hyperping API uses token-based authentication. All API requests must include your API key in the Authorization header.
You need a valid API key to make requests to the Hyperping API.
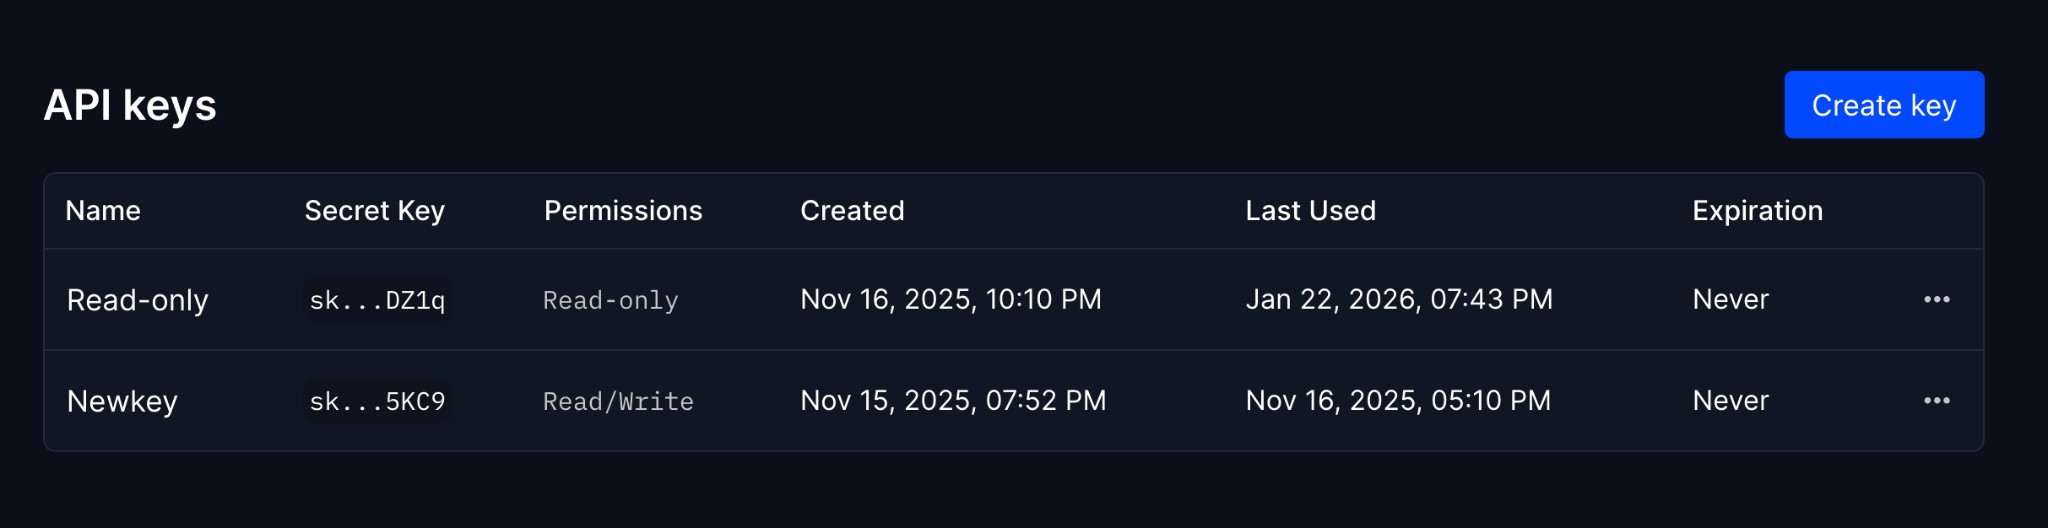
Getting your API key
To obtain your API key, go to the Developers tab in your project settings.
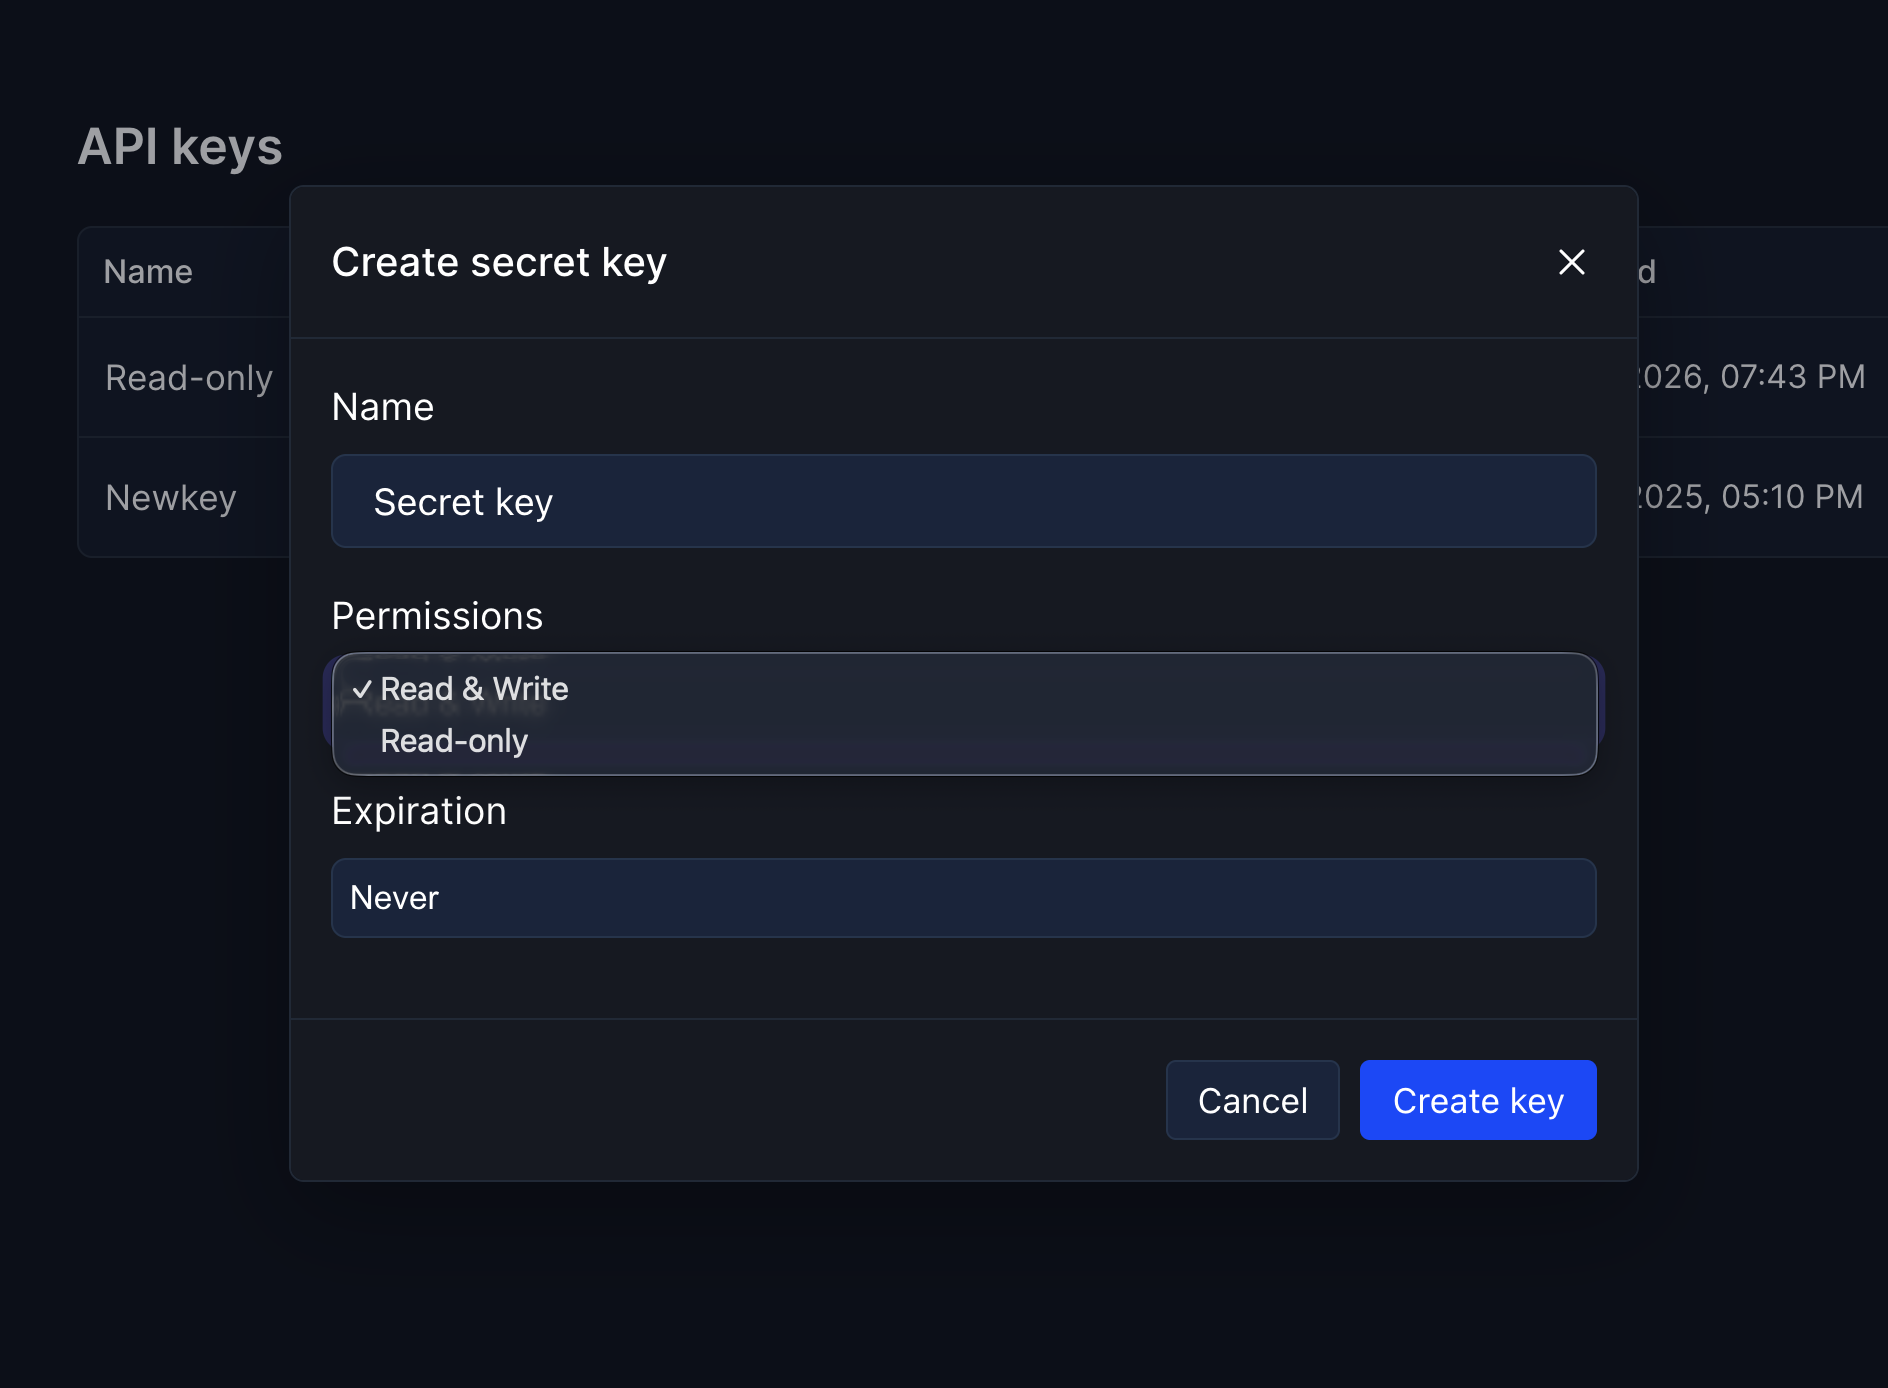
Creating an API key
Click the "Create key" button to generate a new API key. You can configure:
Your API key will only be shown once when created. Store it in a secure place, such as a password manager or secret store. If you lose your key, you'll need to create a new one.
Using your API key
Include your API key in the Authorization header of all requests using the Bearer token format:
Authorization: Bearer YOUR_API_KEYExample request
curl https://api.hyperping.io/v1/monitors \
  -H "Authorization: Bearer sk_xxxxxxxxxxxxxxxxxxxxxxxxxxxx"
Permission levels
Error responses
If authentication fails, you'll receive one of these error responses:
{
  "error": "Invalid or missing API key"
}{
"error": "Insufficient permissions for this action"
}Use environment variables to store your API key instead of hardcoding it in your application. This keeps your key secure and makes it easy to rotate.
